HMDs
Get information on using different HMDs and their controllers in a VRED collaboration session.
Since not all HMD controllers have buttons in the same location, when in VR, there is a controller mode with displayed tooltips. Use the tooltips to locate tools.
For entering a collaboration session, two controllers are required.
Creating vrOpenVRController or vrOculusTouchController objects with the Python API v1 might cause controller models to be rendered in mixed reality despite the VR controller fix in 2022.1.
For a list of supported VR devices, see VR Requirements.
What Tools Do the Controllers Have
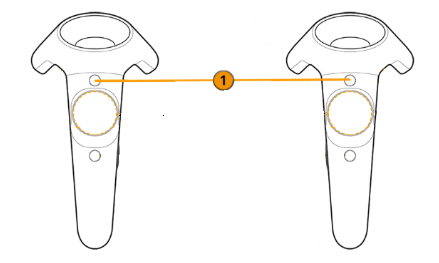
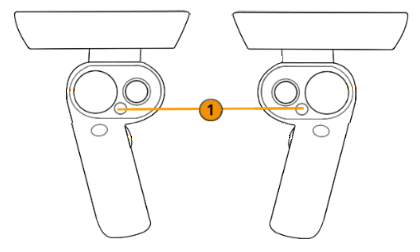
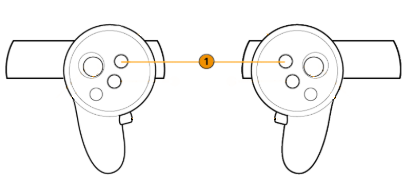
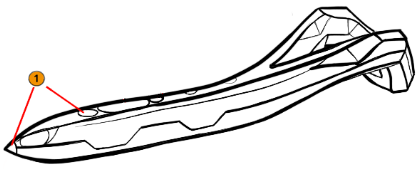
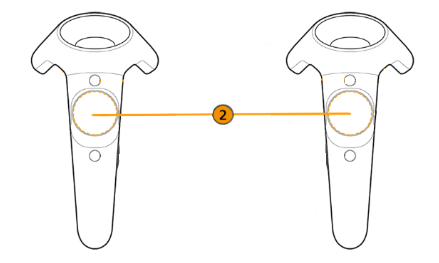
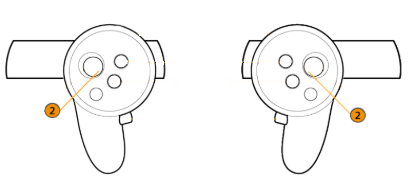
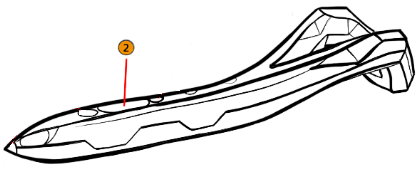
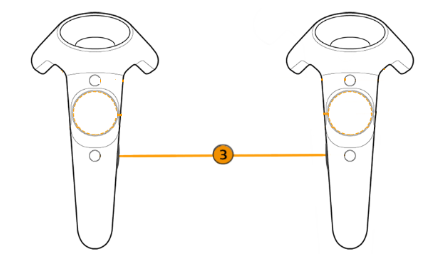
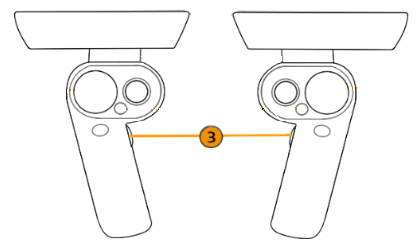
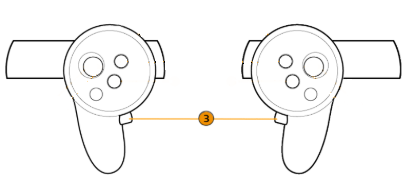
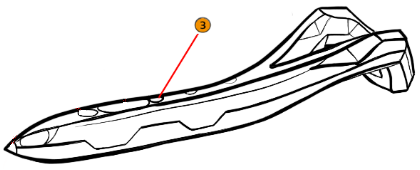
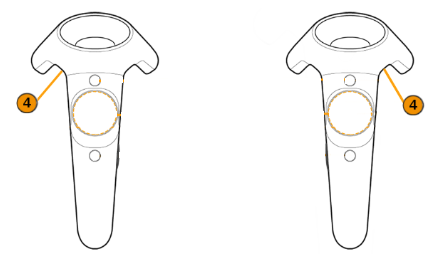
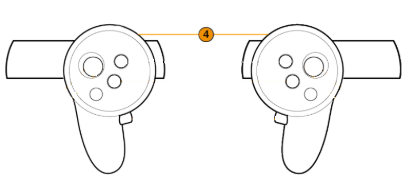
For the tools and their location, please refer to these images:
 xR Home Menu
Press this button, the Menu button on most controllers, to display the xR Home Menu or hide it. See xR Home Menu for more information.
 Teleport
Press the trackpad to teleport yourself to different places in a scene by touching the controller pad to cast a teleport arc, then pressing the pad to teleport. Teleport to different locations in the scene, into a car, or onto a car. See Teleporting for more information.

 Tooltips
Press this button, the grip on most controllers, to turn the displayed controller tooltips on or off.
 Pointer
Squeeze the trigger to activate a beam and use it to point and indicate areas of interest.

Custom Controls
Use the following Python functions to switch the mapped interaction of the trigger and trackpad/thumbstick.
In
vrImmersiveInteractionService, usesetControlMode(ControlMode)For
ControlMode, you can useTriggerPointerorButtonPointer.
For example, for the VIVE controller, if you wanted the trackpad/thumbstick to be mapped to the pointer and the trigger to be teleport, you would use:
setControlMode(ButtonPointer) and setControlMode(TriggerTeleport).
See Working with Controllers and Trackers for how to get a VR device, attach geometry to it, and set virtual buttons on trackpads using Python.