Visualize the Flow
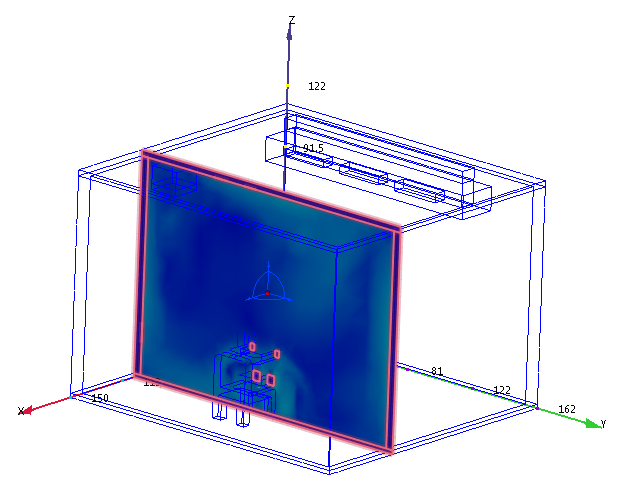
At this point, we are looking at the exterior wall surfaces. They appear blue because the current result is velocity magnitude, and the velocity on the walls is 0 in/s.
We need to go inside the model to see what's really happening.
To do this, we'll use some powerful visualization tools: results planes and iso surfaces. With these we can visualize the flow inside the office.
To start, click Results (tab) > Results Tasks (panel) > Planes.

To create a plane, click Add on the Planes context panel.

You should see this:

We need to see the flow around the occupant. To move the plane, left click on the axis in the middle of the plane, and drag it toward the occupant.

You should see this:

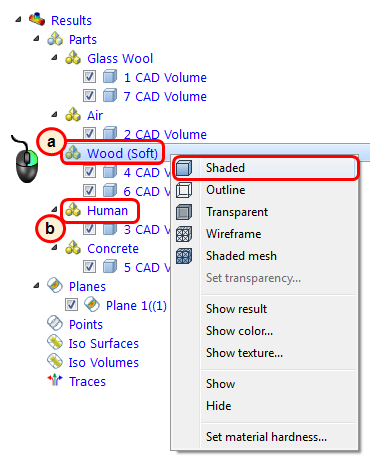
To improve the view, we should shade the occupant and furniture:
Right click on Wood (Soft) in the Results > Parts branch of the Design Study bar, and click Shaded.
Right click on the Human material, and click Shaded.

You should see this:

The colors are nice, but we need vectors to really understand the flow! To show vectors, click Results (tab) > Results Tasks (panel) > Planes, and click Edit from the Planes context menu:

On the Plane Control dialog, do the following:
From the Appearance menu, select Outline.
Click the Vector settings tab.

On the Vector settings tab, do the following:
From the Results menu, select Velocity Vector.
Make the vectors a little bigger by dragging the Length slider to the right.
Increase the vector density by dragging the Grid spacing slider to the left.

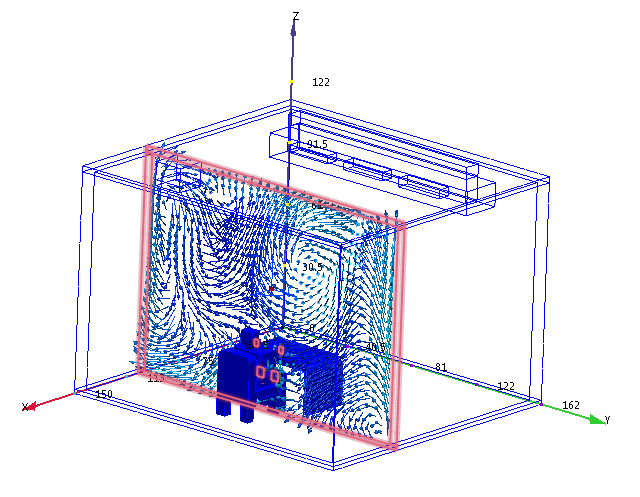
You should see this:

As you drag the plane around the model, you can see how the air flows around the furniture and occupant.