Visualize the Flow with Vectors
In this step, we enable vectors to better understand the flow through the valve.
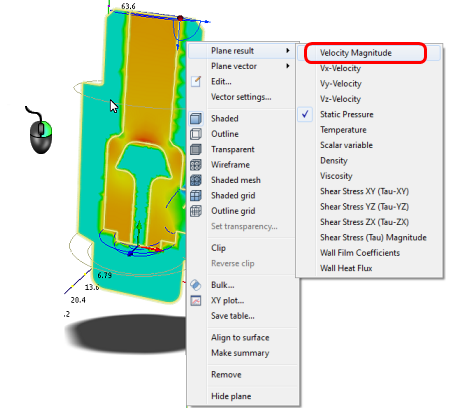
Let's first change the result back to Velocity Magnitude. Right click on the plane and selecting (Plane result > Velocity Magnitude):
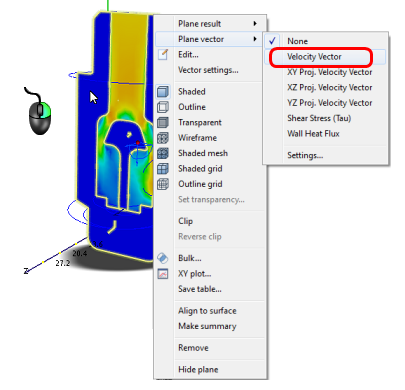
To show vectors, right click on the plane, click Plane vector, and Velocity Vector:
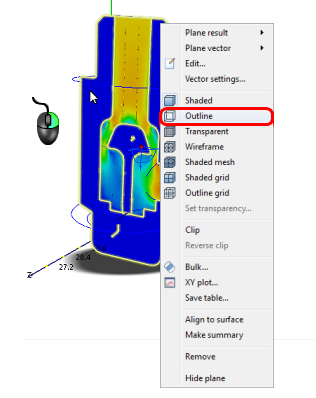
To see the vectors better, right click on the plane, and click Outline:
You should see this:
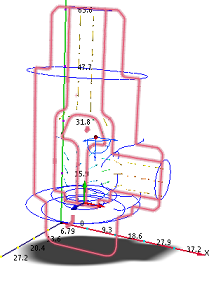 Note: There are not enough vectors to see much, yet...
From the Planes context panel, click Vector Settings:

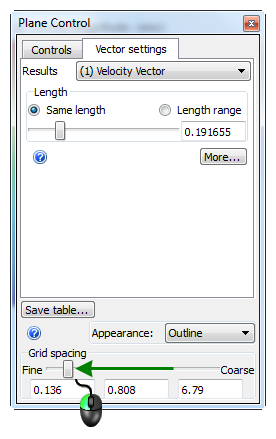
On the Plane Control dialog, drag the Grid spacing slider toward Fine:
You should see this:
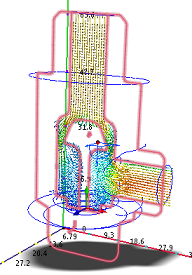 Note: That's better, but we should make the vectors bigger:
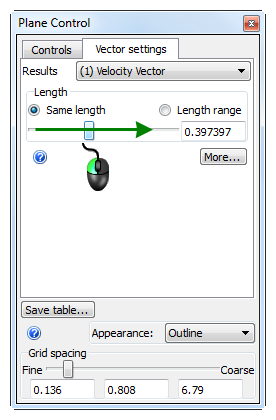
On the Plane Control dialog, drag the Length slider to the right:
You should see this:
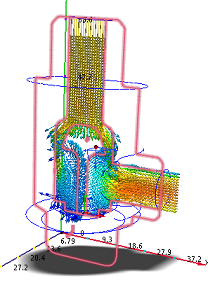 Note: We should hide the outline around the plane...
Click the drop down menu on the Planes context panel, and uncheck Show Outlines:

The view should look like this:
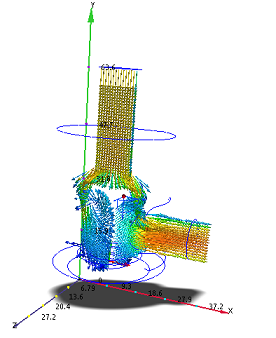
The vectors show that the flow in our valve is very active. It accelerates around the poppet, circulates downstream of it, and separates off of the discharge pipe on the inside corner.
You might want to take a minute to review these steps. With them, you can create a results plane, change its position and appearance, and control how the vectors look. Additionally, you can turn off the outline around the plane.