To upload documents to Autodesk Docs, you can drag and drop them to the connected drive using Windows Explorer.
Using this method, referenced files, such as xrefs and data shortcut references, are detected. The referenced files may be uploaded to a Related data folder so links can be recreated. For more information, see Best Practices for Migrating an Existing Data Shortcut Project to Autodesk Docs.
- Open Windows Explorer and navigate to the target location in Autodesk Docs.
The connected drive for Autodesk Docs is indicated by a
 icon. An account within the connected drive and the project within the account are indicated by a hub icon
  .
.
- Open a second Windows Explorer window and navigate to the folders and the documents you want to upload.
- Select the folders and documents and then drag and drop the selection into the target location from Step 1.
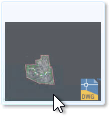
- As you hold down your cursor and drag a document over the connected drive, a preview will be displayed.
- After you release your cursor, a message box will be displayed while the documents and folders are being copied.
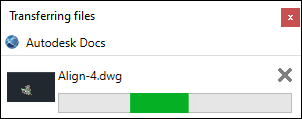 Note: The Desktop Connector activities are displayed on the home screen. For more information, see Docs - Home Screen and Activities.
- As you hold down your cursor and drag a document over the connected drive, a preview will be displayed.
For more information, see Work With Documents In Autodesk Docs in the Autodesk Docs Help.
Note: It is not supported to have some files in a data shortcut project stored in Autodesk Docs and some files stored locally or on a LAN. To work in Autodesk Docs, all of the project files need to be in Autodesk Docs.