3ds Max gives you a wide variety of options for designing materials. If you’re new to designing and using materials, read these topics for a general idea about working with materials, and what the most important options are.
Materials make objects look more convincing.
Workflow Outline
In general, when you create a new material and apply it to an object, you follow these steps:
- Choose the renderer you plan to use, and make it the active renderer.
It is a good idea to design materials with a particular renderer in mind, as the materials available depend on the renderer.
- Choose the material type.
- When you have decided on a material type, open the Slate Material Editor.

Slate Material Editor window
Left: Material/Map Browser panel
Middle: The active View (you can set up more than one View)
Lower right: Parameter Editor panel
- Drag a material of the type you want from the Material/Map Browser panel to the active View.
3ds Max displays the material as a node in the active View.
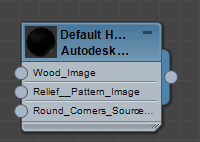
Example of a material node
- Double-click the material node to display its parameters in the Parameter Editor panel.
- Use the Parameter Editor to enter settings for the various material components: diffuse color, glossiness, opacity, and so on.
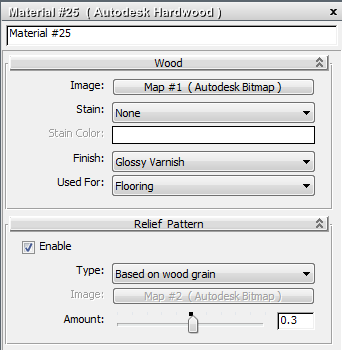
Material parameters in the Parameter Editor
(Double-click a node to display the node’s parameters)
- Assign maps to the components you want to map, and adjust the map parameters.
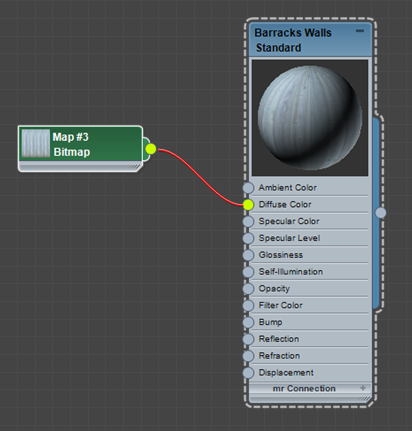
You assign a map to a material by “wiring” the map and material nodes together.
- On the Slate Material Editor toolbar, click
 (Assign Material To Selection) to apply the material to the object.
- Also on the Slate Material Editor toolbar, if the material is mapped, turn on
 (Show Shaded Material in Viewport) so you can view the mapping interactively.
- If necessary, adjust the UV mapping coordinates in order to orient maps with objects correctly.
- Save the material.