Shading The Car using the Standard Surface Shader
Now the fun part. Let's start adding materials to our model.
Car Paint
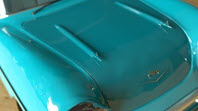
- Create a standard_surface shader and assign it to the car body panel geometry. Rename it to Car Paint. Change the color of the base_color to a blue color and increase the specular_weight to 0.3.
 |
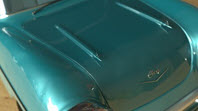 |
| Car paint | Metallic car paint (increase metalness) |
Glass
- Ensure that opaque is disabled for any geometry that requires transparency in Arnold. Select the geometry that you wish to make glass and disable opaque in the Arnold section of the attribute editor.
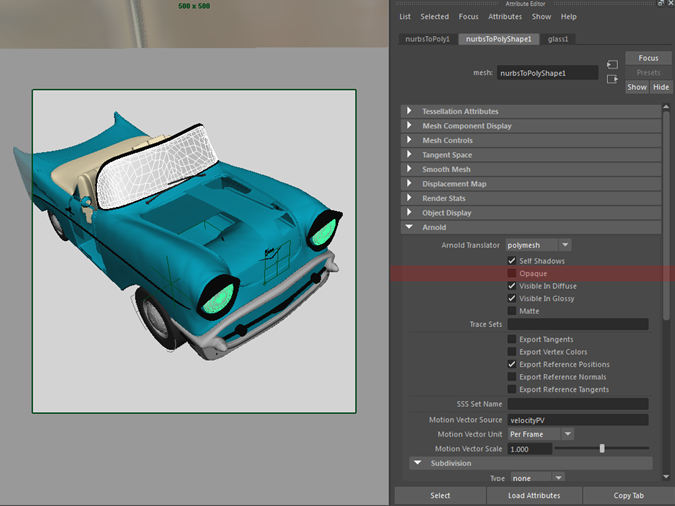
Disable opaque for any glass surfaces
Use Override Sets when applying Arnold attributes to many objects in your scene.
- Create another Standard Surface shader and rename it to Glass Windscreen. Apply it to the windscreen glass geometry. Lower the base_weight and specular_weight to 0. Change the specular_ior to 1.5 (the value of real glass) and increase the transmission_weight to 1.0. Change the transmittance_color to a light blue. This will give the windscreen glass a light blue tint.
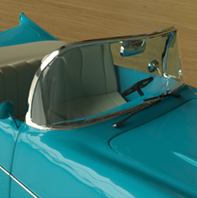
Create a glass shader for the windscreen
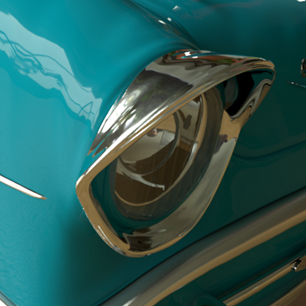
- Assign the Chrome material that we used earlier for the sphere to the headlights and trim surfaces.
Rims
Next, we will create a soft satin metal material. Create a new Standard Surface shader and assign it the wheel rims and bumpers. Rename it Satin Metal. Increase the metalness to around 0.8 and decrease the specular_weight to 0.7. Increase the specular_roughness to around 0.3 to blur the reflections.
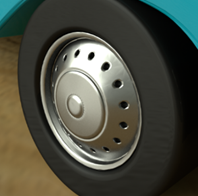
Create a satin metal shader for the wheel rims
Plastic
- Assign another standard_surface shader to the seats. In this case, we will create a soft plastic look to the seats. Rename it to Soft Plastic. Change the base_color to a light beige. Set the specular_weight to 0.2 and the specular_roughness to around 0.6.
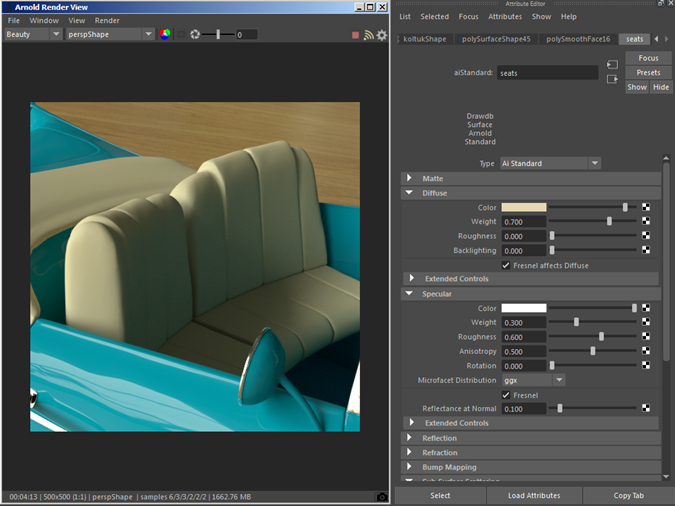
Plastic shader for the seats
- To get a softer look to the material we can add some sub-surface scattering to it. This will give the impression that the seat material is absorbing more light. Scroll down to Subsurface scattering and increase the sss_weight value slightly to 0.1. Increase the sss_radius value to get a softer looking plastic.
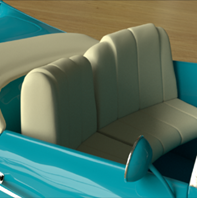
Add sub-surface scattering to the plastic seats
- Create another Standard Shader and assign it to the windscreen wipers and steering wheel. Rename it Glossy Plastic. Change the base_color to a dark gray color. Change the specular_color to a mid gray and change the specular_weight to around 0.3.
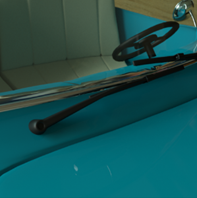
Glossy plastic material assigned to the windscreen wipers
Tires: Displacement
For the tires, we will you use the Maya displacement shader in combination with a standard_surface shader. Duplicate the Glossy Plastic material and rename it to Plastic Tire. Assign it to the tire geometry. Select the Shading Group node for the Plastic Tire node and middle drag the displacement node onto the Displacement mat. slot of the Shading Group node in the attribute editor as in the image below.
We now need to tell Arnold which Subdivision Type to use when displacing the tire geometry. Select the tire geometry and open the attribute editor. Under Arnold, you should see subdivision_type. Change it from none to catclark. Increasing the subdivision_iterations will improve the refinement of the displacement effect. In this case, it has been increased to 1.
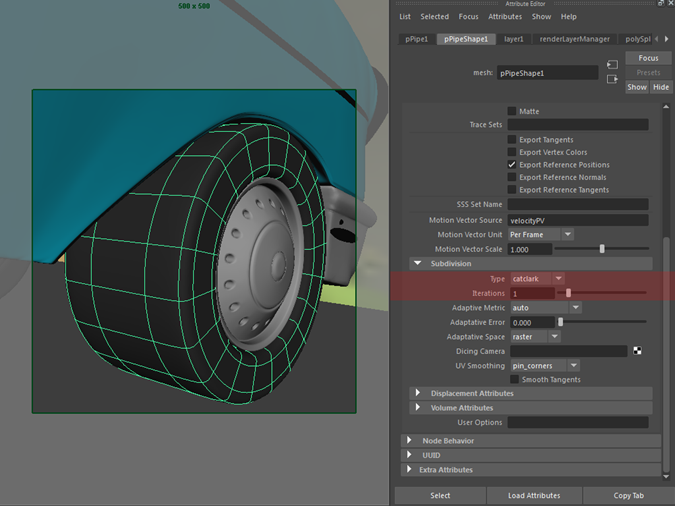
Change the subdivision settings in the Arnold attributes of the wheel geometry
- Select the displacement node and assign a map texture to the Map slot of the displacement node. In this case, a ramp with a cylindrical_projection node has been used. Increase the displacement_scale to around 0.01 and do a test render. The IPR render will not update any changes made to the displacement. You will need to re-render each time you make a change to the displacement_scale.
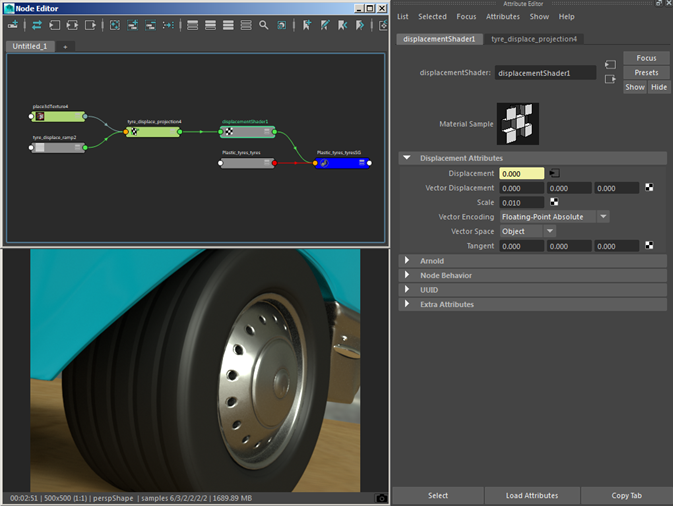
Displacement shader assigned to tires