Preparing the HDRI
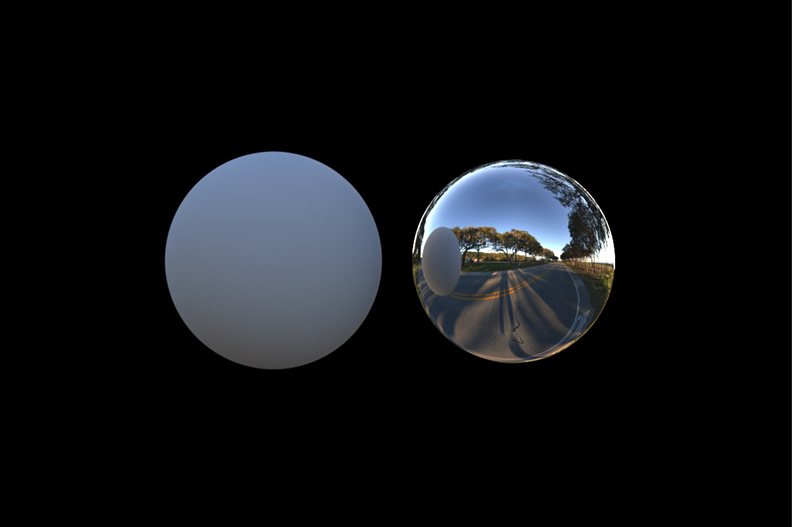
First, we will start off by testing the HDR map. Rather than start rendering the car straight away (which would take longer to render), we can render two spheres. One sphere to test the lighting and the other to test glossy reflections.
Assign a standard_surface shader to one of the spheres as seen in the image below. Reduce the specular_weight to 0. This will be used to test the lighting and shadows. Depending on the source of the HDR map, the exposure of the lighting in the scene may need to be increased or decreased. This gray sphere can also prove useful when trying to match on set lighting conditions (a gray and chrome sphere can be used on set for matching lighting conditions in 3D later on).
Assign another standard_surface shader to the other sphere. To make this material appear like chrome, increase the metalness to 1, increase the base_weight to 1 and reduce the specular_roughness to 0.
Create a skydome_light and connect the HDR map to the skydome_light.color. The HDR map we are using is in lat-long format. Increase the resolution to match the larger width resolution of the HDR map. In this case, it is 4096. By default this is set to 1000 which means if you are using environment maps larger than 1000 pixels you should adjust the resolution in the skydome_light accordingly. For example, if your environment map is 3000*1500 pixels, the skydome_light.resolution should be set to 3000 and so on).
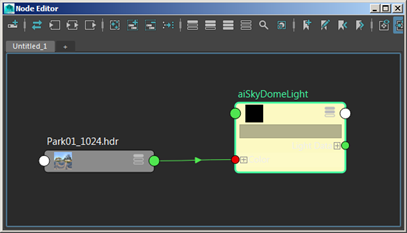
Hdr map connected to the color attribute of the skydome_light
- Render the scene, and you should see the resulting image below. If the white sphere looks too dark, you may need to increase the exposure. In this case, the exposure has been increased to two.