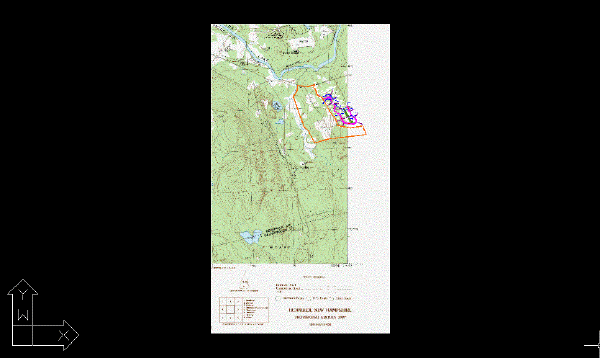
In this exercise you use the Quick Insert method to insert a color image of a USGS quad sheet.
The Quick Insert method is one of several options for specifying the insertion point, rotation, and scale when you insert an image. This method uses the default correlation (World file, Resource file, AutoCAD Raster Design toolset defaults etc.) to insert the image, rather than prompting you to specify or modify values.
The Quick Insert method is useful when you want to insert images without changing any of the correlation values.
Related Exercises
Before doing this exercise, ensure that AutoCAD Raster Design toolset options are set as described in the exercise Exercise A1: Setting AutoCAD Raster Design Toolset Options.
Exercise
- In the
..\Program Files\Autodesk\ApplicationPlugins\RasterDesign2024.Bundle\Contents\Tutorials\Tutorial5 folder, open the drawing file
Map_07.dwg.
Choose an image to insert
- To display the
Insert Image dialog box, on the ribbon, click
Raster Tools tab
 Insert & Write panel
  Insert
 .
.
- In the Insert Image dialog box, from the Files of Type list, select TIFF.
- If necessary, navigate to the ..\Program Files\Autodesk\ApplicationPlugins\RasterDesign2024.Bundle\Contents\Tutorials\Tutorial5 folder.
- Select the image file henniker_01.tif.
- On the Views menu verify that Preview and Information are checked. This displays a preview window and a list of information about the image.
- Review the values shown for each parameter.
Insert the image
- Under Insert Options, select the Quick Insert option. Also verify that Show Frames Only and Zoom To Image are not selected.
- Click
Open to insert the image.
This image is a GeoTIFF file that contains correlation data. AutoCAD Raster Design toolset uses these values when it inserts the image.
View the image
- If the vector line work is not displayed on top of the image, enter REGEN to restore the display order.
- On the ribbon, click
View tab
 Named Views panel
  View Manager
 . Then expand the
Model Views node and select the view named
TU_henniker, click
Set Current, and click
OK.

- Close the drawing without saving changes.