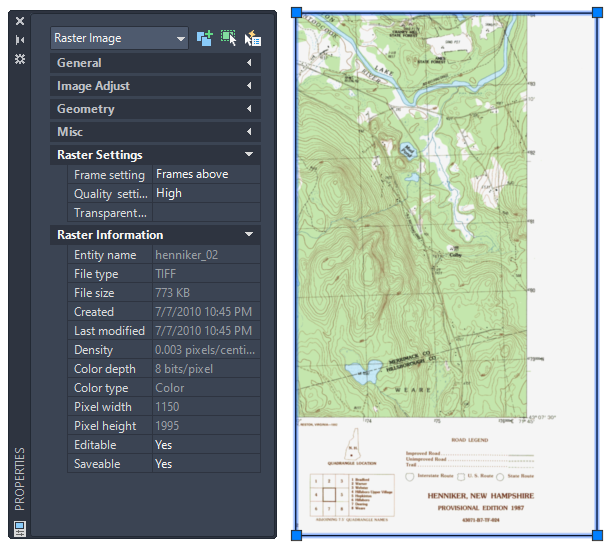
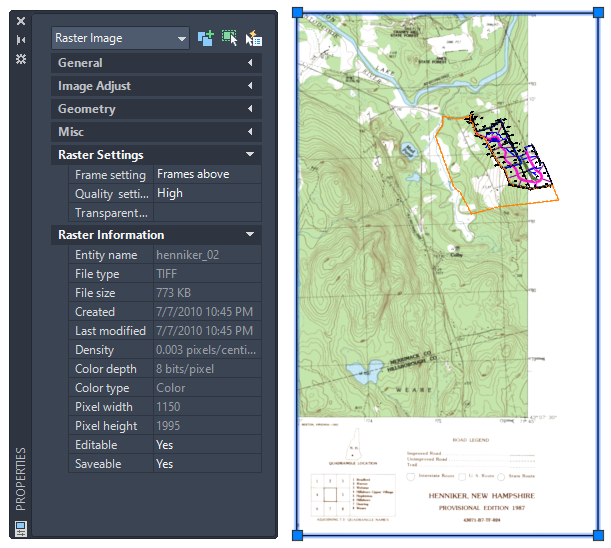
In this exercise you learn about making an image color transparent.
You can specify one transparent color in each image. Then all parts of the image with that color (or shade of gray) can be made opaque or transparent. This is useful if you want to see information displayed behind the image. In bitonal images, the transparent color is always the background color of the image.
Related Exercises
Before doing this exercise, ensure that AutoCAD Raster Design toolset options are set as described in the exercise Exercise A1: Setting AutoCAD Raster Design Toolset Options.
Exercise
- In the ..\Program Files\Autodesk\ApplicationPlugins\RasterDesign2024.Bundle\Contents\Tutorials\Tutorial5 folder, open the drawing file Map_08.dwg.
- Select the image frame of the USGS quad sheet.
- Right-click and select
Properties to display the
Properties palette.
The Properties palette contains a long list of properties; use the vertical slider to scroll up and down.
Specify the background transparency properties for the image
- Under Misc, click Background Transparency and change the value to Yes.
- Under Raster Settings, click Transparent Color, then click the pick button [...] to display the Transparent Color dialog box.
- Click
Select, click anywhere in the white border area of the USGS image, then click
OK.

Note that the white border becomes transparent, along with any white areas within the map.

- Close the Properties palette.
- Close the drawing without saving changes.