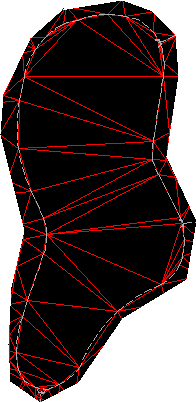
In this exercise, you will delete TIN lines from a surface.
The TIN lines fall within a pond. By removing these lines, you can prevent contours from being drawn through the pond area.
This exercise continues from Exercise1: Swapping TIN Edges.
Delete TIN lines
- Open Surface-4B.dwg, which is located in the tutorials drawings folder.
In this drawing, the surface is displayed as TIN lines overlaid on an externally referenced landbase image.
- Zoom in to the rounded pond area in the upper left of the surface.
The lines that cross the pond area

- In Toolspace, on the Prospector tab, expand the surface
 Definition collection, and right-click the
  Edits item.
 - Click .
On the command line, you are prompted to select an edge (line) to remove.
- Click an edge that crosses the surface of the pond. Press Enter.
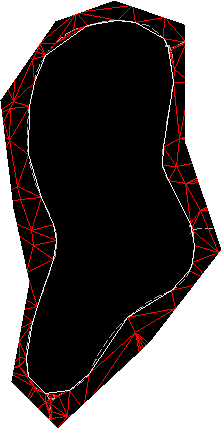
The edge is removed and an interior border is created, following the adjacent TIN lines.
- Repeat the Delete Line command and remove all TIN lines that cross the pond surface. Tip:
Enter C on the command line to use crossing selection during the delete line command.
The revised triangulation and the interior border

The edits are added as Delete Line operations to the Edits list view in Prospector.
Note:The Description column in the list view provides the coordinates of the vertices for the edge that was deleted.
To continue this tutorial, go to Exercise 3: Adding a Hide Boundary.