You can see the area of the enterprise zone that lies within the flood zone. However, it is hard to identify specific streets without a road map. In this lesson, you add a road layer and label it with street names. That way, you can identify the streets in the flood zone more easily.
Note:
This exercise uses the AnalyzeMapOverlay.dwg map you created and modified in Exercise 2: Use an overlay to compare the two layers.
To add roads to the map
-
Click
 .
.
- In the Data Connect window, under Data Connections By Provider, select Add SHP Connection.
- Click
 next to the Source File Or Folder field and navigate to the folder where you copied the sample files.
 - In the Open dialog box, select ROADS.SHP and click Open.
- In the Data Connect window, click Connect.
- In the Data Connect window, click Add To Map.
- Close the Data Connect window.
To style the roads in the map
- In Display Manager, select the Roads layer and click Style.
- In the Style Editor, click the Style entry.
- In the Style Line dialog box, change the road color to black. Click Apply and then Close.
- In the Style Editor, click the Feature Label entry.
- Click Add Label.
- For Text Content, select ST_NAME. Click Apply and then Close.
- Close the Style Editor.
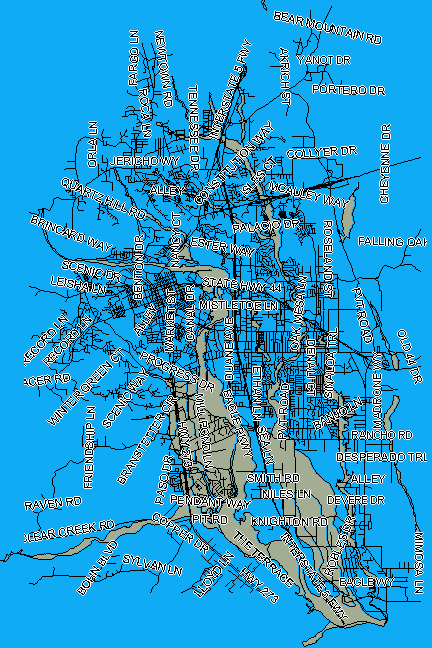
The roads display their street names and lie on top of the overlay layer.
To continue this tutorial, go to Exercise 4: Add emergency response points.