Just before a marker disappears from occlusion, it may be partially occluded, causing noise, peaks, or other jumps in the capture data. During playback, you may notice that the marker appears to be moving normally, then it begins to fly off on an incorrect tangent. The Quality Bar shows this as a black area. These normally appear near the end of a data segment.
There are two methods of correcting bad data segments:
- Split and remove the part of the data segment containing the peak, noise, or jump. This method is used for removing bad data within a segment.
- Change the start or end of the data segment to remove the bad data. This forces MotionBuilder to interpolate the data before or after the data segment, usually resulting in better, more accurate movement, especially within a Rigid body.
Using Gap Interpolation to Remove Noise
Gap interpolations are also used to interpolate between two segments where there is noise. The segment that contains the noise is split, then removed. Gap interpolation reconnects the two segments.
To split the segment:
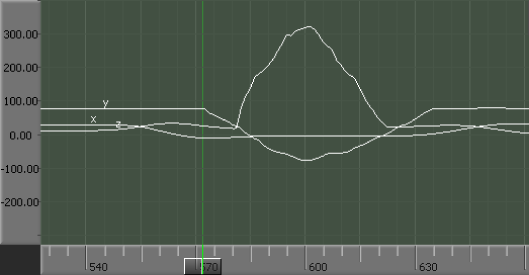
- Place the Timeline indicator at the beginning of the noise as shown.

Timeline indicator positioned at the beginning of the noise
Because the Timeline indicator is placed in a segment, the Segment menu is activated in the Optical Options pane.
- Click Split Segment in the Segment menu. The segment is split into two separate segments.
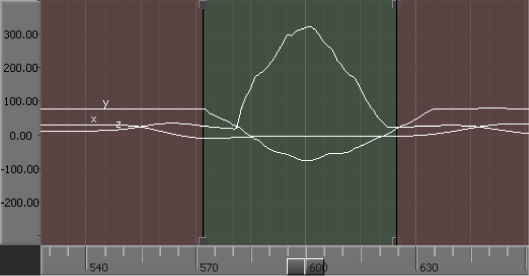
- Place the Timeline indicator at the end of the noise in the new segment, and split this segment as described in step 1 and 2. You now have three segments with the center segment containing the noise to be removed.

Two segments created
- Place the Timeline indicator inside the segment to be removed and click Remove Segment in the Segment menu.
A gap is created. By default, its interpolation is set to Auto-Rigid Body which calculates the data based on the Rigid body.
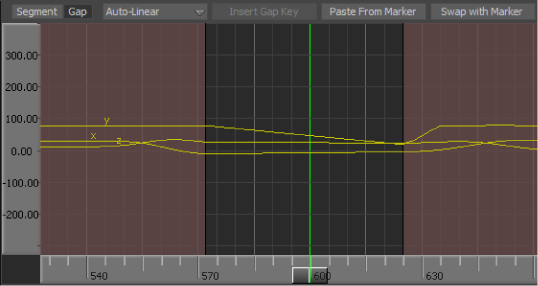
If you want, you can change the Gap Interpolation. For example, the following figure shows the gap using Auto-Linear interpolation.
Gap interpolated using Auto-Linear interpolation