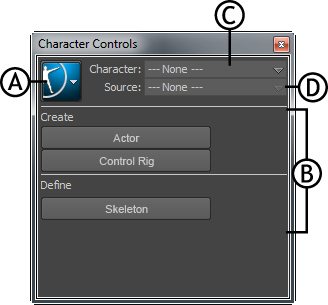
The unified Character Controls window help to perform multiple character setup tasks.


Character Controls window A. Character Controls menu button B. Start pane C. Character menu D. Source menu
Start pane
The buttons in this pane help you to quickly begin the character setup process. For example, defining a skeleton, creating a HumanIK skeleton, or importing a motion capture example into a scene.

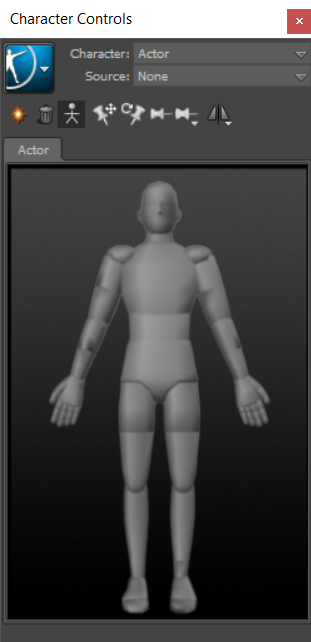
 With the Actor asset

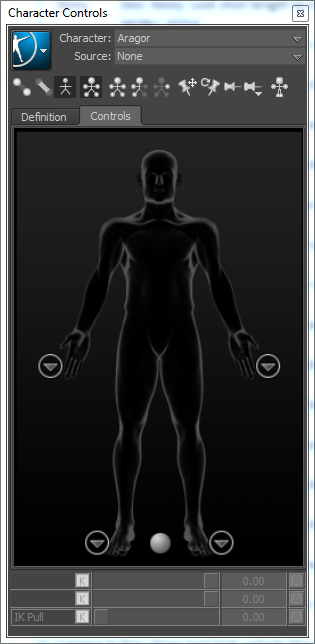
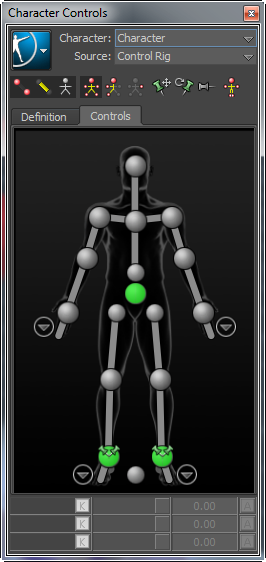
With the Character asset
The following table provides a brief overview of tasks that you can perform using the Character Controls:
| To... | Do this |
|---|---|
| Create a Control rig |
Select Control Rig from the Source menu or Select > Create > Control Rig.
|
| Change the appearance of rig effectors | Select
 > Edit > Controls > Rig Look, then select an effector style.
|
| Change to Full Body keying and manipulation mode | Click
 . .
|
| Change to Body Part keying and manipulation mode | Click
 . .
|
| Display the skeleton of the character | Click
 . .
|
| Set the animation source for the current character | Select another HumanIK defined character by name from the Source menu. |
| Create an auxiliary or pivot effector | Right-click an IK effector cell and select Create Aux Effector or Create Aux Pivot. |
| Remove an auxiliary or pivot effector | Select the effector in the scene and press the Delete key. |
| Pin an effector in Translation | Select the corresponding IK effector cell, then click
 . .
|
| Pin an effector in Rotation | Select the corresponding IK effector cell, then click
 . .
|
| Temporarily release all pinning | Click
 . .
|
 Enable Symmetry (Translation, Rotation, and Scaling) Enable Symmetry (Translation, Rotation, and Scaling)
|
Click

|
| Bake the active Source onto the current Character |
Select
or Select
|
| Edit retargeting parameters in the Attribute Editor | Select
 > Edit > Definition > Edit Properties.
|
