You can base the rest roughing tool on the existing roughing tool, although it needs a smaller diameter and larger tip radius.
This example uses a 10 mm (3/8 inch) tip radiused tool.
- On the Tool page of the Model Rest Area Clearance dialog (of the RestRoughing toolpath), click the Edit
 button.
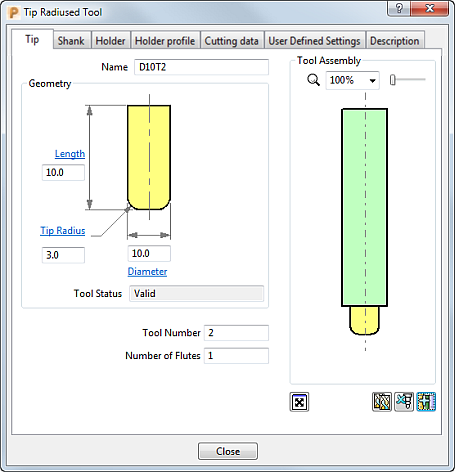
- In the Tip Radiused Tool dialog, click
 to create a new tool entity based on the existing roughing tool. It is given the default name of D16T1_1.
 - Rename the tool to D10T2.
- In the other fields, enter:
- Length: 10 mm
- Tip Radius: 3 mm
- Diameter: 10 mm
- Tool Number: 2
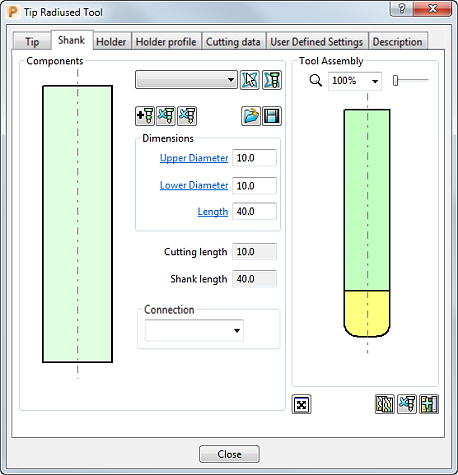
- Select the Shank tab and change the values to:
- Upper Diameter: 10
- Length: 40
The Lower Diameter automatically defaults to the Upper Diameter. This can be accepted for the current tool.
- Click Close.
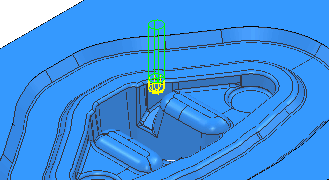
To see the rest roughing tool more clearly, click the light bulb icons for the roughing toolpath and tool, (toggle them to
 ). This undraws (but does not delete) the entities from the project.