Route piping.
To set node object snap mode for pipe routing
-
 On the status bar, right-click Object Snap.
 - In the shortcut menu, click Settings.
- Check Node.

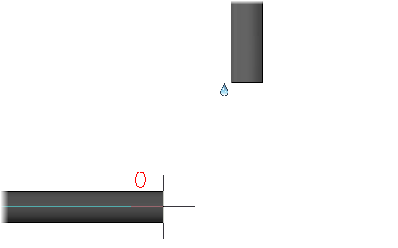
When you click in the drawing to specify a point near a pipe end or equipment nozzle, you will snap to the center of the port.
- Click OK.
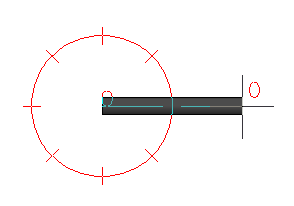
To continue a pipe line
- In the drawing area, select a pipe that has an open port.
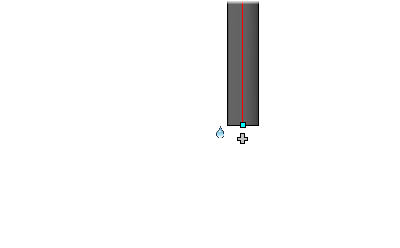
- Click the Continuation grip at the end of the selected pipe.
- In the drawing area, click to specify the next point of the pipe.
- Press ENTER to finish routing pipe.
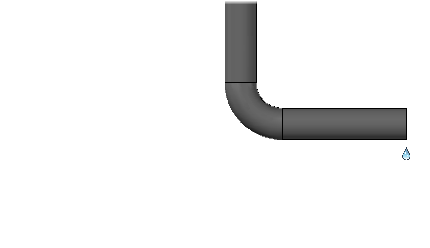
To finish a route at an open port
- This procedure begins with pipe routing in-progress.
If you are not at the Specify Next Point prompt do the following:
- On the ribbon, click Home tab
 Part Insertion panel Route Pipe.
 - In the drawing, click to specify a start point.
- On the ribbon, click Home tab
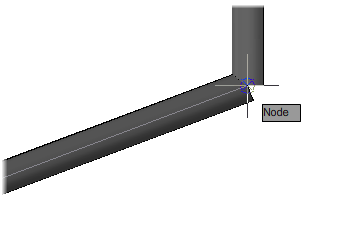
- Hold down SHIFT and right-click in the drawing area, click Node.
- Move your mouse over an open port. Click the Node object snap.
If a path to the open port cannot be found, you cannot continue this procedure. You can use precision placement to align the pipe route with the port (For example: route the pipe to a matching elevation) and start this procedure again.
- If multiple solutions are available do the following:
- At the command prompt, enter n (Next).
- Continue pressing ENTER until the solution that you want to use displays.
- At the command prompt, enter a (Accept).
- At the command prompt, enter n (Next).
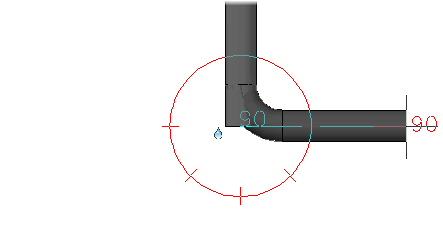
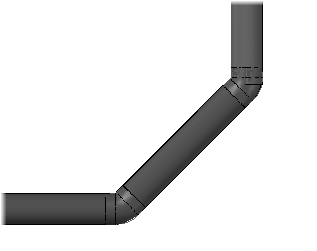
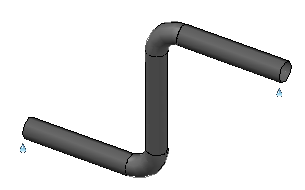
To change elevation while routing
- This procedure begins with pipe routing in-progress.
If you are not at the Specify Next Point prompt do the following:
- On the ribbon, click Home tab Part Insertion panel Route Pipe.
- In the drawing, click a start point.
- On the ribbon, click Home tab
- On the ribbon, in the Elevation & Routing Line panel, click the down arrow to expand the panel.
- In the Elevation box, enter an elevation (for example: 36).
- In the drawing, click to specify a point at the new elevation.
- Continue clicking in the model to specify any additional points of the pipe.
- Press ENTER to finish routing pipe.
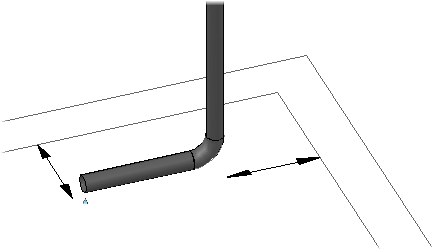
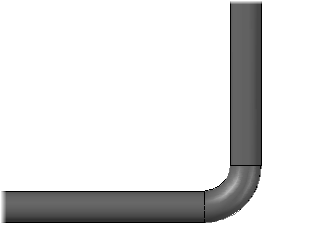
To route with offset alignment
- On the ribbon, click Home tab Elevation & Routing Line Center (current alignment).
- Click a justification from the drop-down list (for example: Bottom Left).
- On the ribbon, in the horizontal Offset box, enter a horizontal offset (for example: 24).
You can use a negative number to offset in the opposite direction.
- On the ribbon, click Part Insertion panel Route Pipe.
- In the drawing, click to specify a start point that is aligned with another object (for example: at a wall).
- In the drawing, click to specify the next point of the pipe (for example, at a wall corner).
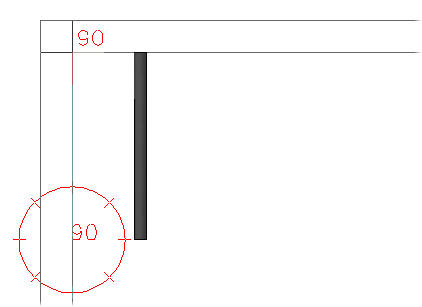
- At the command prompt enter p (plane). In the drawing, click to specify the next point of the pipe.