Model Navigation with the ViewCube
This topic describes several procedures for changing the view orientation with the ViewCube.
Reorient the Current View
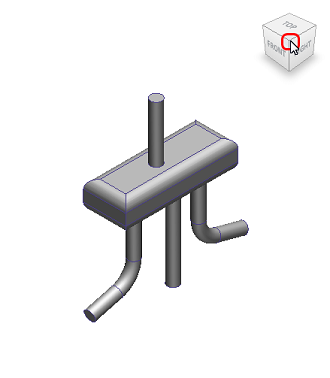
Click one of the faces, edges, or corners on the ViewCube.

You can also click and drag the ViewCube to reorient the view of a model to a custom viewpoint other than one of the twenty-six predefined viewpoints. As you drag, the mouse pointer changes to indicate that you are reorienting the current view of the model. If you drag the ViewCube close to one of the preset orientations, and it is set to snap to the closest view, the ViewCube rotates to the closest preset orientation.
The outline of the ViewCube indicates the current orientation type: freeform or constrained. When the ViewCube is in a freeform orientation, not orientated to one of the twenty-six pre-defined views, its has a dashed outline. When the ViewCube is constrained to one of the pre-defined views, its outlined is a solid continuous line.
To View an Adjacent Face
While viewing a model from one of the face views, four orthogonal triangles are displayed near the ViewCube. To rotate to an adjacent face view, click one of these triangles.

To Roll Face Views
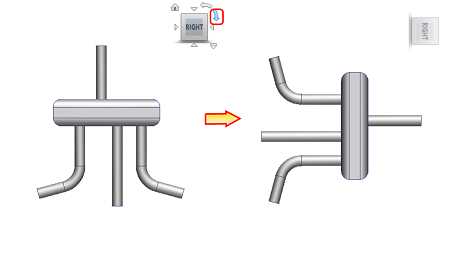
When you view a model from one of the face views, two roll arrow buttons appear near the ViewCube. Use the roll arrows to rotate the current view 90 degrees clockwise or counterclockwise around the center of the view.

Additional ViewCube Tasks
To disable animated transitions
By default, when you click a pre-defined view on the ViewCube (face, edge, or corner), the model moves to the new orientation smoothly as an animation. To snap the model instead of animate it to the new orientation, do the following:
- Right-click the ViewCube, and click Properties.
- Uncheck Use Animated Transitions when Switching Views in the When Clicking on the ViewCube group.
- Click OK.
To disable automatic model fit-to-view
By default, every time you change the model orientation with the ViewCube, the model automatically refits to the graphics window. To disable this behavior and preserve the current model size, do the following:
- Right-click the ViewCube, and click Properties.
- Uncheck Fit-to-View on View Change in the When Clicking on the ViewCube group.
- Click OK.
To control the Front view
- To define the front view, right-click on the ViewCube and click Set Current View as Front.
- To restore the front view, right-click on the ViewCube, and click Reset Front.