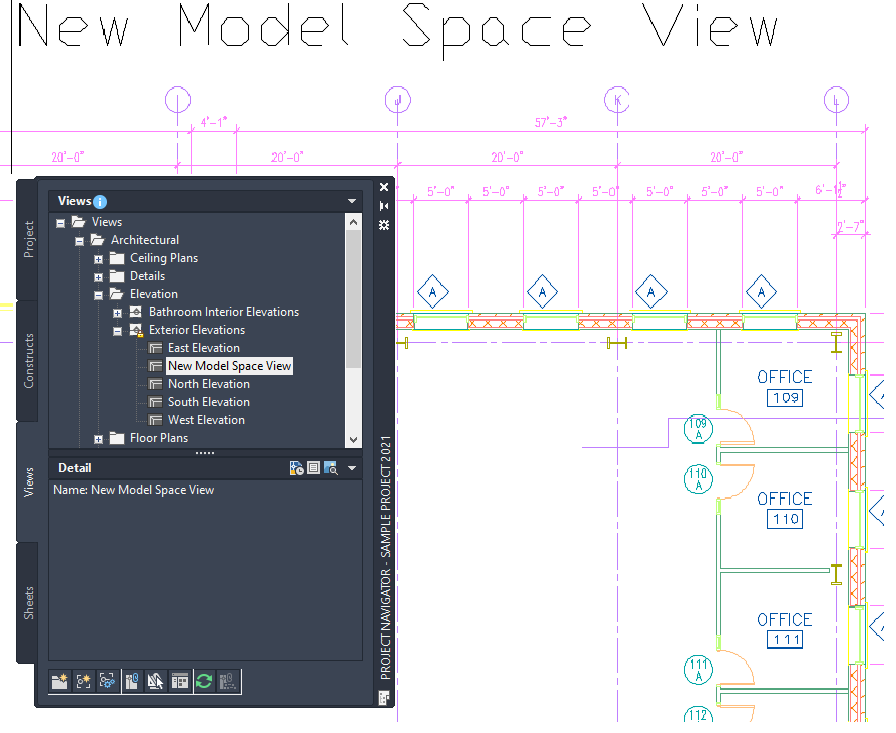
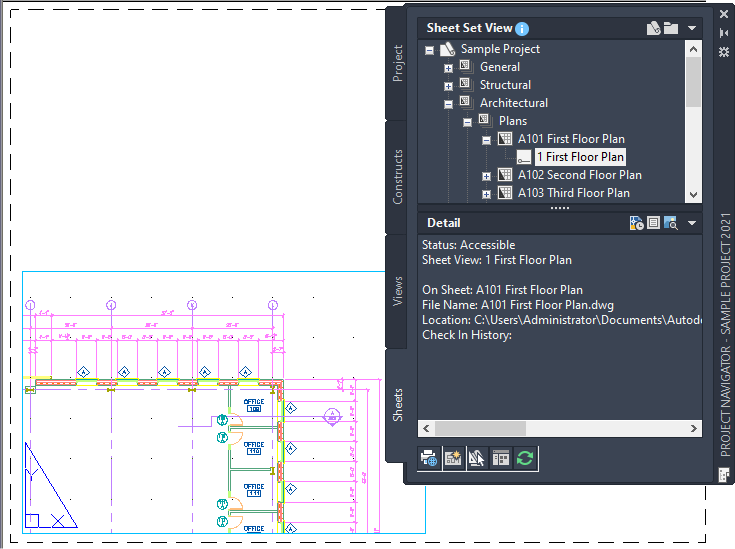
Use this procedure to place a model space view onto a sheet, creating a sheet view. A sheet can contain any number of sheet views.
When a model space view is placed on a sheet, it retains its own drawing scale and layer settings but uses the display configuration of the view drawing. The view direction of the sheet view is determined by the sheet.

Model space view of plan detail

Sheet view placed on sheet
- On the Quick Access toolbar, click Project Navigator
 .
. - On the Sheets tab, click
 (Sheet Set View) on the title bar.
 - In the Sheet Set view, locate the sheet into which you want to reference the model space view, and open it using one of the following methods:
- Select the sheet, right-click, and click Open.
- Double-click the sheet.
The drawing containing the sheet opens in the drawing area with the selected sheet as the active layout.
- On the Project Navigator palette, click the Views tab.
- Use one of the following methods to place the desired model space view on the sheet:
- Select the model space view, right-click, and click Place on Sheet. Then, specify an insertion point on the sheet.
- Select the model space view, and drag it from the Project Navigator to the drawing area of the sheet.
You can disable image previews to improve performance while dragging a view from the Project Navigator palette.
You can change the scale of the resulting sheet view by right-clicking and selecting a different scale before defining the insertion point. After creating the sheet view, you can change its scale on the Properties palette.
Note: Sheet views are inserted with their own layer key. By default, the sheet view layer is G-Anno-Nplt.