You map geometry to object types to enable AutoCAD Mechanical toolset to recognize the various constituents of the content you create.
Why map geometry to object types?
When you insert content in a drawing, if Automatic Property Management is turned on, the program intelligently reacts to the objects it recognizes. For example, in a hide situation, AutoCAD Mechanical toolset automatically ignores centerlines, while contour lines are shown as hidden edges (Intelligently hides appropriate objects only).
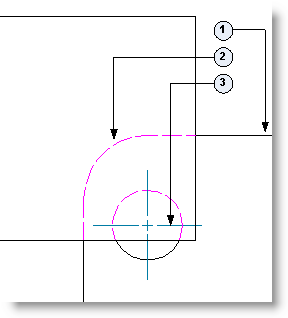 |
Legend
|
When geometry is mapped to object types, AutoCAD Mechanical toolset is able to recognize the geometry as a particular object, and apply Object Property Settings to it. Object Property Settings are a set of rules specified in AMOPTIONS, which describe properties and behaviors of different object types.
All AutoCAD Mechanical toolset commands check Object Property Settings before execution and honor the rules specified there. Therein lies the secret behind the object recognition intelligent behavior exhibited by AutoCAD Mechanical toolset.
What happens if you do not map geometry to object types?
Not mapping a geometry to object types does not in anyway prevent a part or feature from being inserted into the drawing area. If you do not map an object type to geometry, AutoCAD Mechanical toolset is unable to recognize what type of an object the geometry represents. Hence it is unable to apply Object Property Settings to that geometry. This means that AutoCAD Mechanical toolset is not able to react intelligently to that geometry.
How do you map the object type?
You map geometry to an object type by drawing the geometry on the layer reserved for that object type. In the Content Editor, these layers are referred to as Content Editor Layers. The Content Editor tab on the ribbon provides buttons to set any one of the frequently used Content Editor Layers as the current layer. To access all Content Editor layers, use the AMCLAYER command.
You can draw directly on a specific Content Editor Layer by making it the current layer, before your draw. Alternatively you can draw on any layer and move the geometry to the desired Content Editor Layer later.
Content Editor Layers are created on demand. Hence, sometimes they are not listed in the Properties palette, the LAYER command, and the AMLAYER command. In this case, use the AMCLAYER command to set the desired Content Editor Layer as the current layer. After that, the Content Editor Layer becomes visible in the properties palette.