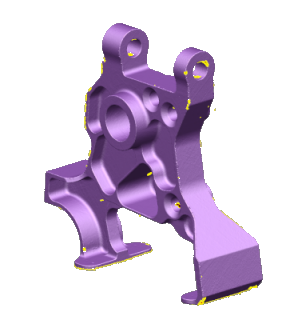
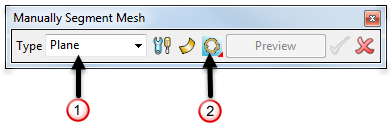
Use manual segmentation to individually segment and fit surfaces to a mesh.
- Select the mesh.
- Click Mesh Tools tab > Create panel > Segment > Manual Segment.
- Use the options on the
Manually Segment Mesh toolbar to control the segmentation:
- Use the
Type
drop-down list
 to select the item type to fit:
Plane — surface only
Cylinder
Cone
Sphere
Torus
Extrusion
Revolution — surface only
Shrink-wrap — surface only
- Click
 to display the
Segmentation Settings dialog.
to display the
Segmentation Settings dialog.
- Click
 /
/ to toggle between generating surfaces or solids.
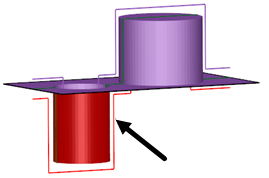
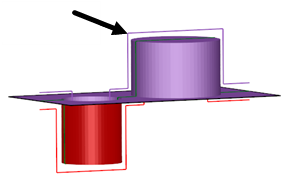
- Use Fit
 to select the fit direction. These examples are exaggerated to highlight the effects of different fit directions:
 Fit inside — Select this option to fit the primitive surface just below the inside of the mesh.
 Fit through middle — Select this option to fit the primitive surface as close as possible to the centre of the mesh.

 Fit outside — Select this option to fit the primitive surface just above the outside of the mesh.
- Use the
Type
drop-down list
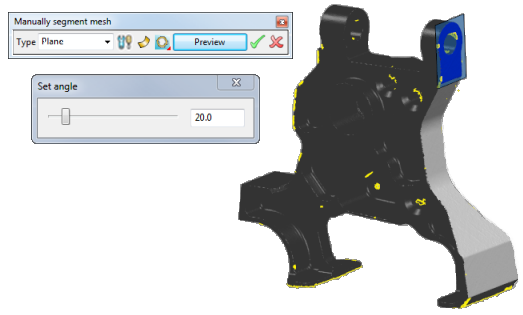
- Select an area of triangles on the mesh using the Mesh Tools tab > Selection panel options.
- Click
Preview to display a preview of the generated items on the model:
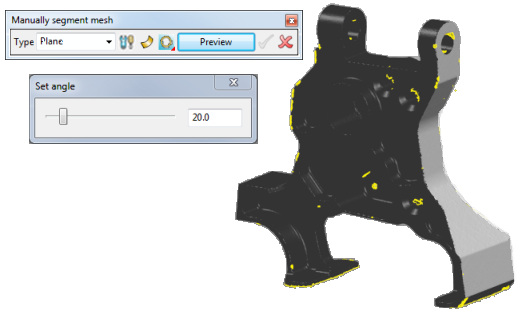
- Click
 to accept and blank the item. Alternatively click
 to cancel the preview and close the dialog.
- Close the dialog to view the newly created items:
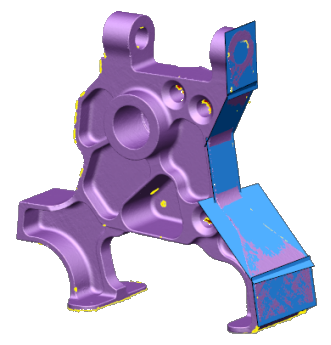
.
If you delete a surface before returning to the segmenter, its regions are freed.
If you undo, redo, or modify the mesh, the persisted data is lost. If this happens, the segmenter cannot remember the surfaces it produced.