Use the options on the Edit tab > Align panel to specify the alignment of items in a model, the placement of curves, or to stretch wireframe objects.
To roughly align items in a model:
- Click Edit tab > Align panel > Items to display the Align Items dialog.
- Select the alignment object
 . The alignment object is that object that moves.
- Select the fixed object
 . The fixed object does not move.

If necessary, you can split the items into separate views by clicking the Split view
 button. This button is only available when you have selected the alignment and fixed items.
Clicking the Split view button enables the following buttons on the dialog:
|
|
Link views — Click this button to link the Alignment Item view and Fixed Itemview together. You can pan, rotate, and zoom the views together when they are linked. This button is only available when you are using the split view. |
|
|
Match views — Click this button to pan and scale the alignment view to match the fixed view. This button is only available when you are using the split view. |
|
|
Preview — Click this button to display a preview of the alignment in a single view. This button is only available when all the alignment points are defined. |


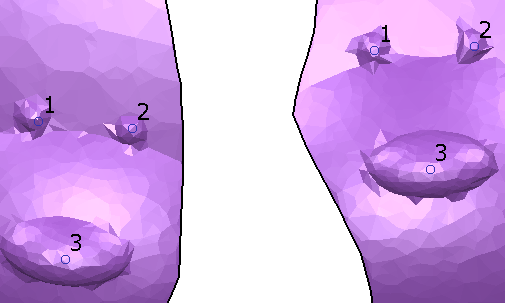
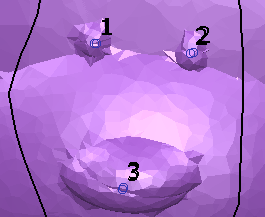
- Select points on the alignment and reference object to define sets of points. You must define at least three sets of points; the information panel tells you that you have sufficient points selected.
Choose points in one of the following ways:
- all points on alignment object followed by all points on the reference object.
- pairs of points, one on the alignment object and one on the reference object.
- Adjust the point selection as appropriate. You can delete existing alignment points by clicking on them.
The cursor changes
 to indicate that you are hovering over a point that can be deleted.
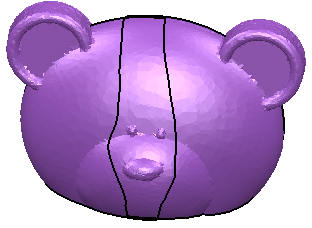
- Click
Apply. The alignment object will move so that the selected points are aligned.
Continue to select objects and points to adjust the alignment as necessary.
- Click
Cancel
to accept applied changes and close the dialog.
 Note: When you have roughly aligned items in a model, you can carry out a more precise alignment using the Best-fit option.