The
Add Triangle
 feature enables you to add triangles to a mesh model to fill holes or gaps. Use the
Single mode to add a single triangle by selecting three points to use as nodes, or the
Sequence
mode to chain triangles together using nodes from the previously added triangle. In addition, the
Add triangle dialog enables you to switch between the two modes to select the best method for adding each triangle.
feature enables you to add triangles to a mesh model to fill holes or gaps. Use the
Single mode to add a single triangle by selecting three points to use as nodes, or the
Sequence
mode to chain triangles together using nodes from the previously added triangle. In addition, the
Add triangle dialog enables you to switch between the two modes to select the best method for adding each triangle.
To add triangles to a mesh model:
- Select a mesh.
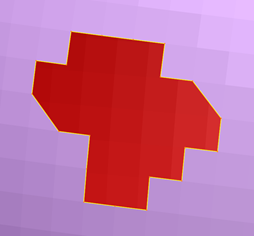
For example, the mesh shown below contains an irregular hole:
- Click Mesh Tools tab > Triangles panel > Add to display the
Add triangle dialog:
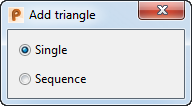
- Choose a mode. Select:
Single to add a single triangle by selecting three points. For example:
- Select points
 and
and
 . The selected nodes are highlighted in blue:
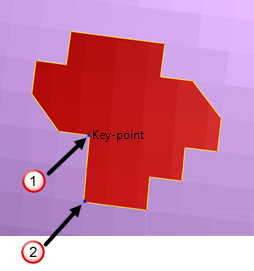
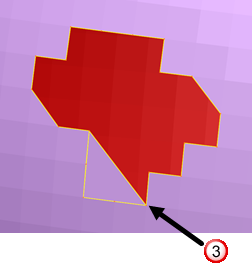
- Select point
 . The new triangle is drawn:
Sequence to chain triangles together using nodes from previously added triangle. For example:- Move the cursor to the area in which you want to add a triangle. The nodes on the closest edge of the previously added triangle are highlighted in blue. For example points
and
are highlighted below:

- Select point
 to complete the triangle. The new triangle is drawn:

Note: Open edges, where the added triangle does not match existing triangles well, are drawn in yellow. - Select points
- Continue adding triangles by selecting points to use as nodes.
You can use the following types of points as nodes:
-
- Existing vertices — points on the boundary of a mesh, which specify the edges of existing triangles. The above examples use existing vertices as nodes.
- Points on added geometric objects — points on lines or curves, which can be added to help bridge a gap in a mesh.
- Any point in the graphics window — points in space which do not lie on an object, boundary or an existing triangle.
Tip: The intelligent cursor snaps to key-points that are most suitable for selection as nodes.Note: It is no longer possible to select points on the other side of a mesh, for example on triangles behind a gap. Click View tab > Appearance panel > Mesh > Open and Interior Edges (hollow) or Nodes and Open Edges (hollow), to access points to use as nodes through a mesh.
-
- To deselect a node, hold the cursor over the node. A red cross is displayed:
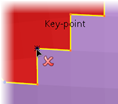
- Click to deselect the node.
- When you have finished adding triangles, close the dialog.