You may have two models of the same component and want to see the differences between them.
- Open the models you want to compare.
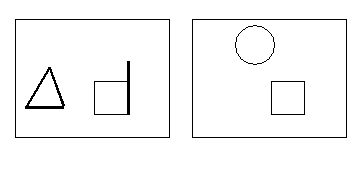
Suppose we have the following two models.
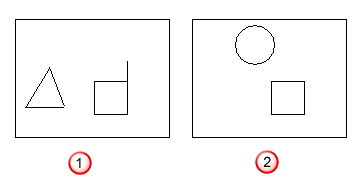
 — Model_1
 — Model_2
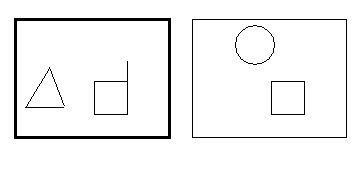
- Click the graphics window of the model in which you want to display the differences. This makes the graphics window active.
In our example, we made Model_1 the active model.
- Select Visualisation tab > Model panel > Compare.
- Use the Model Compare dialog to complete the comparison.
Use this dialog to compare models.
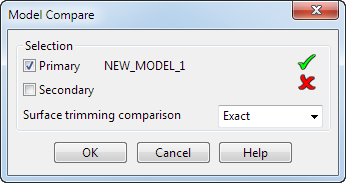
Use the following options to control the comparison:
Primary — Select the model in which the differences are to be shown. When the dialog is first displayed, the
Primary selection is the model of the active graphics window. You can change the primary selection by selecting the
Primary
option and clicking another graphics window. The
 icon indicates that a primary model is selected.
Secondary — Select the model to compare against the
Primary selection. To select the second model click the
Secondary option and click in the graphics window of the model you want to compare. The
 changes to a
.
changes to a
.
Surface trimming comparison — Choose how to compare surfaces with trim boundaries and p-curves. Select:
- Exact to find surfaces with exactly the same pcurves and trim boundaries.
- Boundaries to find surfaces with exactly the same trim boundaries. Any p-curve not part of a trim boundary is ignored.
- None to treat two surfaces as the same when the untrimmed surfaces are the same, even when they have different trimmed regions.
OK — Compares the two models. All objects, which are in the primary model and not in the secondary model, are highlighted as selected in the primary model.