Create a component. Specify the piping component class and other fixed properties of the new component. Specify component geometry and set an initial size range for the part. Add the part to a catalog. Select the part in the catalog browser.
To create a piping component
- In the Catalog Editor tab, click Create New Component.
- In the Create New Component dialog, click Plant 3D Parametric Graphics.
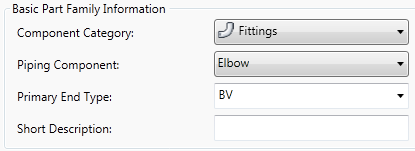
- In Basic Part Family Information, click a component category (for example: Fittings).
- Click a Piping Component type (for example: Elbow).
The piping component type is the Plant 3D class.
- Enter a Short Description (for example: ELL 90, SEGMENTED).
- Click a Primary End Type (for example: BV). You can also enter a value if the Primary End Type is not in the catalog.

To set new component geometry
-
 In Graphics, click the right arrow to view component images.
- Click a component image (for example: Mitered Bend).
(continued from To create a piping component)
To add a new component to a catalog
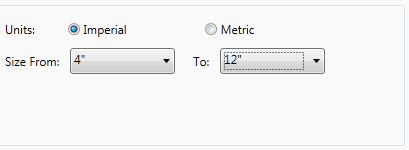
- In Size From, specify an initial size range. For Example, 4” to 12”.
Sizes can be added and removed after the part is added to the catalog.

- Click Create.
The component is added to the catalog editor.
(continued from To set new component geometry)