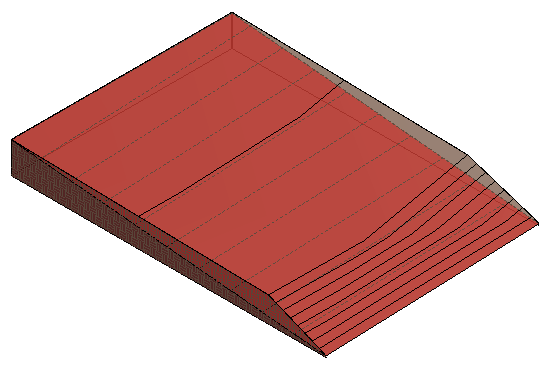
Grade areas of the topography, changing elevations at selected points, to develop the proposed site design.
To create a graded region, you select a toposolid, which should be an existting surface in the current phase. Revit marks the original surface as demolished and makes a copy with a matching boundary. Revit marks the copy as new in the current phase.
 Video: Calculate Cut and Fill Volumes
To grade topography
- Open a view that displays a toposolid.
- Click Massing & Site tab
 Modify Site panel
 (Graded Region).
- In the Edit Graded Region dialog, select one of the following:
- Create a new toposolid exactly like the existing one.
- Create a new toposolid based on the perimeter points only.
- Select the toposolid.
If you are editing the surface, enter shape editing mode. You can add, delete, or change the elevation of points.
- When you are finished editing the surface, click Modify.
If you drag the new graded region, notice that the original remains. Select the original, right-click, and click Element Properties. Notice that the Phase Demolished property has the value of the current phase.
Example