Define an area of a toposolid to offset from the original toposolid surface.
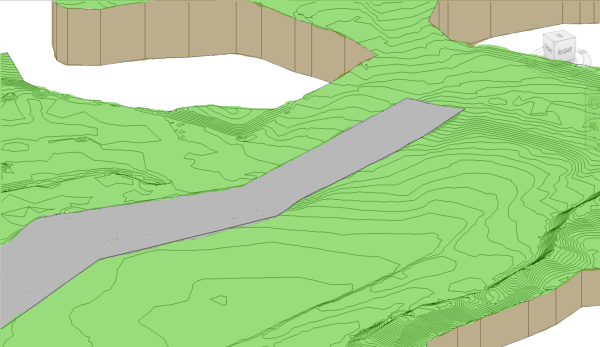
For example, you can use sub-divisions to draw parking lots, roads, or islands on a toposolid. Use the instance properties of the sub-division to assign another material to the toposolid.
Creating a sub-division does not result in separate surfaces. The sub-division is positively offset from the original surface and will reflect changes made to the parent toposolid. To create separate surfaces that can be edited independently, use the Split tool.
To sub-divide a toposolid
- Open a view that displays a toposolid.
- Select the toposolid
- Click Modify | Toposolid tab
 Toposolid Shaping
 (Sub-Divide).
Revit enters sketch mode.
- Click
 (Pick Lines) or use other sketching tools to create a sub-division on the toposolid.
- On the properties palette, set the Material, Sub-divide Height (positive values only), and Inherit Contours parameters.
Note: When selected, Inherit Contours will display contours from the parent toposolid on the sub-division.
- Click
 (Finish Edit Mode).
To modify sub-division boundaries
- Select the sub-division.
- Click Modify | Toposolid tab Mode panel
 (Edit Sketch).
- Click
(Pick Lines) or use other sketching tools to modify the sub-division.
- Click
(Finish Edit Mode).
Note: If you
split a toposolid with a sub-division but the split does not cross the sub-division, you will receive a notification about deleting the sub-division element because it cannot be created. This is normal, click Delete Instance(s) to continue with the split action.
Example