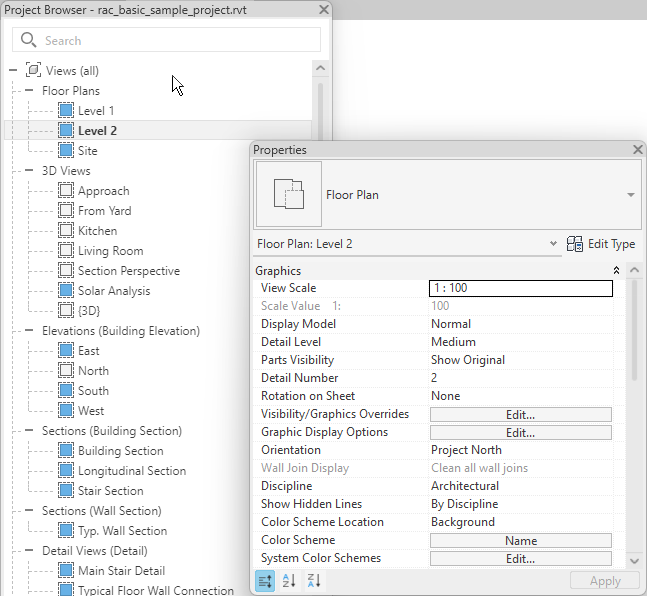
Dockable windows can be moved and resized. They can be floated or docked to a location within the Revit LT application window, or dragged out of the Revit LT application window into its own window and moved to another monitor.
The following windows are dockable:
- Project Browser
- Properties palette
- Reconcile Hosting
- Open views in the drawing area
A docked window shares one or more edges with adjacent windows and toolbars. If a shared edge is moved, the windows change shape to compensate. You can also float windows anywhere on the screen or move them to another monitor.
An undocked window is one that has been separated from the application window. Each undocked window can be moved around the screen or screens as desired. Undocked windows can be resized and grouped.
Grouping windows
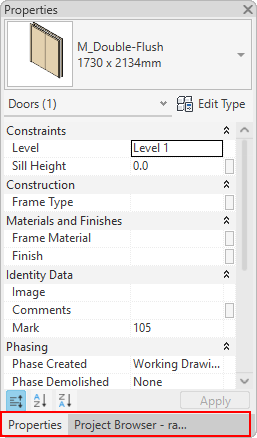
A window group is a way to have more than one window occupy the same amount of space on the screen. When windows are grouped, each window is represented by a tab at the bottom of the group. In a group, click a tab to display that window. You can group or ungroup windows as necessary.
In the following image, the Project Browser and Properties palette are grouped. Notice that the Properties palette is the active tab.

To show or hide a dockable window of the user interface
- Click View tab
 Windows panel
 (User Interface).
- Select or clear the check box next to the desired window in the drop-down list.
To move a dockable window
- Click and drag the title bar at the top of a user interface window, or the tab of a view.
- Optional: To prevent a window from automatically docking while you drag it, hold down the CTRL key.

To group dockable windows
- Click and drag the title bar of the user interface window or the tab of the view to be added to another window or group.
- Drop the window on the title bar of the receiving window or group.
To ungroup dockable windows
- Within the group, click the tab for the window you want to remove.
- Click and drag the window tab out of the group.
- Drop the window to ungroup it.
 Video: Dockable Windows