Mouse Button Interactions
Throughout the VRED UI, mouse buttons are used to perform actions and access tools. See the sections that follow for how to use mouse buttons in different locations and scenarios to speed up your workflows.
For information on hotkey shortcuts in VRED, see Keyboard Shortcuts.
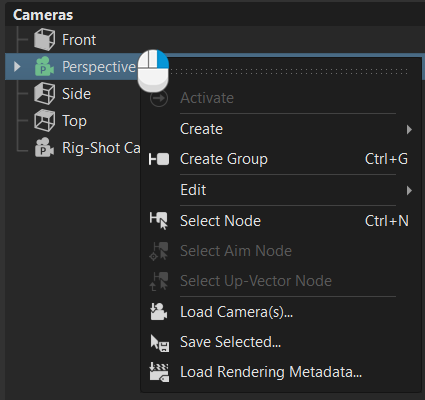
Right Mouse Button in Editors and Modules
Use a RMB-click in different parts of editors and modules to access their context menus. A list of the options in each menu can be found in the documentation for that editor or module.
Mouse Buttons with Normals
Use the following mouse shortcuts to turn (flip) the normals of a selected object inward or outward. For more on normals, see Working with Normals.
| Mouse Action | Result |
|---|---|
| ALT-LMB | Flip whole shell |
| ALT-MMB | Flip selected patches only |
| ALT-RMB | Flip connected patches |
Mouse Buttons for Navigating in VRED
There are an assortment of mouse button interactions for navigating in VRED. Here are a few examples, but for a full list, see Navigating in VRED.
For Fly, LMB-click to go forward and RMB-click to go backward. Steer moving the mouse horizontally or vertically.
For Auto Center, use double-LMB or double-RMB-click to choose the point to rotate around.
To rotate around the orientation spot, LMB-drag.
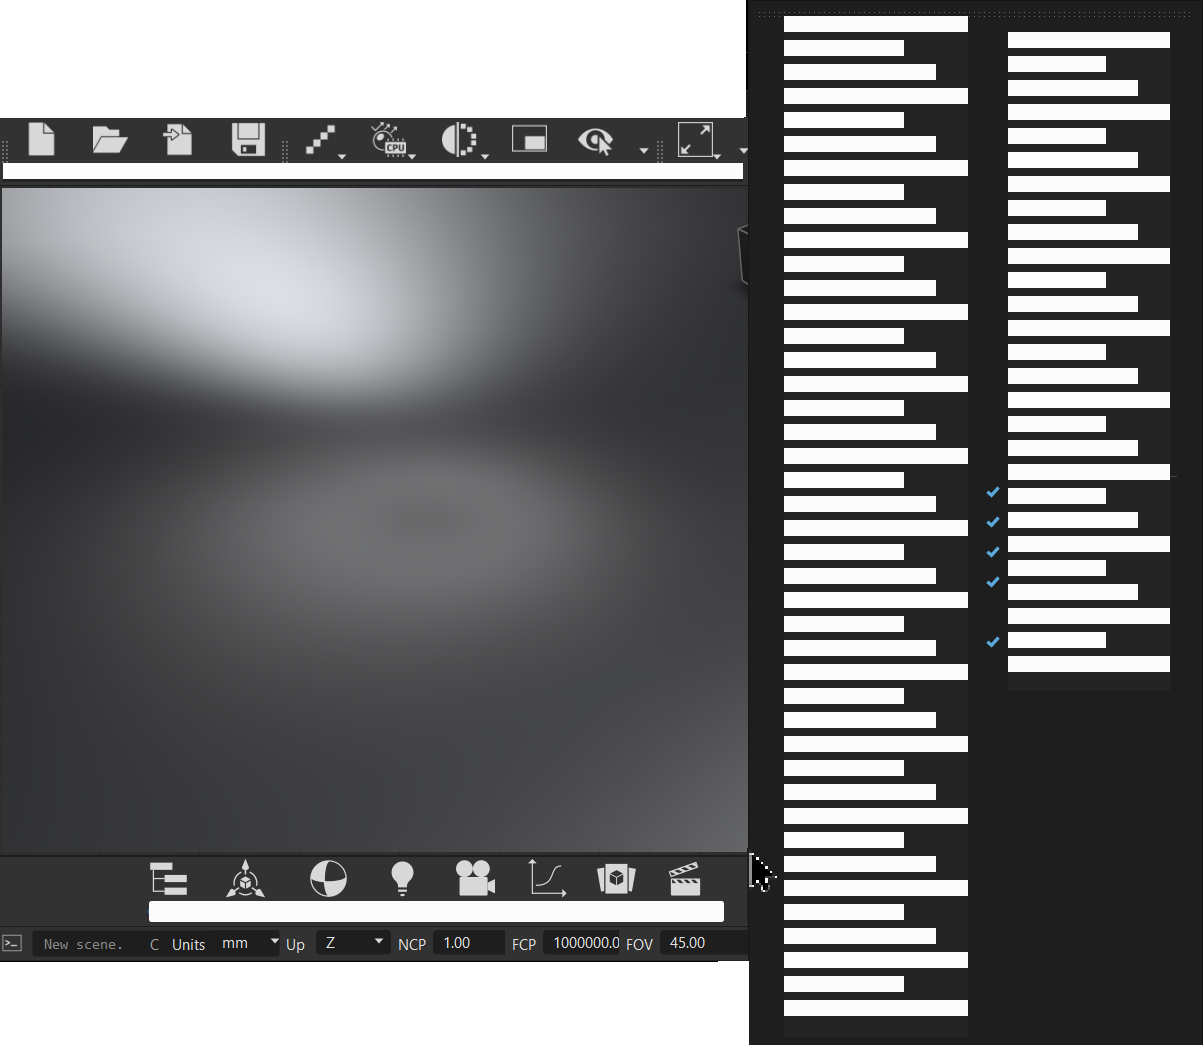
Mouse Buttons and the Quick Access Bar
RMB-click within the empty space next to the Quick Access Bar icons for a shortcut for opening a list of all modules and editors. Scroll to and click an option to open it.
Mouse Buttons and Numeric Value Fields
Numeric value fields in most modules have a complimentary interactive UI element for changing values, such as a slider or scroll wheel. Your mouse buttons are also assigned interactions:
LMB-click and enter a new value.

MMB-click and drag to scroll through the values. This is the same behavior as using the scroll wheel.
RMB-click and release, then MMB-scroll to step through values.

Mouse Buttons and the Light Editor
In the Light Editor, the mouse button used determines the action taken. These enable you to select and move lights in your VRED render window without opening the HDR Light Studio.
- Shift + LMB-click to position a selected light
- Shift + RMB-click to select a light you want to adjust.
Mouse Buttons and the Material Editor
In the Material Editor, the mouse button used determines the behavior of the dragged material.
LMB-click-drag and drop a material onto geometry in the viewport to replace the material with this new one.
MMB-click-drag and drop a material onto geometry in the viewport to replace all instances of that material with this new one. Use this to change all instances of one material to another with one action.
RMB-click-drag and drop a material onto geometry in the viewport to add a switch or Multi Pass material.

Mouse Buttons and the Viewport
In the viewport, use Shift + MMB-click to access the Edit Selection menu.
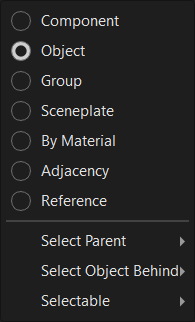
Check out Selecting Things in the Viewport for specific mouse button combinations for selecting and deselecting each of these things in the viewport.
Selecting a Material
In the viewport, use the M key and different mouse buttons to select a material and assign it to different geometry.
- To select a material, LMB-click, then press-hold M over the color.
- If a previous material select appears, press-hold M and MMB-click to select the material under your cursor.
- To assign a material to other geometry, press-hold M and with your curser over something else and RMB-click.