Scenegraph Decoupling
The decoupling of the Scenegraph is complete, making it possible to access all properties via the Python API. Expect to see menus, options, and UI improvements, as well as new and advanced searches.
Video captions: We also decoupled the Scenegraph. This gives you the possibility to access the scenegraph via the Python API. Additionally, we added some more functionality to it. Now, you have access to many more important options directly at this QuickActions Bar and also the context menu is been reorganized. The Scenegraph contains also another section of columns that shows which nodes contain metadata, animation, transform variants, touch sensors, and annotations. This gives you a much better overview of your scene.
But the best thing is, you have now direct access to this information. For example, I can double-click onto an icon, like the animation flag, and the corresponding editor will instantly open up. So, you have now direct access to all these values, which can speed up your workflow massively, as I can instantly find the animation curve of an object.
Node Information Dialog
We improved the Node Information dialog by adding separators, such as spaces, points, and commas, to make it easier to read large numbers. For example, 182,461,862, instead of 182461862. Also, the number of surfaces in a shell and node counts are tracked correctly.
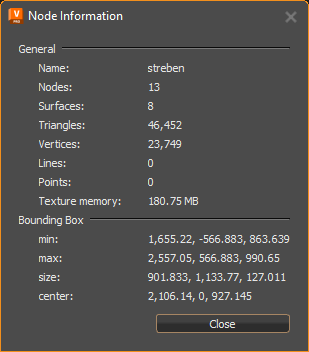
For Python users, use vrdNodeInfo getNodeInfo(node) to access the Node Information dialog.
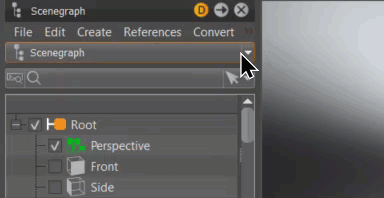
Menu Improvements
With all these improvements listed below, we encourage you to explore the different menus: File, Edit, Create, References, Convert, Show/Hide, and Selection.
- Menus have been added to the menu bar, making them easier to find options.
- Options have been move, regrouped, and some renamed.
- Functionality, such as Remove B-Side Nodes and Create Switch from Selection, has been added to the context menu.
- With Rename, you can now rename multiple nodes at the same time, assigning the same name.
Icons have been added in front of many options to help with visual identification.
If some menus are not displayed, either expand the graph or click the arrows to the right to access them.
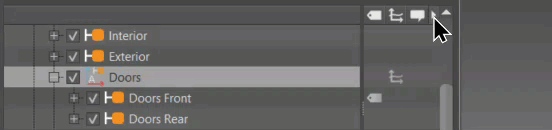
Split Tree Highlighting
You can now work with two tree views. Just drag the handle at the bottom of the tree to expose a second view.
Both views can be set to Scenegraphs, Scene Tags, or one of each. When working with a split tree, where both are set to Scenegraph, the active one is highlighted with a light gray frame, indicating it is the one in focus.
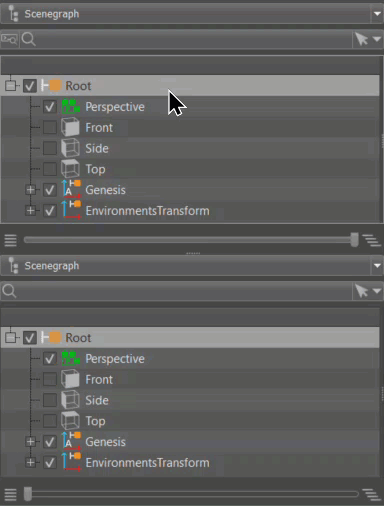
When geometry is selected in the Render Window, whichever tree was last active is the one that expands to display that node. The geometry node is selected in the other tree; however, the hierarchy is not expanded.
A split tree is great for drag and drop workflows, especially when working with a huge scenegraph. When selecting a part in the Render Window, the scenegraph jumps to the node location.
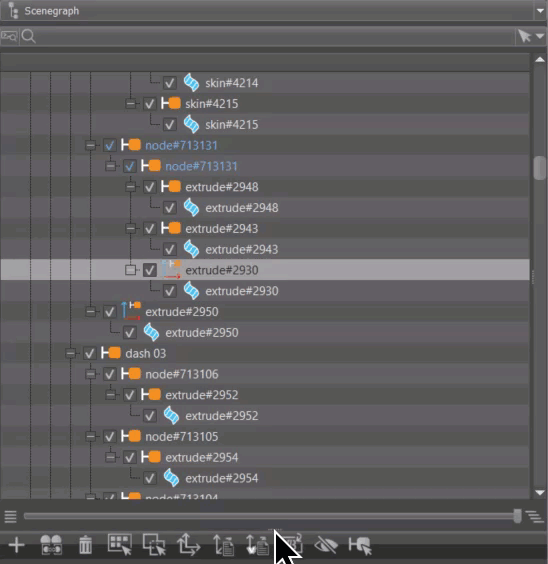
Expansion Column
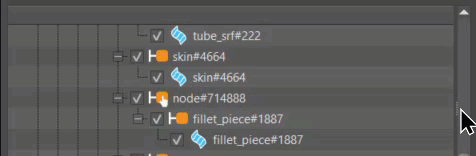
We added columns that are tucked into the Tree View for seeing which nodes contain  metadata,
  animation,
  transform variants,
  touch sensors, and/or
  annotations. Pull the grip to expose these.
Use ![]() to access a menu for choosing which columns are displayed.
to access a menu for choosing which columns are displayed.
Any node containing metadata, animation, transform variants, touch sensors, or annotations displays an icon next to it. Double-clicking these icons opens their respective module. For example, if a metadata icon is double-clicked, the Metadata Editor opens, loading the node into the lower list.
Basic Search
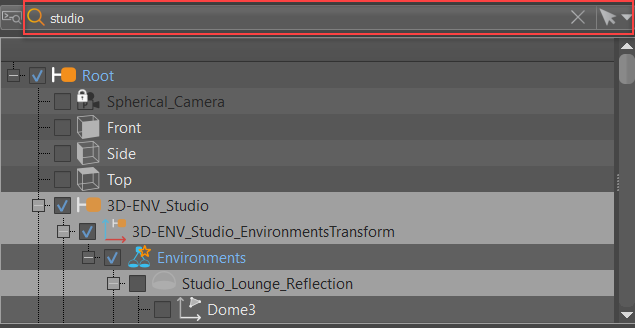
We added more tools when performing a basic search. Now, you can use the ![]() Selection Filter Menu for selecting specific kinds of nodes in the Scenegraph and viewport. Choose specific selection settings, such as nodes with metadata, group nodes, and disk lights, individually or in combination. Enter a string in the search field to further define your search. For more information, see the Selection Filter Menu. Matching nodes are selected in the Scenegraph and viewport.
Selection Filter Menu for selecting specific kinds of nodes in the Scenegraph and viewport. Choose specific selection settings, such as nodes with metadata, group nodes, and disk lights, individually or in combination. Enter a string in the search field to further define your search. For more information, see the Selection Filter Menu. Matching nodes are selected in the Scenegraph and viewport.
To clear the search, either select a new node, click the X in the search field.
We also added ![]() Selection Filter to reselect the last Selection Filter menu selection. Any previously selected objects will be reselected in the viewport, with their nodes selected in the Scenegraph.
Selection Filter to reselect the last Selection Filter menu selection. Any previously selected objects will be reselected in the viewport, with their nodes selected in the Scenegraph.
Disable ![]() Selection Filter to deselect the objects in the viewport and their nodes selected in the Scenegraph.
Selection Filter to deselect the objects in the viewport and their nodes selected in the Scenegraph.
![]() Selection Filter Menu - Provides options for selecting specific nodes in the Scenegraph and viewport. Choose specific selection settings, such as nodes with metadata, group nodes, and disk lights, individually or in combination, or the following:
Selection Filter Menu - Provides options for selecting specific nodes in the Scenegraph and viewport. Choose specific selection settings, such as nodes with metadata, group nodes, and disk lights, individually or in combination, or the following:
- Select All - Enables all the selection settings, such as Metadata, Group, and Mesh, selecting all these nodes in the Scenegraph and viewport.
- Select None - Clears the search. Now, nothing is selected in the Scenegraph or viewport.
- Invert Selection - Selects all unselected selection settings, selecting those nodes, deselecting an previously selected ones in the Scenegraph and viewport.
 Advanced Search
The advanced search is more powerful than our basic search. Use  to help search and navigate large amounts of data and deep graphs. It provides the ability to search both scene data and metadata, together in combination or seperately. For information on advanced searches, various options, and how to do an advanced search, see Advanced Searches.
Data Preparation
When in  Presentation Mode, once a variant with switched geometry is selected, the Scenegraph updates.
Slider

The slider and its buttons are a fast way to expand or collapse the sub-structure of the selection in the tree. With nothing selected in the tree, all nodes are expanded.
Click  to collapse the hierarchy of the selected node or
  to expand it.

QuickActions Bar Improvements
Many changes were made to the QuickActions Bar, such as the addition of valuable functions to speed up workflows.

For more information on these functions, see QuickActions Bar.
Scenegraph Preferences
Added the following to the Scenegraph preferences:
- Enable Warning for Duplicate Names - Displays a warning when renaming a node and trying to use a name already assigned to another node.
Updated Python Commands
For a full list of the new and updated Scenegraph and other Python commands, see Python API Improvements.
Merge By Material
Edit > Geometry > Merge Geometry (Ctrl+Shift+M) now has a Python command, vrMergeGeometry, to merge geometry by material. See the following example.
material = vrMaterialService.findMaterial("PlasticMaterial")
node = vrNodeService.findNode("Group")
vrGeometryService.mergeGeometry([node],
    vrGeometryTypes.MergeMaterialMode.MergeApplyMaterial,
    vrGeometryTypes.MergeVisibilityMode.MergeByVisibility,
    material)