To Create a Custom User Coordinate System (UCS)
You can define multiple User Coordinate Systems (UCS) in Autodesk Inventor.
You can select a UCS when preparing data for export using Placement or Author Properties. It ensures that the model is imported in the appropriate orientation in the receiving application.
Place a UCS
In an open model, in the BIM Content Environment:

- On the ribbon, in the Coordinate System panel, click UCS
 .
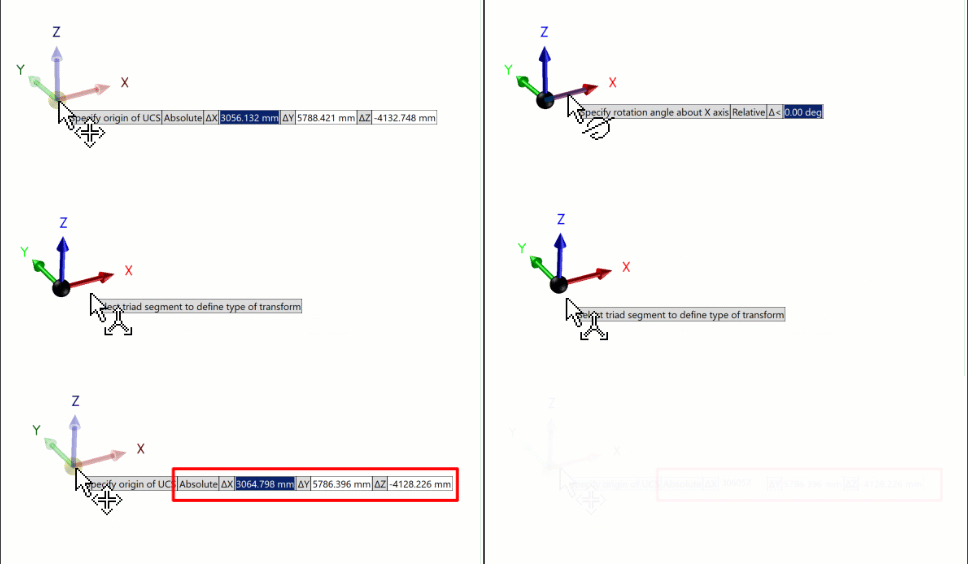
. - Click and drag an axis to rotate the UCS around the axis.
- Click and drag an arrowhead to move the UCS in a linear direction.
- Click and drag the sphere, at the axes intersection, to reposition the UCS in 3D space.
- Optionally, at any time during the process you can enter absolute X, Y, and Z coordinates.
- When ready, right-click, and select Finish. The UCS defines six parameters for its positional and rotational placement values.
Note: Right-click and click Done, or ESC, to end command without placing a UCS.