About Working with Architectural and Construction Projects
Learn how to import Revit models, use them as references or convert them for use with your products. And, how to prepare Inventor models for export to Revit RVT or RFA format.
What's New: 2021, 2026
As a manufacturer of products used in the AEC industry it is critical to collaborate with the building designers. Inventor enables the use of data between Revit and Inventor so that your product designs reflect the AEC environment allowing you to design in the context of the Revit model, ensuring that your design reflects the building environment where it will be used.
Inventor's interoperability with Revit:
- is easy to use
- is associative to the source data
- can be converted to native models when needed
- includes linked files
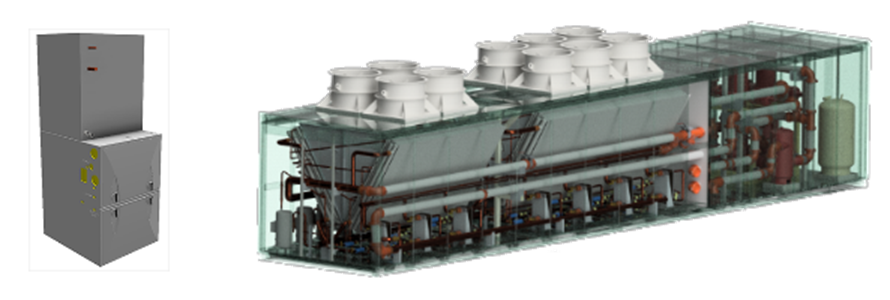
Users of BIM software, such as Autodesk Revit, prefer simplified models for purchased components. Component manufacturers using Autodesk Inventor to create fully-detailed models can create simplified product representations for collaboration with Revit or other Architectural software.
In a normal workflow, AEC data may be provided to you by means of a Autodesk Construction Cloud project, internally shared drives, or electronically provided. Inventor’s BIM Content Environment is designed to expedite the creation of enhanced models for use in Revit.
In the ribbon, click Environments  BIM Content to enter the environment.

You can pause the cursor over each icon to learn more about the command. When the extended tooltip displays, use F1 to go access the learning content for the command.
In an Inventor assembly
Create a fully detailed, configurable Inventor product model.
In the ribbon, click Environments BIM Content to enter the environment.
Orient the model for use in Revit using the tools in the Coordinate System panel.
- UCS to create a user coordinate system specific to your design.
- Placement to define the model orientation and insertion point that is used in Revit.
For RVT output, use the tools in the RVT panel.
Use Include Properties to selectively share Inventor properties and add BIM metadata in Revit. Select the properties you want to include in the RVT file.
- Upon export, all components have the iProperty Revit Category (iProperties Project tab), which defaults to <None>. In Include Properties, you can select a Default (Revit) Category to apply to all components that have the iProperty Revit Category set to <None>.
Use Simplify & Export to output to RVT format.
For RFA output use the MEP Connectors and the RFA panel tools to prepare the model.
Use the MEP connectors to add needed BIM connectors to the model.
For more information see:
- Cable Tray Connector
- Conduit Connector
- Duct Connector
- Electrical Connector
- Pipe Connector
Use Author Properties to:
Add BIM metadata for your product. Inventor provides access to:
A searchable Revit categories list so you can specify your product in Revit terms.
Model Properties you may want to export.
- Recommended: Create an iProperty named "RevitFamilyTypeName". The value will be used as the family type name in Revit. The value of this property can be a static string or can be programmatically assigned using an iLogic rule to make it unique for the supplied parameter values.
Specify the model orientation and insertion point.
Click OK or Apply if more edits are needed.
Use the Simplify Substitute command to create a substitute model that contains only the content to be visible in the exported BIM model.
You should exclude components that:
- Are not visible to the consumer, that is, the Revit user, the architect, etc.
- Represent intellectual property
- Do not significantly contribute to the visual presentation, e.g. small parts like fasteners and others not necessary to indicate size/function/etc.
- Optionally, you can simplify the remaining components by removing features and internal voids.
Use Export Building Components to create the RFA file. You can also create .IFC and .ADSK files for the component.