To Include Properties in Revit (RVT) Exports
What's New: 2026
Before simplifying a model for RVT export, do the following:
- In the BIM Content Environment > RVT panel, click Include Properties. Properties of all components display in the property panel.
Note: The Include Properties selections are not supported for the All in One Element structural output option.
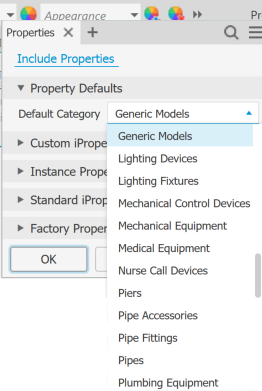
Optionally, specify a Default Category (Revit) to use for all components whose Revit Category iProperty is set to <None>.
In each property group, select the checkbox for every property that you want included in the export.
Tip: Use the property panel Search tool to quickly locate the properties of interest.
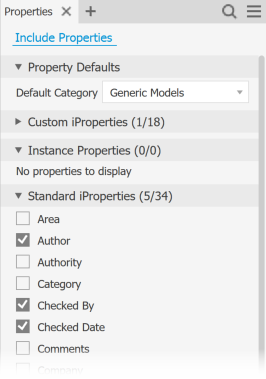 Note: Properties included in a previous version of the exported file can't be excluded later during an edit operation.
Click OK.
Editing an RVT Export to add properties
To add properties to the RVT export at a later date, do the following:
Open the assembly containing the Revit Export you want to update.
In the Model browser, expand the Revit Exports browser node.
Right-click the browser node of the export you want to update and click Edit Properties.
Select any properties to add to the exported file.
Note: Previously exported properties can't be removed.When finished, at the bottom of the panel, click Update.