Create finished walls in a room using a wall segment or within a room's boundaries.

To place a finished wall using a wall segment:
- Click Architecture tab
 Build panel
 (Wall).
- Click Modify | Place Wall tab Placement panel
 (Place By Segment).
- In the canvas, hover over a wall segment to see a preview.
- TAB to switch between segments including the columns and segments ignoring the columns for the selection.

- Click the highlighted segment in the canvas to place the wall.
To place the same finish walls in a room:
- Click Architecture tab Build panel
(Wall).
- Click Modify | Place Wall tab Placement panel
 (Place By Room).
- In the canvas, hover over a room to see a line highlight of potential walls.
- TAB to switch between including and not including the columns in the selection.
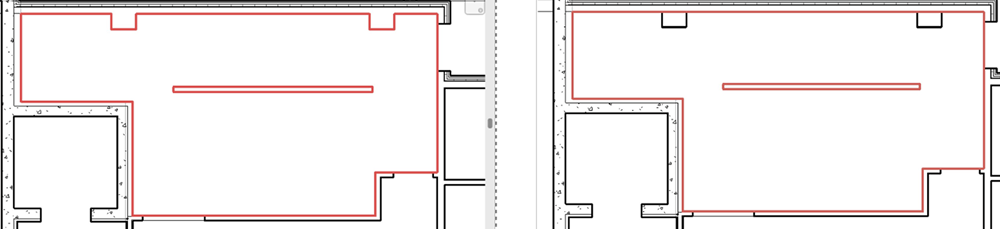
- Click the line indicator in the canvas to place the walls.
Note:
- You can only pick walls that are cut by the associated level of the current plan view.
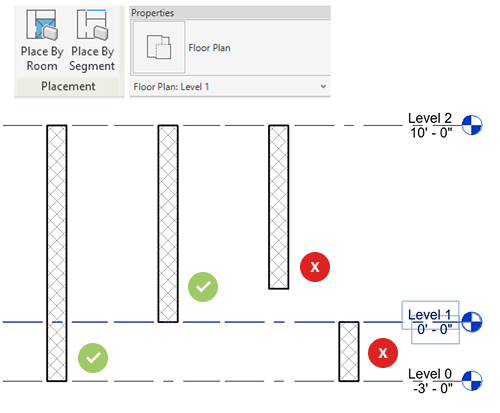
- You cannot pick curtain walls, ellipse walls, face walls, in-place walls, and room boundary lines as target to create walls.
- You can use these tools on linked models.