To create a custom element for use in one or more models, create a loadable family.
Use Advanced Family Techniques
Using advanced family techniques, you can nest geometry and build relationships between family parameters. You can also add parameters or sub-categories to control the visibility of family geometry.
|
|
|
|
|
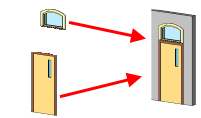
Learn how you can use nested families to bring multiple families together and use them as one family. |
Create a nested family by creating or opening a host family, and loading instances of other families into it. |
To control the scheduling and tagging behavior of a nested family when it's loaded into a project, use the Shared setting. |
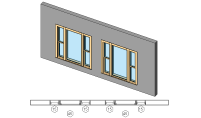
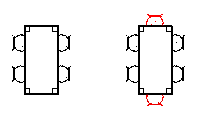
Create families that feature interchangeable components. |

|
|||
|
To control geometry, build connections from the parameters of the host family to the parameters of the nested family. |
|
|

|
|
|
Learn how to control and set the visibility of the family geometry in specific views and at different detail levels. |
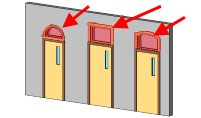
Use parameters to control the visibility of each 3D form in the family. |
To control the graphics of different parts of the family geometry in project views, assign family geometry to sub-categories. |
|

|
|
|
|
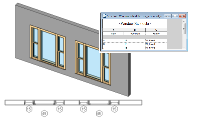
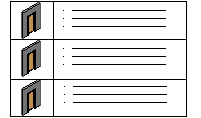
Use type catalogs when you do not want to load more than 6 types into a project, but instead want to specify only the types needed for your model. |
Check The Revit Clinic blog for tips to help you when creating families. |
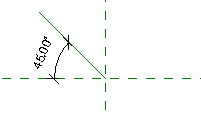
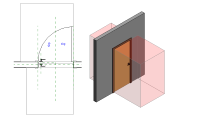
Use reference lines to control angular relationships in families. |
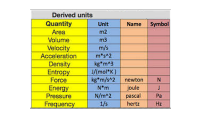
Understand how to work with units in formulas. |
|
|||
|
Explore some examples of loadable families to better understand the process of family creation. |