Rendering Improvements
Find improvements like the inclusion of Chromatic Aberration for cinematic camera effects, a Cryptomatte Render Layer for creating custom mattes, GPU raytracing runtime texture compression, an option for writing out the denoised and non-denoised images when raytracing, and a new API for Render Settings.
Video captions: Besides the introduction of Vulkan, we also added and improved more aspects around VRED’s Rendering capabilities. You can now create custom or user defined cryptomatte render passes via the render layer module. This allows a more granular control about the creation and assignment of masks for post processing workflows. The output will be a Multilayered EXR file where every layer contains a separate mask.
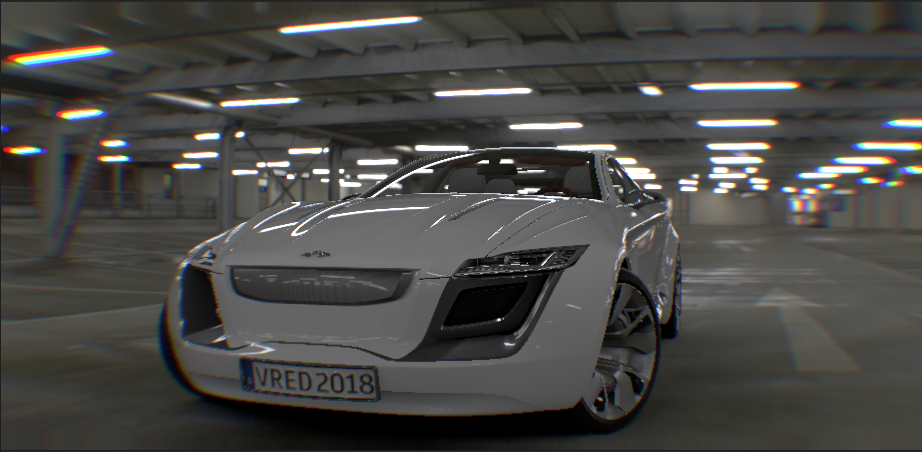
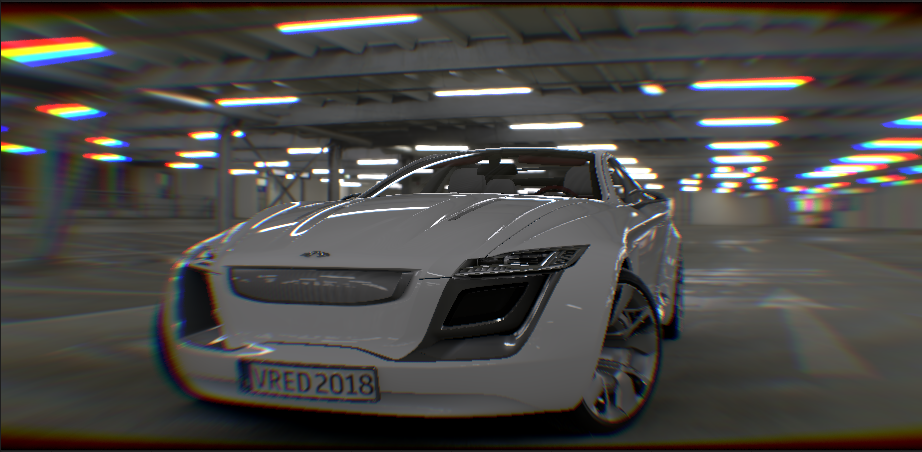
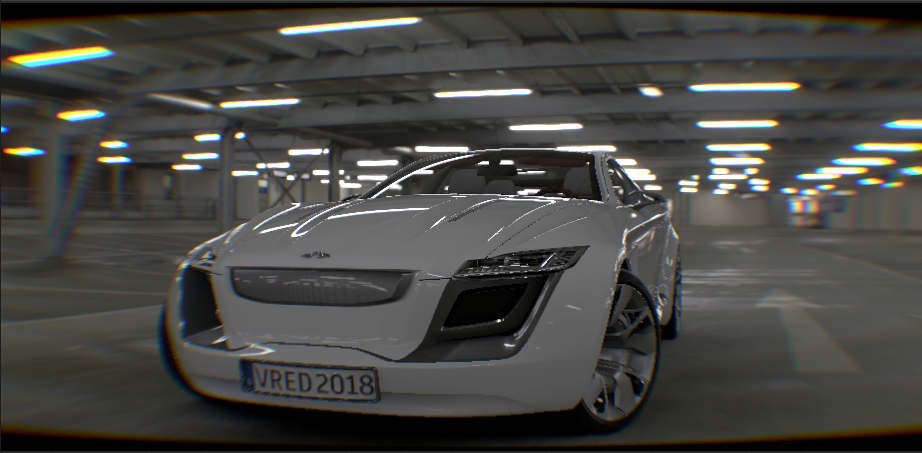
Rendering is often perfect. Reality is not. To achieve more realistic and life-like rendering results in real time and offline we have a new addition to our list of visual effects called Chromatic Aberration. It is mimicking the effects caused by a camera’s lens in traditional filmmaking by adding distortion and splitting up color at the edges of objects. It's a subtle effect but something that adds greatly to the perceived realism of 3D experiences and renderings.
After releasing color grading in VRED 2025 update 3, we've now added a global weight option to control the overall impact of the tone mapping. This allows you to easily adjust and create subtle results, increasing the ease of use.
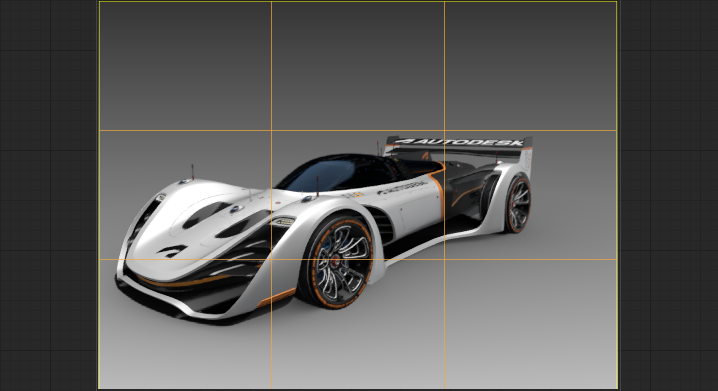
We also have added more options within the Render Settings module. Composition line overlays provide a structural guide, helping creators produce well-composed and visually appealing imagery. So now you can choose from Rule of thirds, Golden Ratio or Center Diagonal – just to name a few.
Speaking about Render Settings – with VRED 2026 most of the properties of the render settings module are now accessible via the Python API V2. For more information, please go to the Python documentation.
If you work very often with deep learning super sampling, you will be very pleased to see, that it can now be enabled directly from the Main Toolbar and quality levels can be accessed and adjusted easily without the need to open modules.
Cryptomatte Render Layer
In the Render Layer module, we added a ![]() Cryptomatte Layer column, which display a cryptomatte name string. It reduces the number of passes generated compared to rendering out with Cryptomatic object passes. Create render layers with multiple objects and assign each to their own Cryptomatte pass. With a renderpass, drop an object into the Cryptomatte column and enter a name for the layer. All objects assigned to the layer folder are added to this cryptomatic object pass. Now, significantly less passes are generated, which helps when compositing later.
Cryptomatte Layer column, which display a cryptomatte name string. It reduces the number of passes generated compared to rendering out with Cryptomatic object passes. Create render layers with multiple objects and assign each to their own Cryptomatte pass. With a renderpass, drop an object into the Cryptomatte column and enter a name for the layer. All objects assigned to the layer folder are added to this cryptomatic object pass. Now, significantly less passes are generated, which helps when compositing later.
This, alongside Cryptomatte Material and Cryptomatte Object passes, provides an easier way of handling entire areas and post-processing through masks. Create custom mattes by combining any set of geometries you want into the layer, independent of its material. For how to do this, see Creating Custom Mattes.
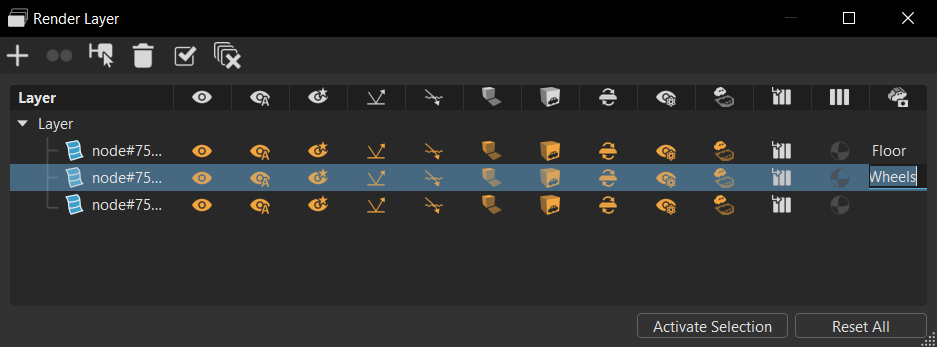
Cryptomatte only works in Raytracing mode and only with an EXR output format.
For controlling a specific material assigned to a group of objects, you will need to calculate a combination of the object and material mask in a compositing tool (a new mask that is a multiplication of the material and object mask).
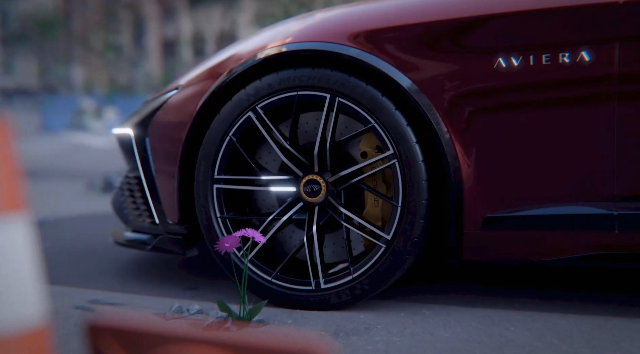
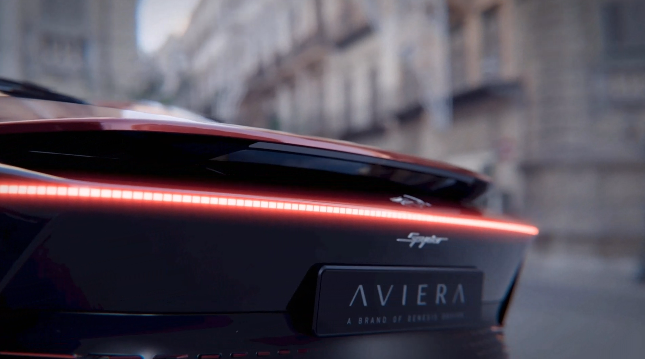
Chromatic Aberration
Use Chromatic Aberration to achieve cinematic camera effects that distort clean rendering and shift the look to something more emotional. Find the Chromatic Aberration section in the Camera Editor Image Processing tab.
What is Chromatic Aberration?
When light passes through a lens, it is separated into the different wavelengths. The variability in the reflective index of the lens for each wavelength results in each traveling at different speeds. This is apparent by the colors separating around the edges of an object. This effect is used a lot in video games to add an artistic effect and simulate the optical properties of a camera lens, creating a more photorealistic look. It is also used by some as a stylistic tool.
Chromatic Aberration Settings
Use the following settings to customize the chromatic aberration effect.
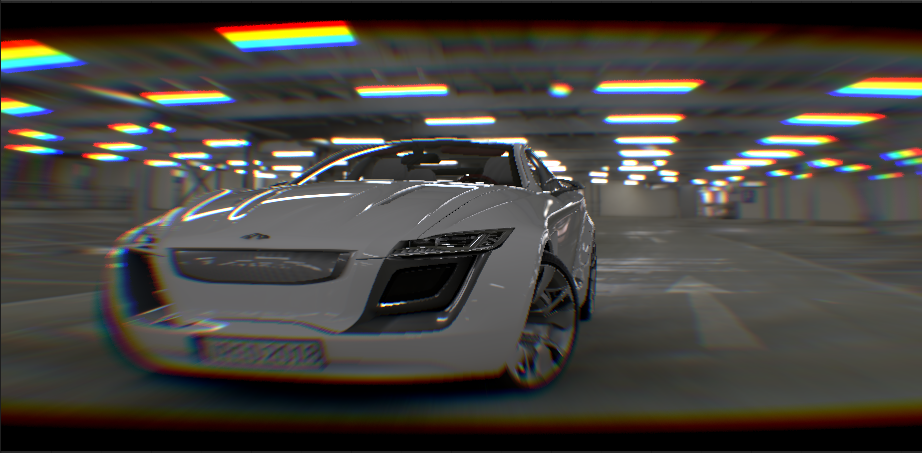
Distortion - Sets the lens distortion coefficients for the chromatic aberration effect in X, Y, and Z.
Distortion Type - Sets the type of distortion applied. Choose from Barrel, which is based on the aspect ratio of the image, and Radial, which ignores the aspect ratio of the image and tries to use a round shape for the distortion.
Barrel Distortion Radial Distortion 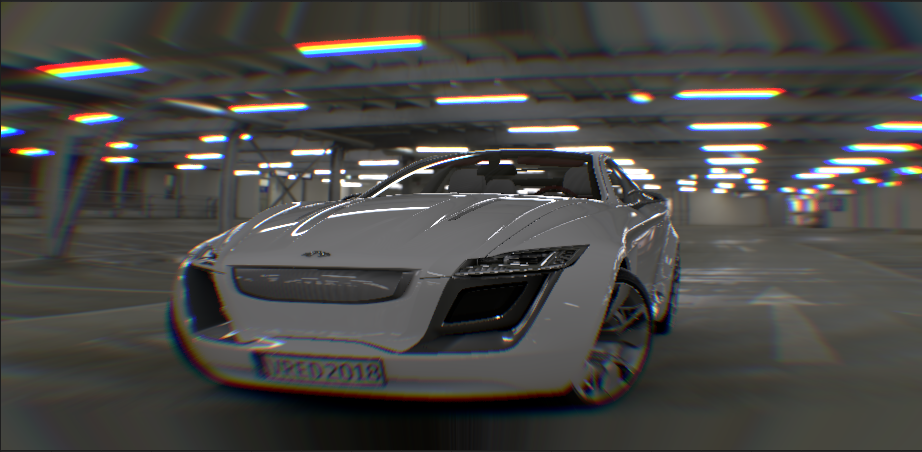
Edge Mode - Determines how edges are handled. If the edges don't contain an relevant information, try using the following:
Zoom - Zooms into the image to move undefined regions outside of the visible image.

Black - Sets the color outside the image to black.
Mirror Repeat - Mirrors and repeats the edge pixels of the image.

Clamp - Repeats the edge pixel of the image.
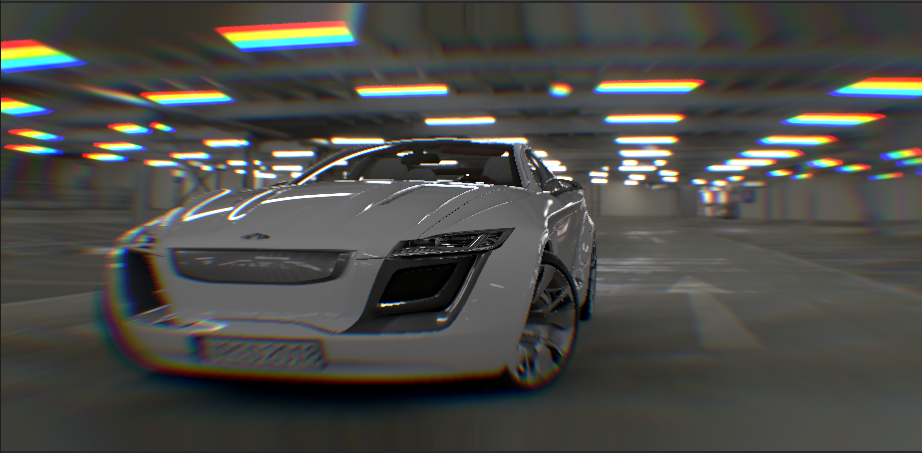
Strength - Determines the strength of the color aberration effect and distortion of the lenses. To increase the effect, increase the value. To reduce the effect, decrease the value.
Strength = 0.3 Strength = 1 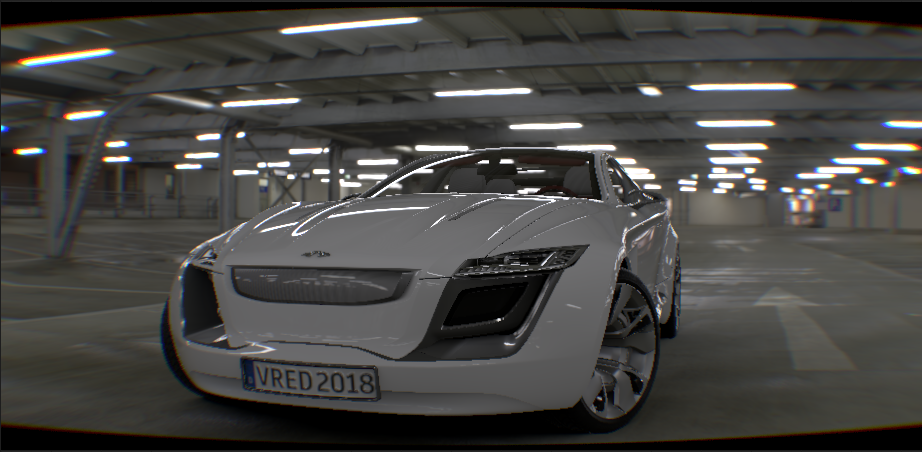
Blur - Sets the amount of blurring between the color channels. To increase the effect, increase the value. To reduce the effect, decrease the value.
Blur = 0 Blur = 1 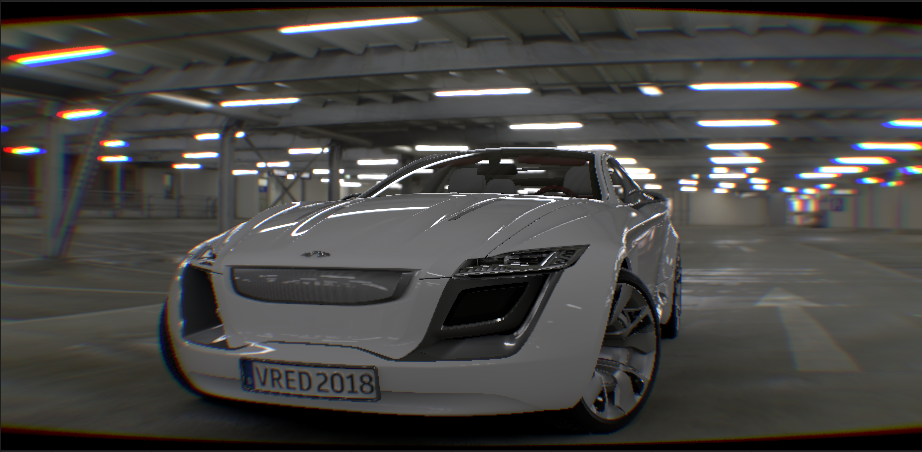
Limitations
These are the current limitations you will find with Chromatic Aberration:
- Multisegment display clustering will not handle the chromatic aberration effect correctly, since the full image is needed. Artefacts at the segment edges will occur, depending on the distortion settings used.
- HMDs will not properly handle chromatic aberrations when using more than 1 view per eye.
- Offline rendering will not be able to render the image in subimages, but will render the full image in one pass. This limits the maximum renderable resolution by the GPU memory and the maximum texture resolution.
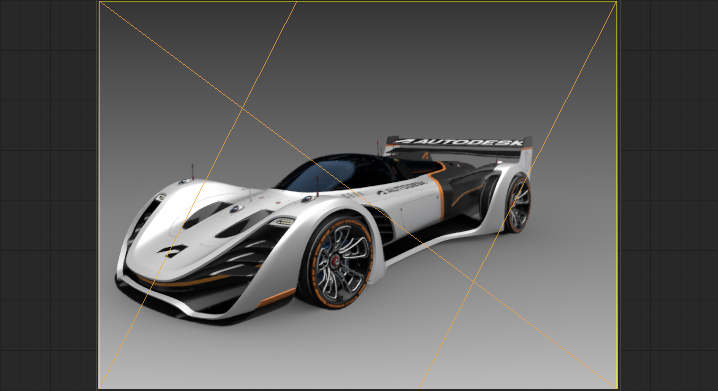
Composition Lines
Displays composition lines in the viewport using the settings in the Render Settings > Display Output tab > Composition Lines section. Use these when trying to compose a scene and place an object in the perfect spot to make the composition of the rendering more visually appealing and artistic. They can be used in combination with one another. The composition lines change as the aspect ratio (![]() ) in the Render Guide is changed.
) in the Render Guide is changed.
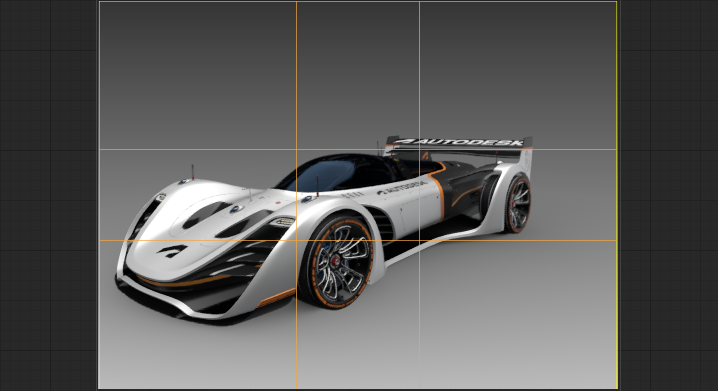
Rule of Thirds - Draws orange guide lines to divide the image into thirds, both horizontally and vertically, creating a grid of nine equal parts in the Render View. Position important elements along these lines or at their intersections to compose a compelling and well-composed shot.
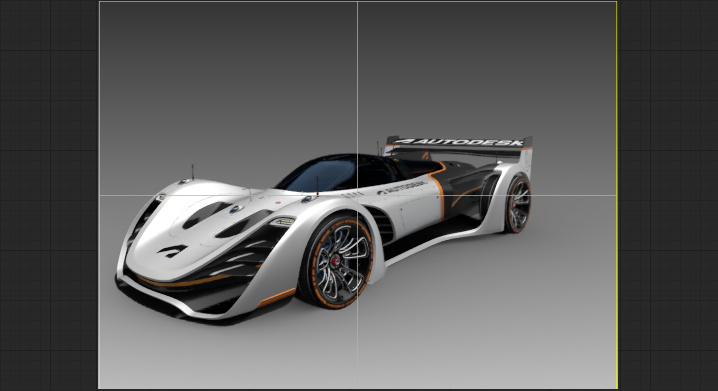
Center - Draws orange guide lines at the vertical and horizontal center of the Render View.
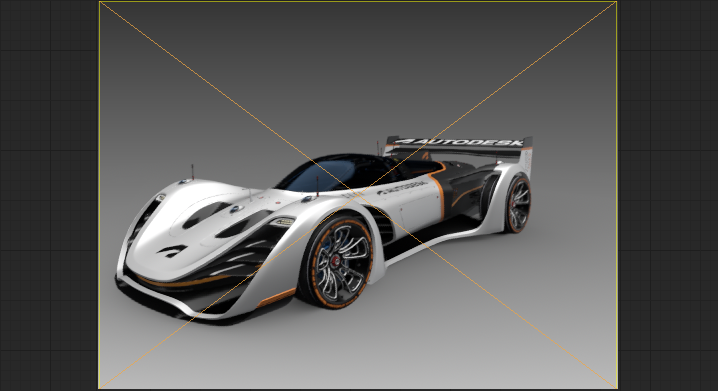
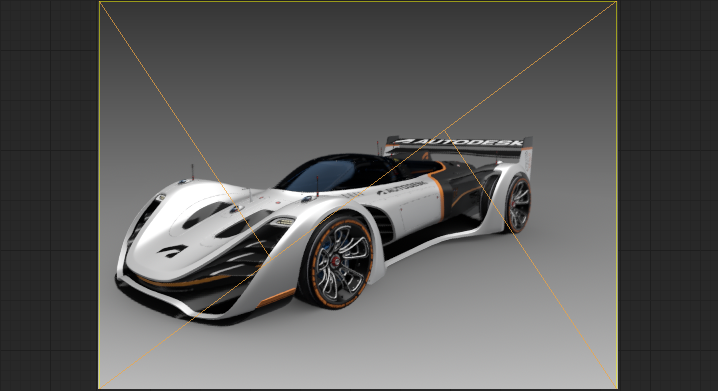
Center Diagonal - Draws orange diagonal guide lines that intersect in the center of the Render View.
Golden Ratio - Draws orange guide lines based on a ratio between two numbers that equals approximately 1.618 in the Render View. Use it to create balance, order, and an interesting composition.
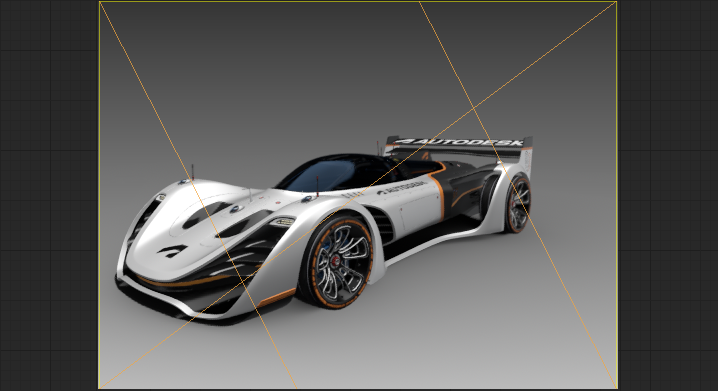
Golden Triangle - Draws orange diagonal guide lines in the Render View, dividing the frame into triangles for guiding the placement of key elements and creating a dynamic and balanced composition. Use it to create a sense of symmetry, clarity, and harmony.
Golden Triangle Mirrored - Draws orange guide lines that are an inverse of the Golden Triangle in the Render View.
Harmonious Triangle - Draws orange guide lines in the Render View for arranging elements to form or suggest triangles to create a sense of balance, stability, and visual interest to lead the viewer's eye to a focal point.
Harmonious Triangle Mirrored - Draws orange guide lines that are an inverse of the Harmonious Triangle in the Render View.

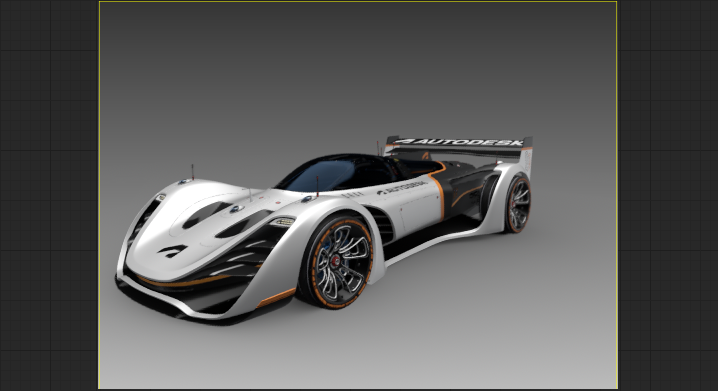
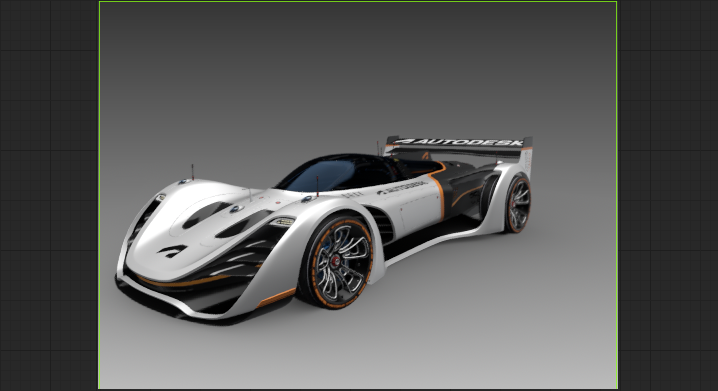
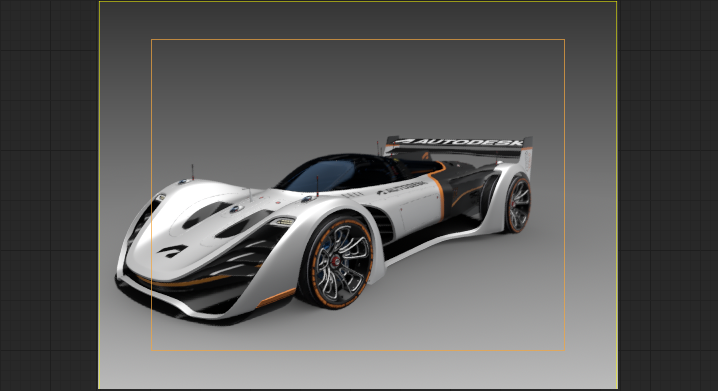
Snapshot Frame - Draws a yellow frame in the Render View, indicating the target image to be rendered. After activation, all the following settings are available.
Without Snapshot Frame With Snapshot Frame 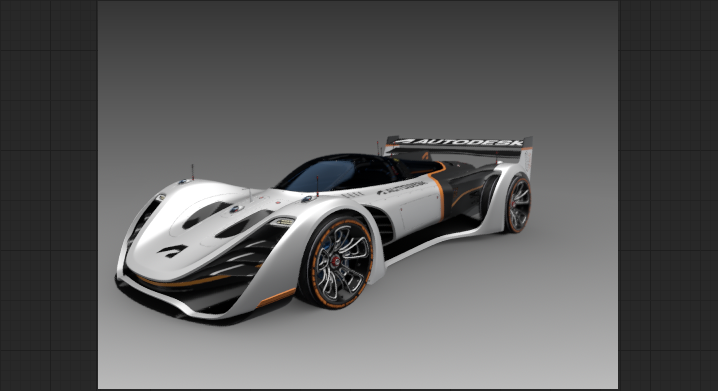
Snapshot Render Region Frame - Only available when Snapshot Frame is enabled. Draws a green frame in the Render View and is dependent upon the values of the region start XY and region end XY input fields.
| Snapshot Frame | Snapshot Frame with Region Snapshot Frame |
|---|---|
|
 |
Snapshot Inner Frame - Only available when Snapshot Frame is enabled. Draws an orange frame in the Render View, indicating the area where text or graphics show neatly.
Unit - Defines the distance unit of the inner frame by percent or in pixels.
Left - Right - Sets the distance of the left and right side.
Top - Bottom - Sets the distance of the top and bottom side.
Denoised and Non-denoised Images
We added the Keep Undenoised Image option to the File Output tab > Images section of the Render Settings for writing out the denoised and non-denoised images when raytracing to solve the issue of fine details being destroyed by the denoiser.
Denoiser Changes
We changed the Use Denoiser options to the following:
Optix/Auto - This GPU-based denoiser is faster than Open Image Denoiser, only works on Nvidia GPUs, and is the default. If your GPU is not an Nvidia, the Open Image Denoiser is used.
Open Image Denoiser (OIDN) - This denoiser was updated to 2.3.1, which can work on a GPU or CPU. The default behavior is the GPU-based denoiser for interactive rendering, which can produce slightly better denoising results than Optix.
Note:If Open Image Denoiser (OIDN) is chosen and no compatible hardware is found or image resolution is set higher than the GPU denoiser can handle, VRED automatically uses to the CPU denoiser, Open Image Denoiser (OIDN).
GPU Raytracing Runtime Texture Compression
We added support for runtime texture compression to GPU Raytracing, which compresses textures when uploading them to the GPU without changing the original images.
As a result of this change, we renamed the preference, Use OpenGL Texture Compression, to Use GPU Texture Compression. When it is enabled, VRED will try to compress textures when uploaded to the GPU in GPU Raytracing (and in OpenGL). This process is rather time consuming, so initialization of the GPU Raytracer will take longer.
Textures with dynamic content, such as web engine textures, image sequences, and images created by vrVirtualEye and vrMoviePlayer2, are not compressed, so the texture update is not slowed down.
Shell Components When Raytracing
For GPU Raytracing, we improved memory consumption for scenes with many shell components.
New API for Render Settings
New objects/functions have been added to the VRED Python API v2, some include vrdRenderSettings and vrRenderSettingsService. For a full list, see What's new in API v2 2026.
Renderer Preferences
We added the following options to the Render Window preferences > Visualization tab > Viewport section to set the default rasterizer and raytracer used.
Default Rasterizer - Sets the default rasterizer used by VRED. Choose from Vulkan and OpenGL. If your hardware doesn't support your selection, VRED will default to one that it does.
Vulkan requires a raytracing-compatible graphics card and has advanced functionalities unavailable in OpenGL, such as GPU-accelerated raytracing. Rasterization closely resembles that of the GPU Raytracer in precompute mode, simplifying the transition between rasterization and raytracing. It efficiently handles a large number of objects, especially when in motion, and doesn't have the light limitations of OpenGL, as all lights illuminate both geometry and volumes.
OpenGL has no graphics card requirements and renders 2D and 3D vector graphics.
Default Raytracer - Sets the default raytracer used by VRED. Choose from CPU and GPU. If your hardware doesn't support your selection, VRED will default to one it does.