Geometry Cleanup scans selected objects in a drawing to help you find and fix geometric errors.
Display the Geometry Cleanup Palette
The following methods can be used to display the Geometry Cleanup palette
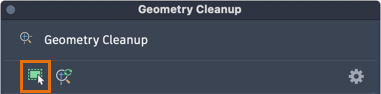
- On the toolbar, click . Find
- At the command prompt, enter GEOMETRYCLEANUPOPEN.
Scan Objects for Geometric Errors
- Open the Geometry Cleanup palette.
When the palette first opens, it displays an empty state where you can select objects to scan or learn more about Geometry Cleanup.
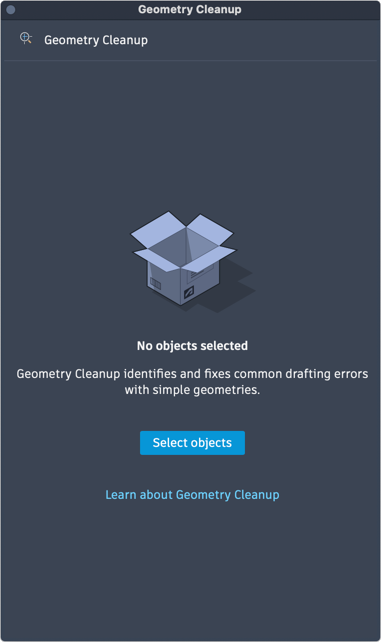
- Click Select objects and select the objects in the drawing that you want to check for geometry errors.
Only supported objects in model space, and on unlocked and thawed layers can be included in the scan.
- In the Geometry Cleanup Settings dialog box that is displayed, update the error types and tolerance, or thresholds for error identification, as needed.
To accept the proposed tolerance, click the value in the Proposed tolerance column.Note: If the entered tolerance value is too large, Geometry Cleanup might report errors that are not actual errors.
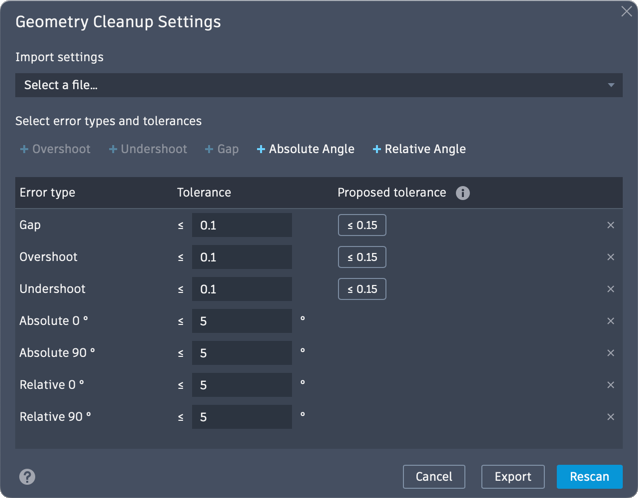
- Click Scan.
Review and Fix Detected Geometric Errors
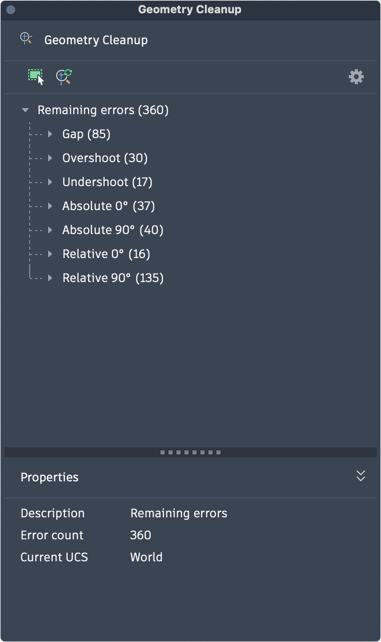
Once the scan is complete, the errors are displayed in a tree view in the Geometry Cleanup palette:
- Remaining Errors: Lists the total number of errors to be fixed.
-
Error Types:
- Gap
- Overshoot
- Undershoot
- Absolute Angle
- Relative Angle
- Individual Error Instances: Location of the error found, shown in XY coordinates.
- Properties Panel: Displays detailed information about the selected item in the tree.
- On the Geometry Cleanup palette, expand one of the error type nodes that contains errors.
- Click an error to activate review mode.
In review mode, the relevant geometry pans into a highlighted view for improved clarity.
Tip: On the Geometry Cleanup toolbar, click the Auto Zoom Navigation button to better view the error.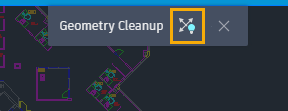
- Do one of the following to display a menu with available fixes for the selected error:
- Right-click the error in the tree.
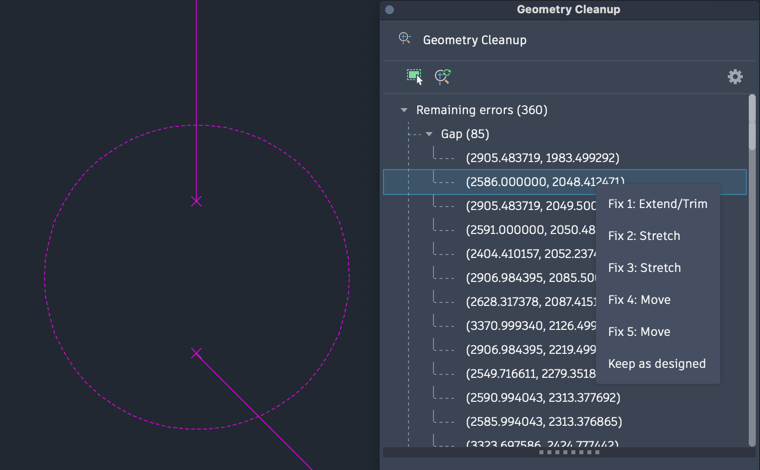
- Hover over the error type indicator or 'X' in the drawing area.
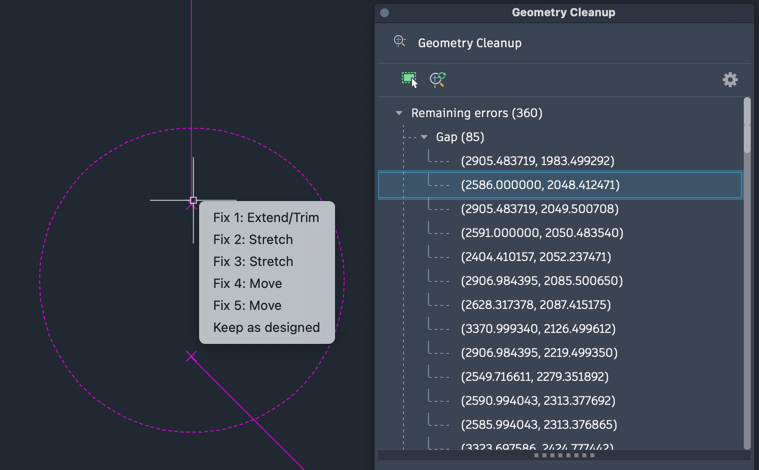
- Right-click the error in the tree.
- Review the available fixes by hovering your cursor over each item on the menu.
Available fixes might include but are not limited to:
- Trim
- Extend
- Move
- Stretch
- Rotate at
- Keep as designed (clicking this option excludes this error from future scans)
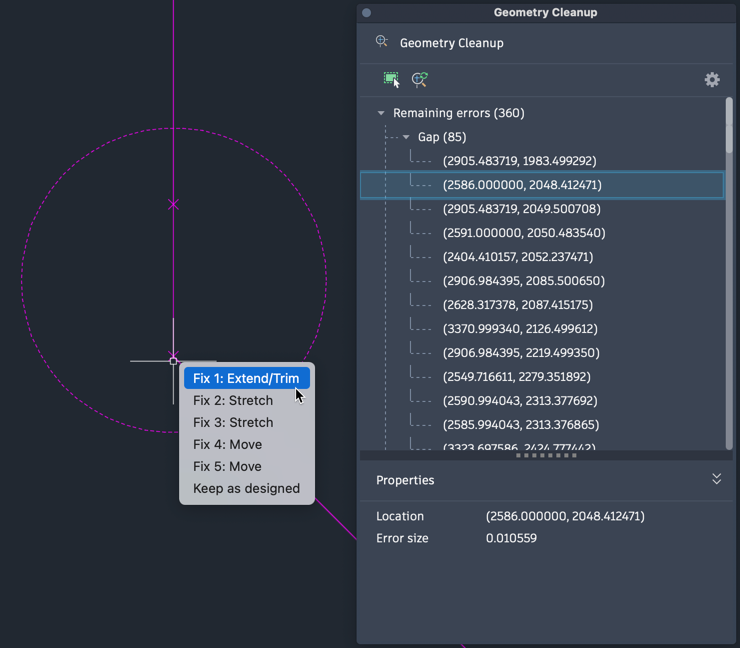
- Choose a fix to update the geometry or choose Keep as designed to ignore the error without modifying the geometry.
The geometry is updated according to the fix chosen.
Note: Errors flagged Keep as designed are tracked in the /Users/<username>/Library/Application Support/Autodesk/GeometryCleanup/IgnoredIssues.json file. Delete the file to allow previously flagged errors to be displayed the next time geometry is checked.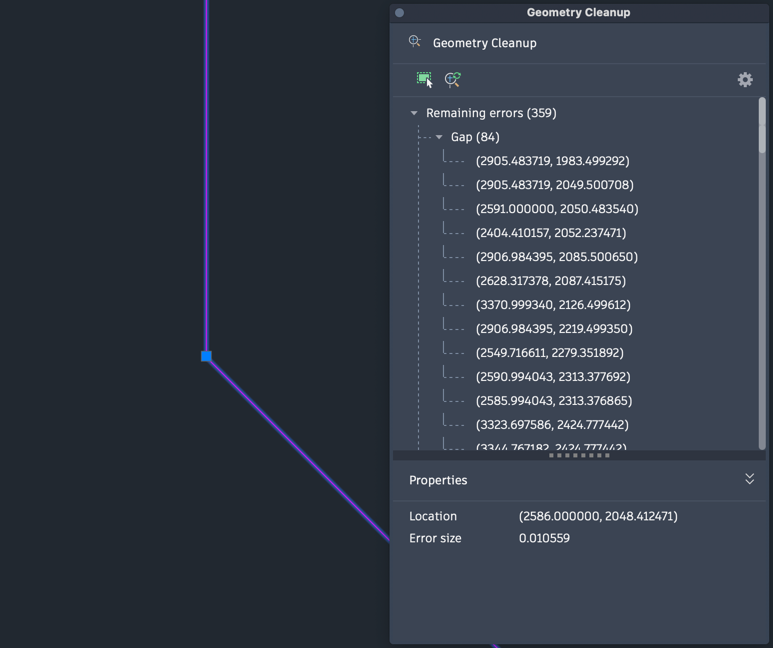
Scan New Objects with Same Settings
- To select new objects to scan while maintaining the same settings, click Select objects from the Geometry Cleanup palette.
- Select the geometry you want to scan.
- Press Enter to rescan.
Note: Only supported objects (lines, polylines on the XY plane, arcs, elliptical arcs) are included.
Rescan the same objects with new settings, or scan new objects with new settings.
- To select new objects to scan while updating settings, first follow steps 1-3 above to select new objects.
- Update settings by clicking the Settings icon in the palette.
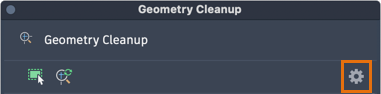
- In the Settings dialog box, review and adjust error types and tolerance values.
- Then, click Rescan.