Skin Tools provides a non-destructive, layer-based skinning system for Autodesk Maya. It extends Maya's native skin cluster with editable skin layers, masks, and advanced tools for painting, mirroring, and managing skin weights.
Use Skin Tools when you need iterative, production-safe skinning workflows, complex character rigs, or advanced mirroring and automation.
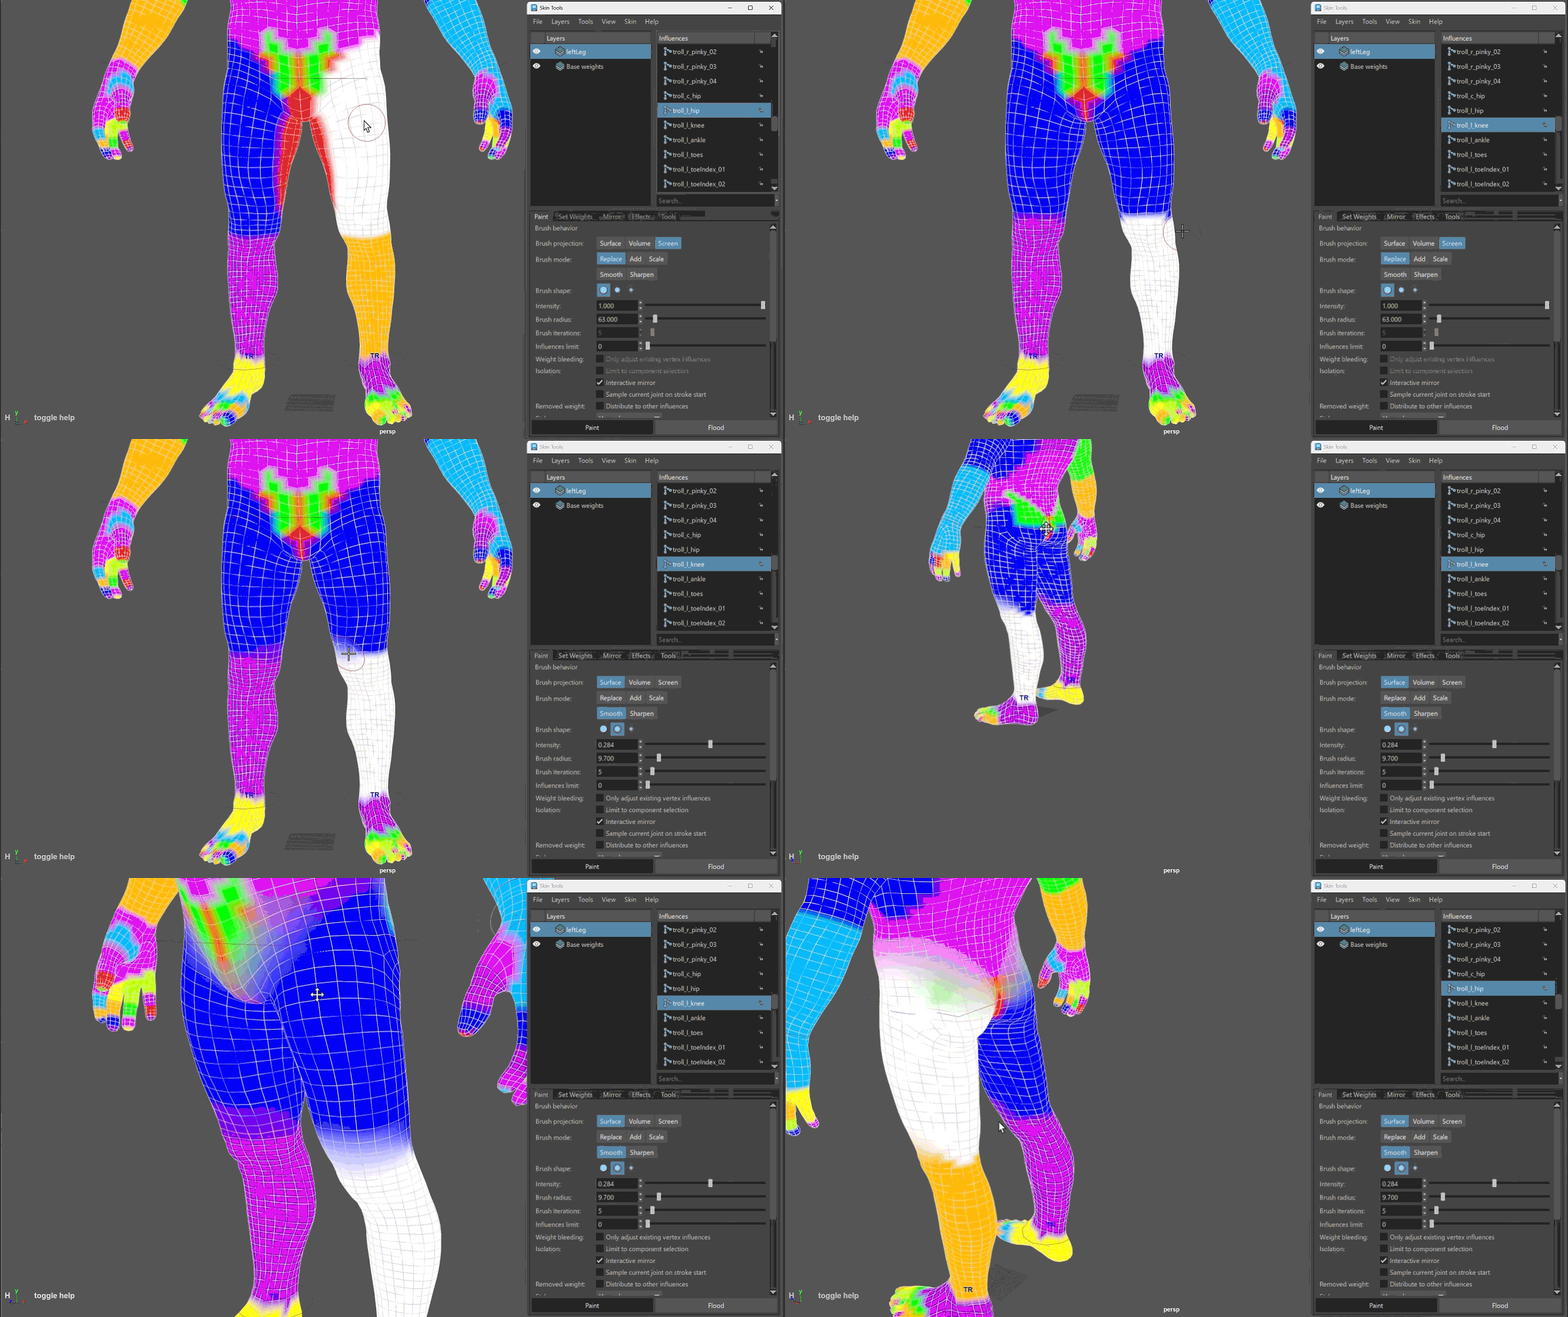
Topics in this section
Skin Tools overview
Skin Tools introduces a fundamental shift in the character skinning paradigm within Maya. It reframes the process from a linear, often frustrating task into an organized, iterative, and efficient workflow. The core of this system is its non-destructive nature, which provides a robust framework for artists to build, refine, and experiment with skin weights without the fear of making irreversible mistakes.
Skin Tools quickstart tutorial
This tutorial introduces the basic workflow for using Skin Tools in Maya. It outlines the fundamental steps for initializing skin layers, painting weights, refining deformation, and working with layers and mirroring.
Initialize and manage Skin Tools layers
Initialize and manage the Skin Tools layer system on skinned meshes, including setup, switching between skin clusters, and removing or resetting layers.
Skin Tools UI
The Skin Tools UI provides a layer-based workflow for editing skin weights on a Skin Cluster.
Skin Tools painting and brush tools
Skin Tools provides specialized brushes for painting and refining skin weights on layers. Skin Tools painting operates on the active layer and the selected influence.
Mirror skin weights in Skin Tools
Skin Tools provides a number of different ways to mirror weights. Interactive mirroring while painting weights. A manual operation that copies weights from one side to the other. A post-process that is only applied when the final skin weights are applied to the skin cluster.
Skin Tools utilities and tools
This section covers the additional tools and utilities available in the Skin Tools UI and related menus.