Use the Material Editor panel of the Material Browser dialog to review or edit the assets and properties of a material. Only materials in the current project can be edited.
See About Material Properties and Assets for more information.
To edit the properties of a material
- Select the material in one of the following places in the Material Browser:
- In the project materials list, click a material.
- In the library materials list, click a material, and then click the Add-Edit
 button. This button adds the material from the library to the project materials list.
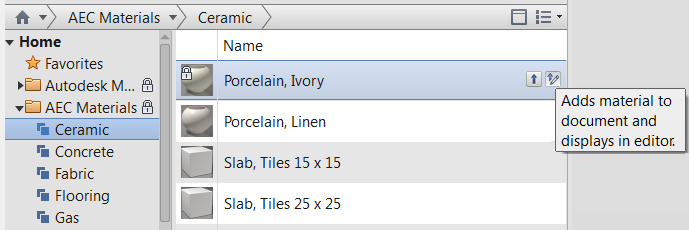
The Material Editor panel displays the assets of the selected material in edit mode.
- Click one of the asset tabs (for example, Identity or Graphics) to see its properties.
- If you edit the properties of an asset, save the changes by clicking Apply to keep the material open in the Material Editor panel, or click OK to save the changes and close the Material Browser dialog.
Changes to asset properties apply only to the material that resides in the current project. If you started with a material from a library, the original material in the library remains unchanged.
- To rename a material, right-click it in the project materials list and click Rename.
- To duplicate an asset, display the asset in the Material Editor panel by clicking the appropriate tab, and then click
 Duplicate Asset.