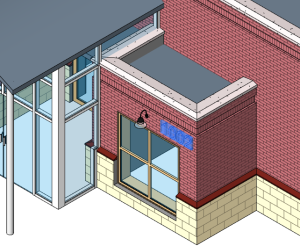
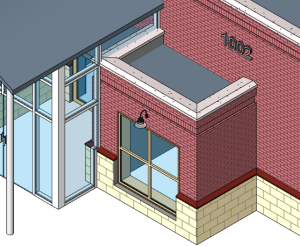
- Select a work plane-based element in a view.

- Click Modify | <Element> tab
 Work Plane panel
 (Edit Work Plane). Note: When you use the Edit Work Plane option, the new work plane must be parallel to the existing work plane. If you need to select a work plane that is not parallel to the existing work plane, use the Pick New option. See Moving Work Plane-Based or Face-Based Elements and Components to Different Hosts.
 - In the Work Plane dialog, select another work plane.
How?
- Name—Choose an available work plane from the list, and click OK.
The list includes levels and named reference planes.
- Pick a plane—Vasari creates a plane coincident to the selected plane. Select this option and click OK. Then move the cursor over the drawing area to highlight available work planes, and click to select the desired plane.
You can select any plane that can be dimensioned, including wall faces, extrusion faces, levels, and reference planes.
- Pick a line and use the work plane it was sketched in—Vasari creates a work plane that is coplanar with the work plane of the selected line. Select this option and click OK. Then move the cursor over the drawing area to highlight available lines, and click to select one.
- Pick a new host—This option displays only when you have selected a work plane-based element in the drawing area. Select this option and click OK. On the Modify | <element> tab > Placement panel, select the desired option: Vertical Face, Face, or Work Plane. Then move the cursor over the drawing area to highlight available hosts for the element, and click to select the desired host.
- Name—Choose an available work plane from the list, and click OK.
- If needed, reposition the element on the work plane.
