Customize Cost Management Tables
Learn how to customize tables, add custom attributes and columns, and use the Filter and Group tool. The articles in this group help you customize the visuals of Cost Management:
In this article:
Customize Tab and Tool Names
Project administrators can customize Cost Management so that the tool and tab names match the terms used by your company. You can also change the order of the tools and tabs.
To customize tabs and tools in Cost Management:
- Click


 .
. - Select Cost Management from the left navigation.
- Select the General tab.
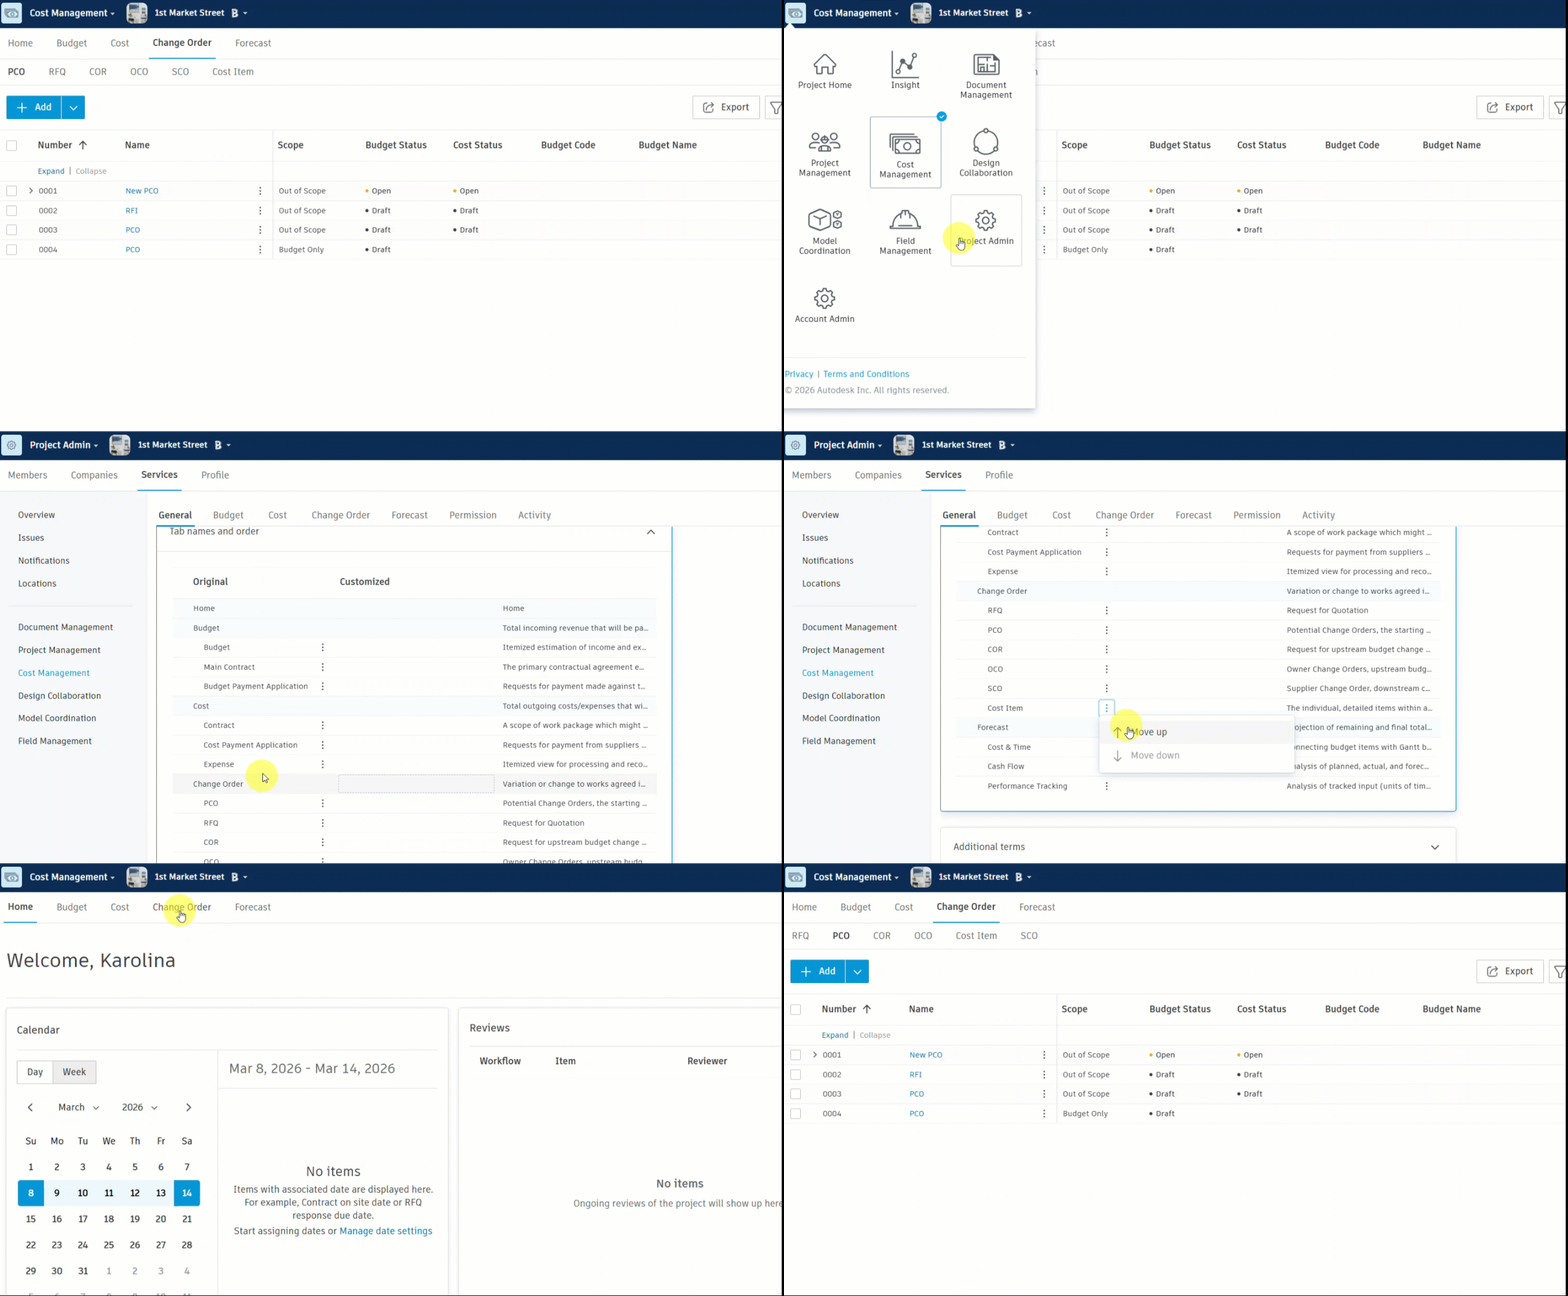
- Go to the Tab Names and Order section.
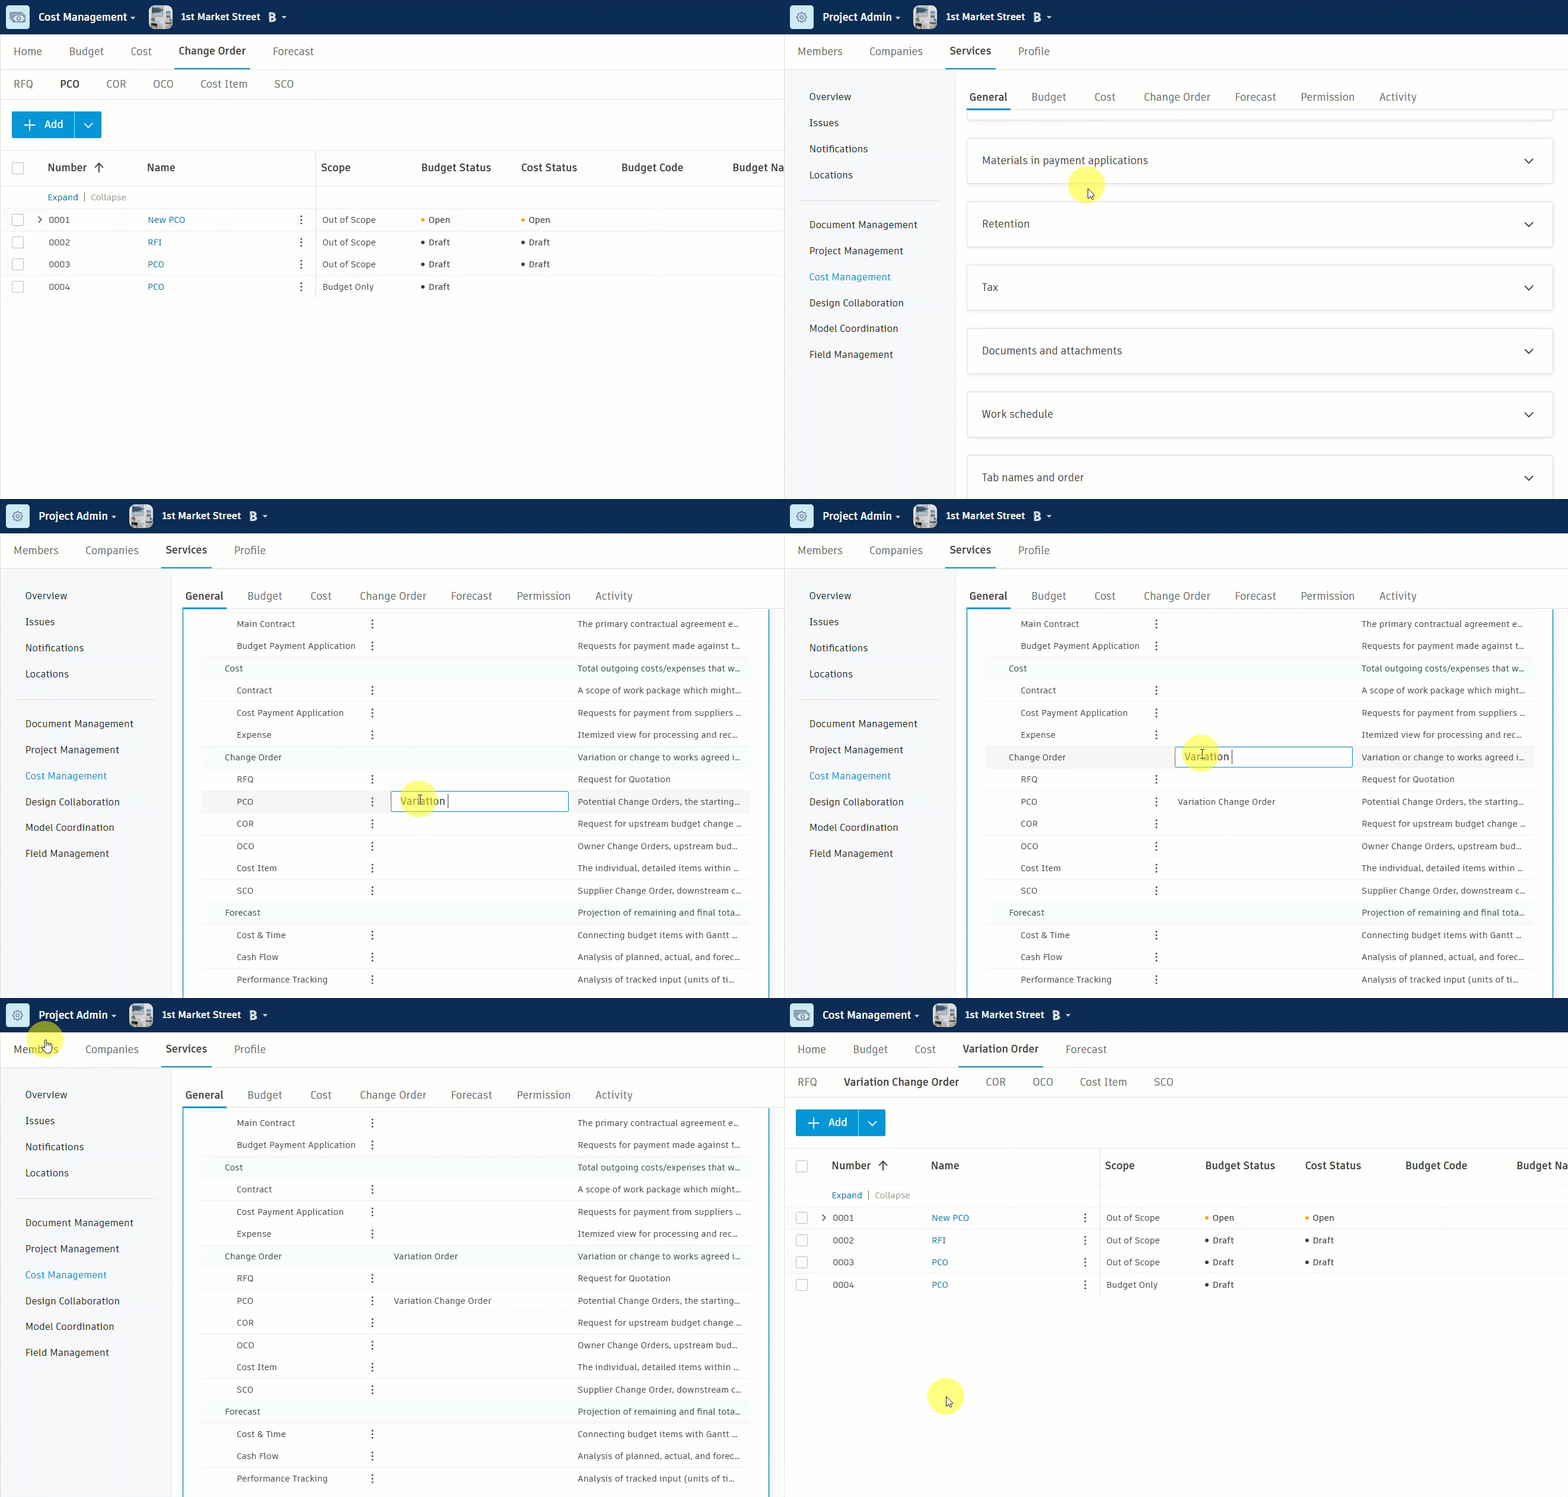
- Enter replacement names in the Customized column.
- Select the More menu
 to reorder the tabs.
See the following animation to learn how the change order tabs can be reordered:
See the following animation to learn how the change order tabs and tools can be renamed:
Control Column Order and Visibility
The tables in Cost Management can be difficult to deal with while extracting specific information. You can control the tables by snapping columns to the left or right, showing or hiding columns, changing the order of columns, or reset the default view.
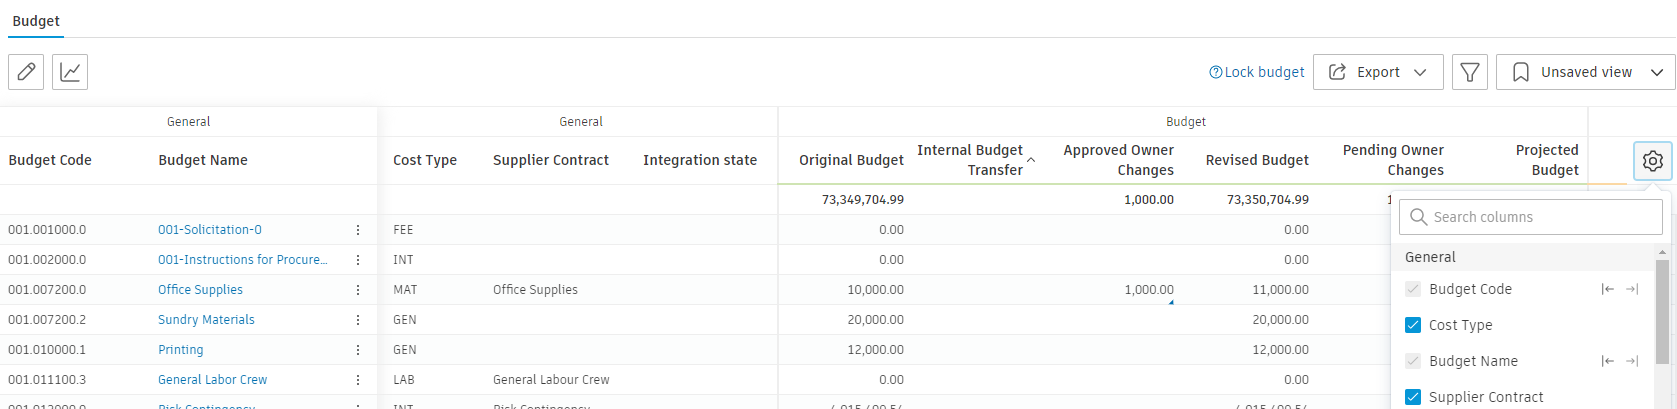
You can access the table settings with the  icon:
icon:
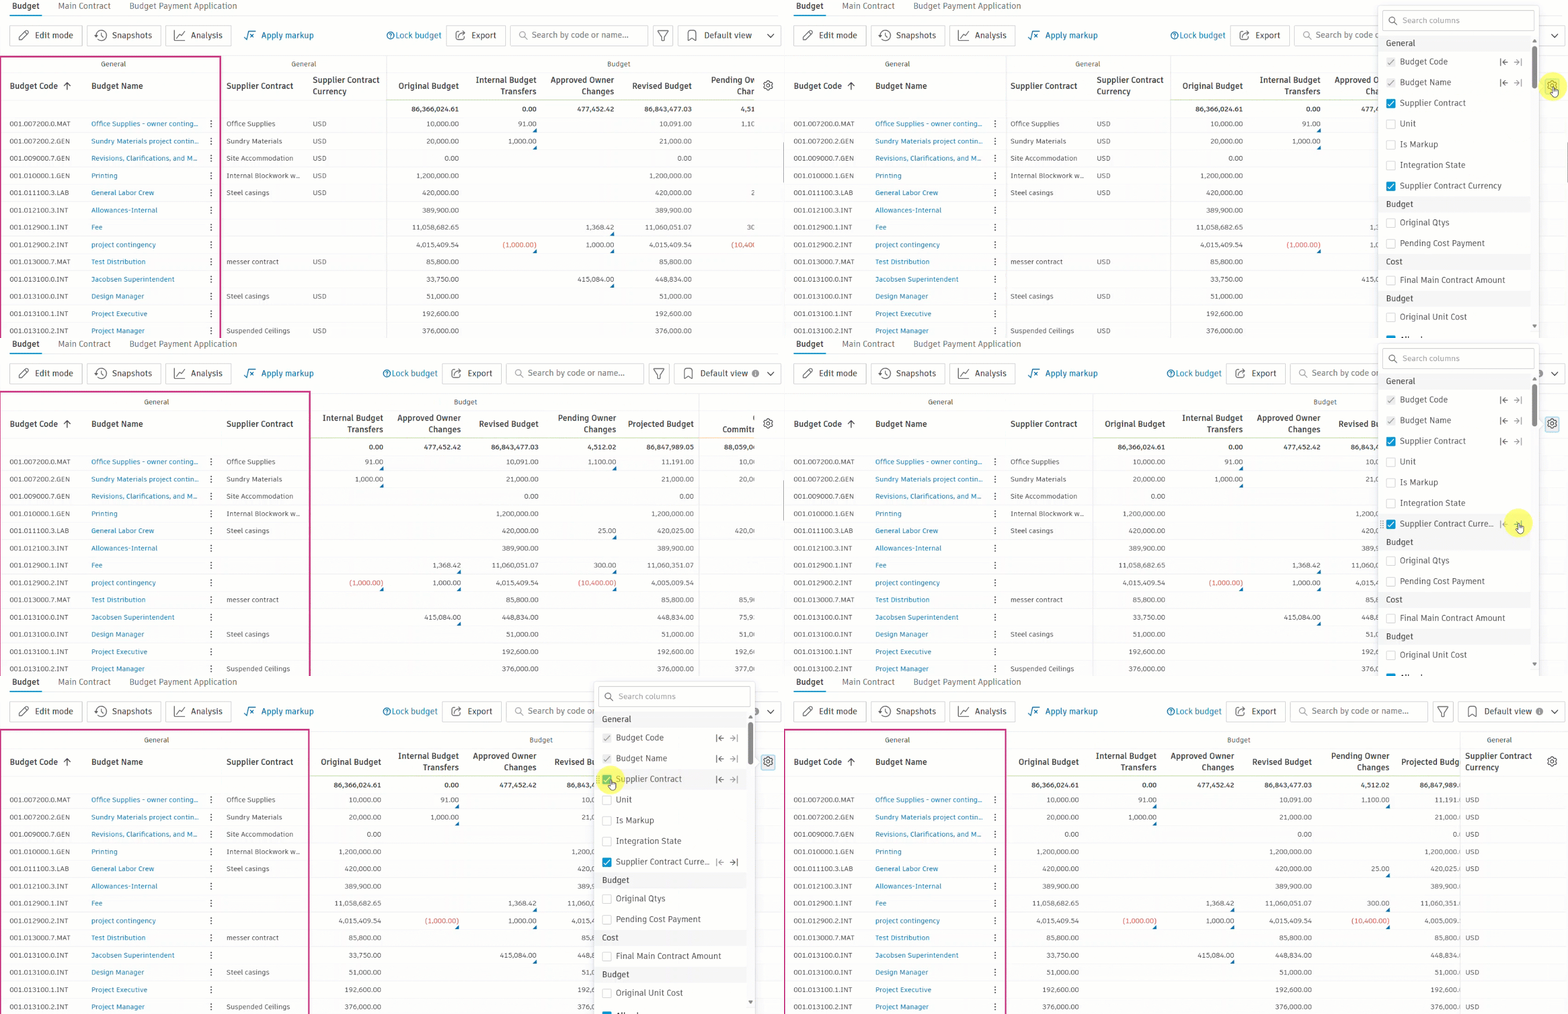
This short animation shows the example of customizing the Budget table:
Snap Columns
To snap columns:
- Hover over a column.
- Use the icons to snap to the left or right
 .
. - Click again or select Reset to restore the default view.
Show or Hide Columns
To show or hide a column:
- Hover over a column.
- Alter the column's checked status.
- Select Reset to restore the default view.
Change Column Order
To change the columns' order:
- Hover over a column.
- Click the handlebar
 on the left and drag the column to the desired location.
 - Use Reset to restore default view.
Column Mode
The column mode presents change orders in a column.
This option is available in the Budget Payment Application, Main Contract, as well as in detailed view of Contract SOV, Cost Payment Application, and Contract.
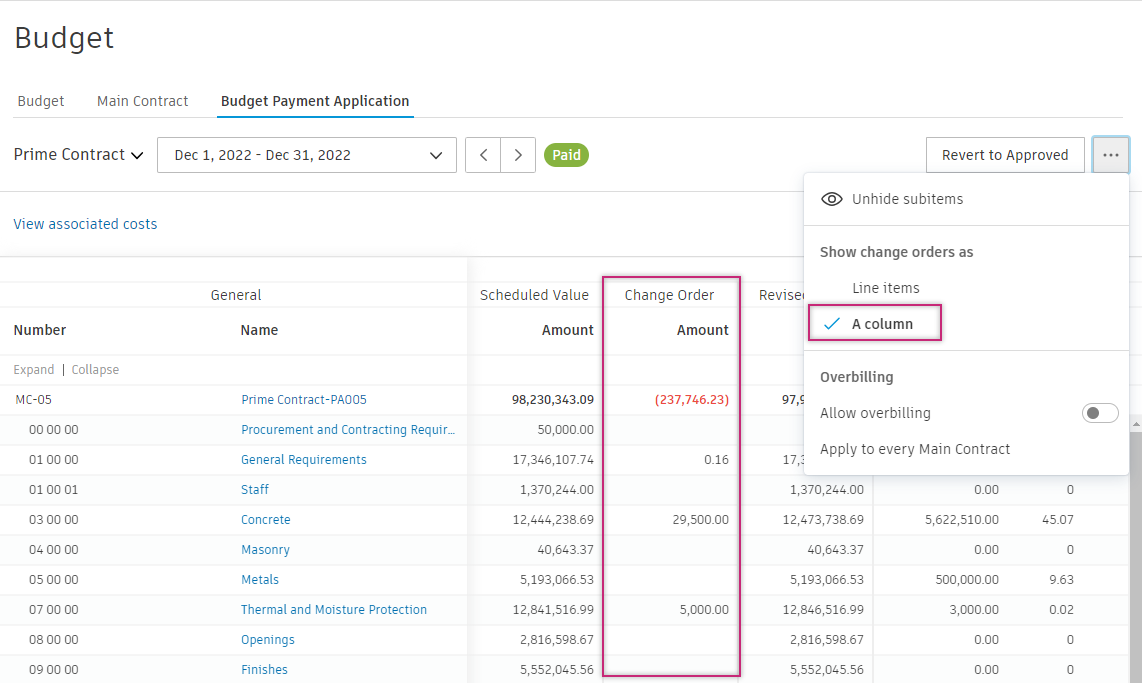
To show change orders as columns, click the three-dot menu and select the view.
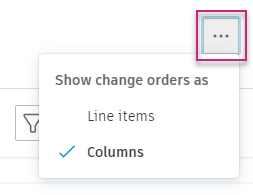
- For Contract and Cost Payment Application, the Column mode displays approved SCOs.
- For Main Contract and Budget Payment Application, the Column mode shows approved OCOs.
- For Contract SOV detailed view, the Column mode can also display original Budget related columns, if One budget to multiple contracts is not selected.
Learn more about Change Orders.