Illuminance simulations in Revit use standard Revit 3D views as the basis for the analysis. To get a useful view for analysis, you need to be thoughtful about how you place your cameras in Revit. The process below will tell you how to set up the proper cameras to get a good floor plan view.
Why to use floor plans for analysis
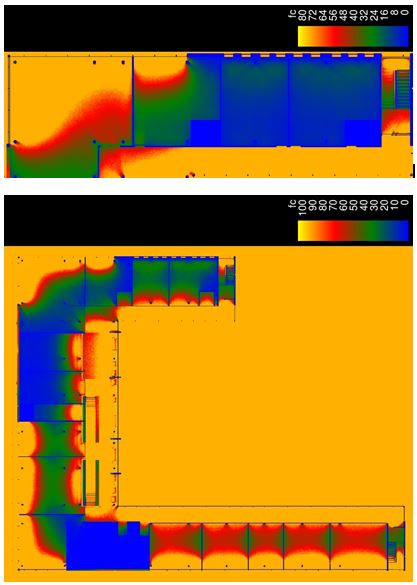
Illuminance analysis is most commonly done on a floor plan view of the room or space. With good data overlaid on top of a floor plan, it is straightforward to calculate the percentage of floor area that is within minimum and maximum illuminance requirements for a space or to understand light sufficiency on a work surface such as a desk or table.
Perspective views are usually not used for illuminance simulations – but could be useful if measuring how much light falls on a whiteboard in a classroom or a piece of art in a museum, for example.