Import As-builts from PlanGrid to Files in ACC
If you have as-builts created in PlanGrid, you can easily transition them into the Files tool in Autodesk Construction Cloud to have a central location for all of your project information.
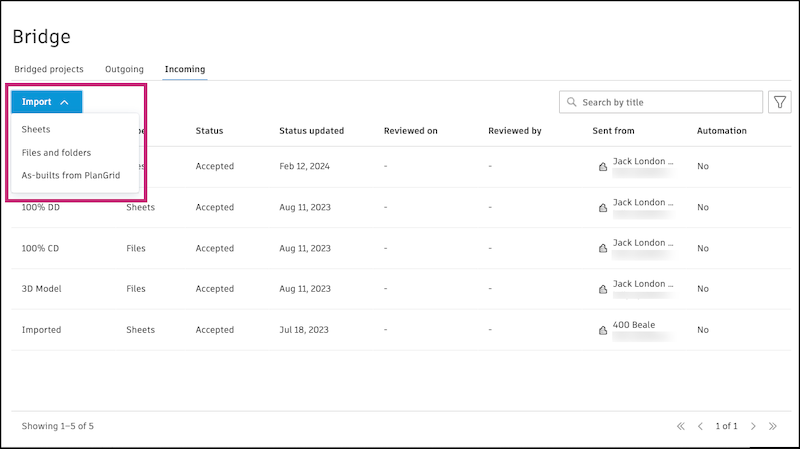
In Autodesk Docs or Autodesk Build, navigate to the Bridge tool.
Select the Incoming tab.
Click Import and select As-builts from PlanGrid.

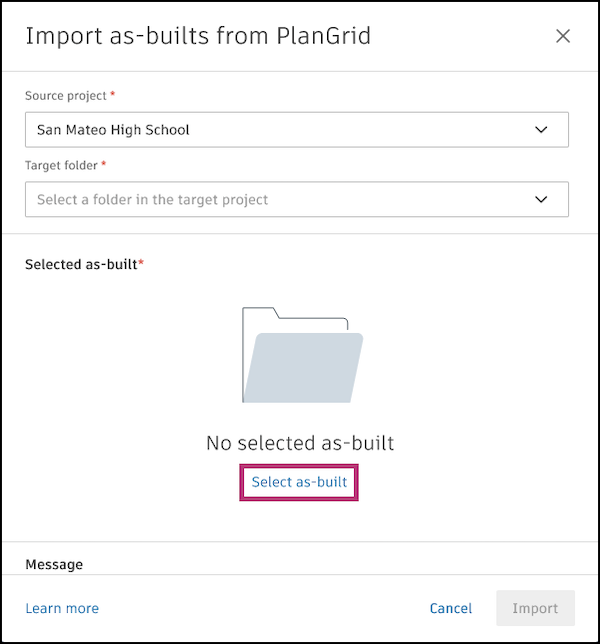
Select a source project. The drop-down menu will show your PlanGrid projects and workspaces.
Select the target folder. This is the folder in your current project that the as-builts from PlanGrid will be imported into.
Note: Only the folders in which you have Edit permission or higher will appear.Click Select as-built.

Select an as-built from the list.
Click Select.
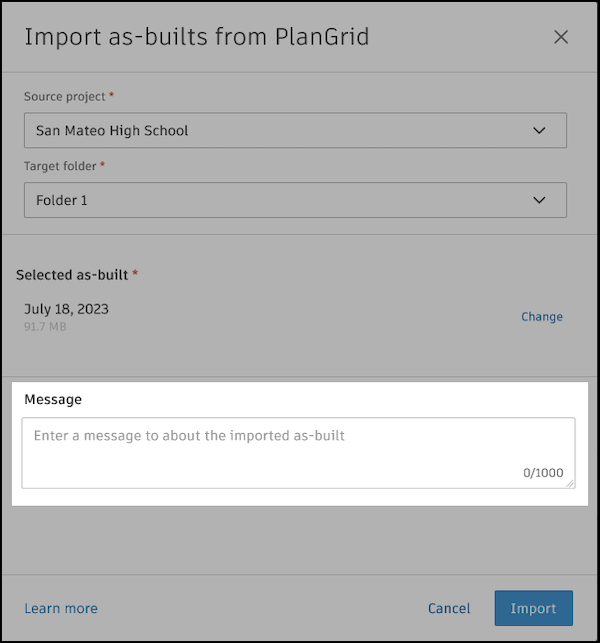
(Optional) You can enter a message about the imported as-built to provide context for your project members.

Click Import.
The as-built from PlanGrid will appear in the Files tool in the target folder you selected. Project administrators will receive an email notification when the as-builts are ready. A record of this import will appear in the Incoming tab.