Method-Related Planning
With method-related planning, you can plan time-based allowances, such as General Conditions, in a visual way using Gantt-based schedule tasks.
In this article:
- Create a Schedule Task
- Manage Schedule Tasks
- Link Schedule Tasks and Budgets
- Update Linked Schedule Tasks and Budgets Dates
- Next Steps
Create a Schedule Task
With this capability set, teams can add key schedule milestones and associate budget items to them to visually plan their budgets in a Gantt view. There are two ways to add schedule milestones:
- Automatically, by pulling in tasks from the schedule within the Schedule tool in Forma Build
- Manually, in the Forecast tool within Cost Management
Create a Schedule Task by Adding a Reference from Forma Build
To do so:
Go to the Forecast tool from the left navigation.
In the first Cost & Time tab, select the arrow next to the Create Schedule Task button, then select Add reference from Forma Build.

The Add schedule reference dialog box will appear. Use the drop-down menu to choose the appropriate schedule.
Select tasks that you want to pull over.

Select Add schedule activity to automatically bring the tasks into the Cost & Time tab in Cost Management.
If needed, the start and end date can be updated and color changed.
To automatically update tasks pulled in from the schedule later on, select the arrow next to the Create schedule task button, then select Update all reference tasks.
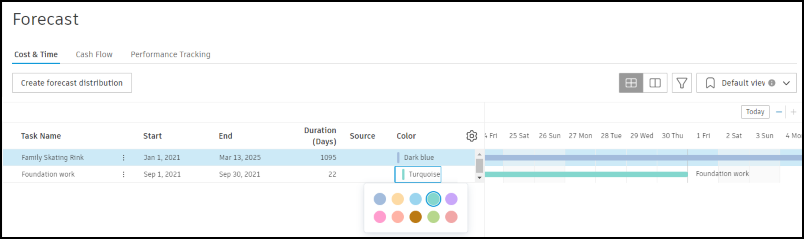
Add a Schedule Task Manually
To create a schedule task:
- Select the Forecast tool.
- Switch to the Cost & Time tab.
- Click Create Schedule Task.
- Enter a Task Name.
- Select a Start and End Date.
- Pick a color for the Gantt chart.
Manage Schedule Tasks
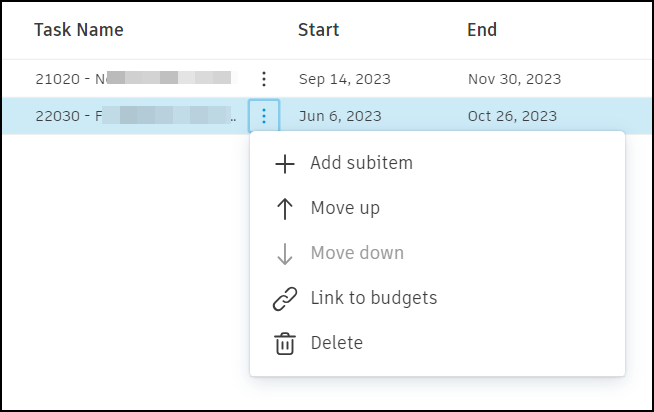
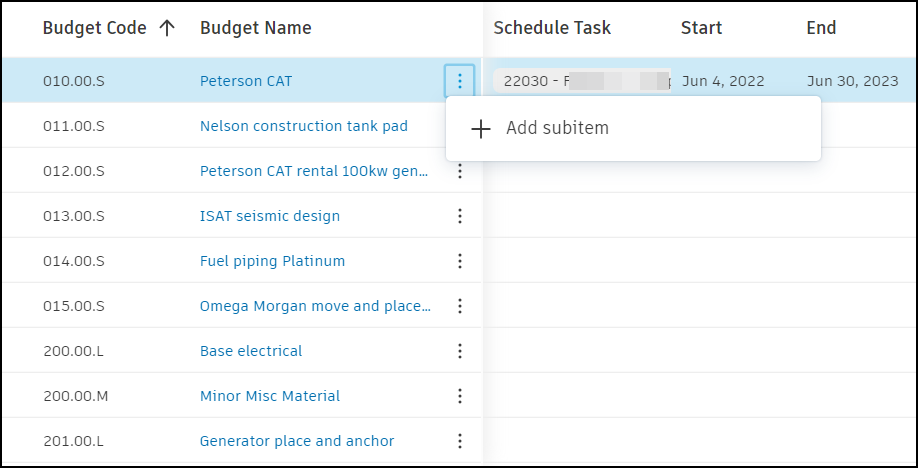
Once the task is created, use the More menu  in the task table to do any of the following:
- Add subitems.
- Move tasks up or down.
- Link a task to a budget. Once a task and budget are linked, their color, start, and end dates become the same. You can see linked budgets as references in the Schedule tool in Build.
- Delete tasks.
Use the ![]() to edit the visibility and order of the columns in the table.
to edit the visibility and order of the columns in the table.
Link Schedule Tasks and Budgets
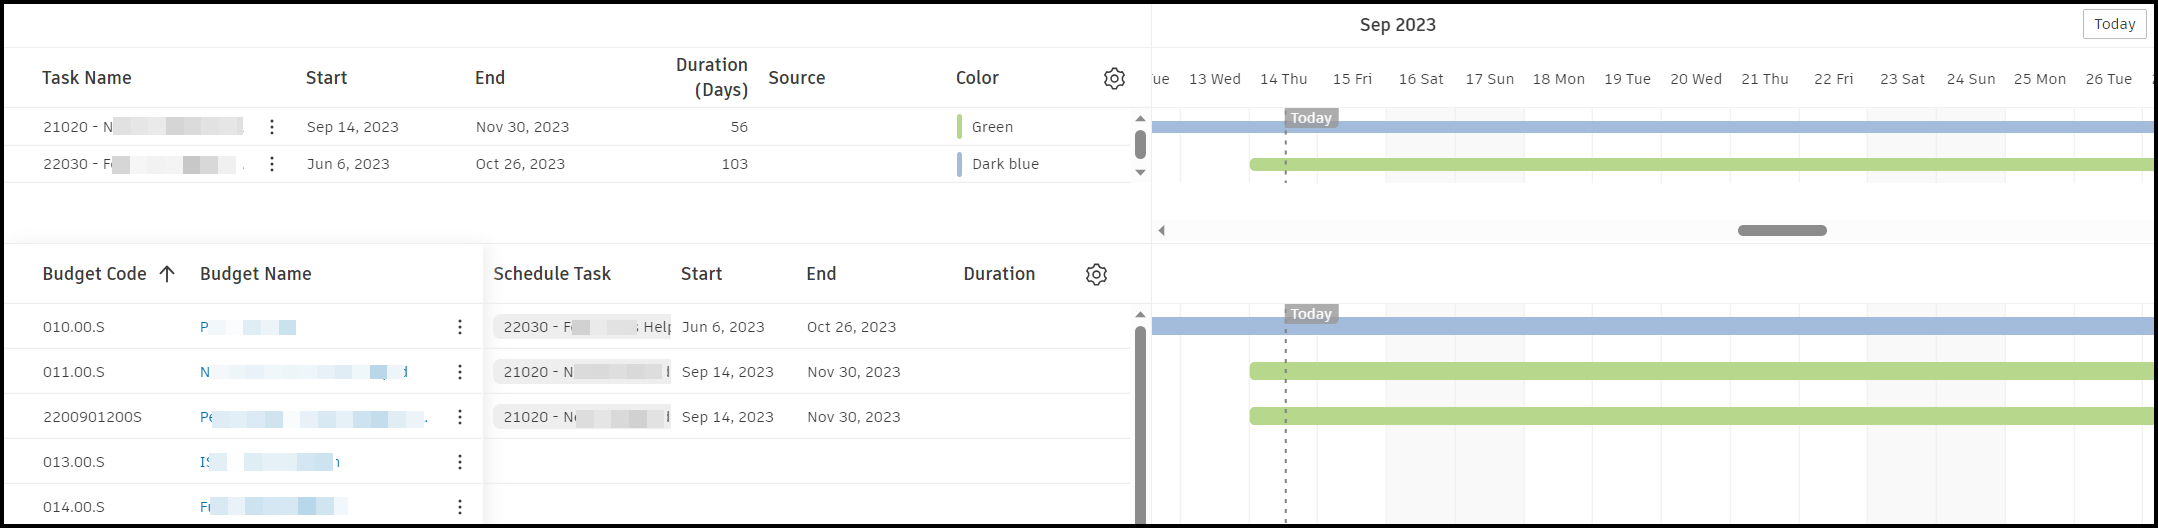
All budget items are automatically pulled into the budget section underneath the schedule tasks.
To link a schedule task to a budget item:
Use the More menu
in the budget table. Click Link to budgets.
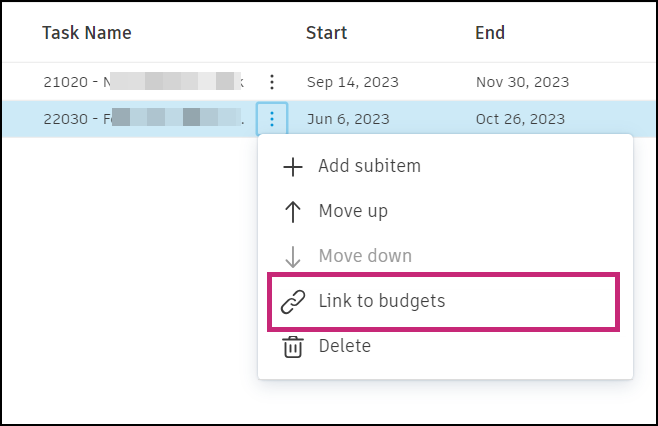
Check the box next to one or more budget items to link.
Once linked, the bar color of the task and budget item will be the same. The start and end dates will be linked automatically as well. You can change the dates manually.
Once you have linked all of your budget items to tasks, you can:
- Toggle the view to only the budget table using
 .
. - Control which columns are visible in the table through the
 icon.
icon. - Create customized views by setting up filters and groupings using the
 icon. If a view is something you expect to need regularly, you can use the view drop-down list to save your current view.
 - Add subitems by selecting the More menu.
Update Linked Schedule Tasks and Budgets Dates
Once schedule tasks and budget items are linked, the start and end dates will be populated automatically. You have the flexibility to modify the start or end date of the budget, and the dates of the linked schedule tasks. Simply click the Start or End column next to the respective task or budget item.
If the dates are the same for both linked budgets and tasks, any changes made to the schedule task dates will automatically update the corresponding dates for the budget items.
However, if the budget dates are manually modified or differ from the schedule task dates, the dates of the budget items will not be automatically updated.
Next Steps
Once all budget line items are linked with schedule tasks, you can go to the Cash Flow tab to create distributions and see a project-level cash flow analysis.