Form Sections
When creating a form template, you can add sections that request a specific type of information or sections with custom questions. Each section is its own page within a form and you can also select an assignee for each section.
The following are available sections in form templates:
There are character limits and limits to the number of sections that you can have within a form. See the Forms section in Product and Tool Limitations.
In this article, you'll learn about the:
Form Section Types
This adds a section where you can add one or more questions with different answer types for contributors to respond to.
Reference the numbers on the following image to learn more about each aspect of a section you can customize:
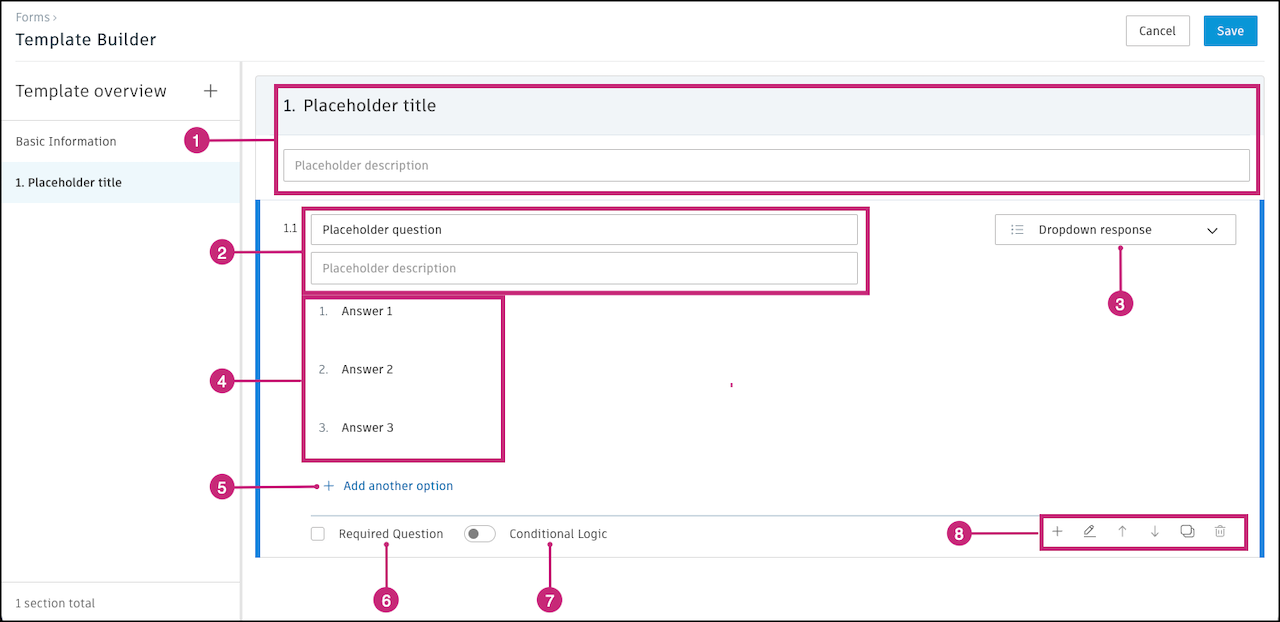
Section title and description
Question and description
Response type
- Preconfigured responses
- Text response
- Number response
- Single-select response
- Dropdown response
- Multiple-select responses
- Date
Answer options (if available for the chosen response type)
Add more response options (if available for the chosen response type)
Response requirement
Conditional Logic: Forms support conditional logic when creating a form template. With conditional logic enabled, you're able to have the person filling out a form complete an extra action if they select a certain response.
Conditional logic is available for the following response types:
- Preconfigured responses
- Single-select response
- Dropdown response
To use conditional logic, select one of the supported response types and then enable the conditional logic toggle. Then you can map an if-then statement to each response.
For each response, select a Then... action. This action will be visible to a member if they select your specified response.
The following Then... actions are supported:
- No action
- Require a photo
- Require an issue: You can select an issue type so that the required issue can only be of that specific type. For example, if the question relates to a safety concern, you may want the form editor to create an issue of the Safety type.
- Suggest a photo
- Suggest an issue
Section tools
 Add another question
 Add a signature
- You can request or require the member who fills out the form to apply a signature. Use the text input field to indicate who should sign the form. Select Required Question if you'd like the signature to be required.

 Reorder question: Use the arrows to move a question to the desired location.
 Copy question
 Delete question
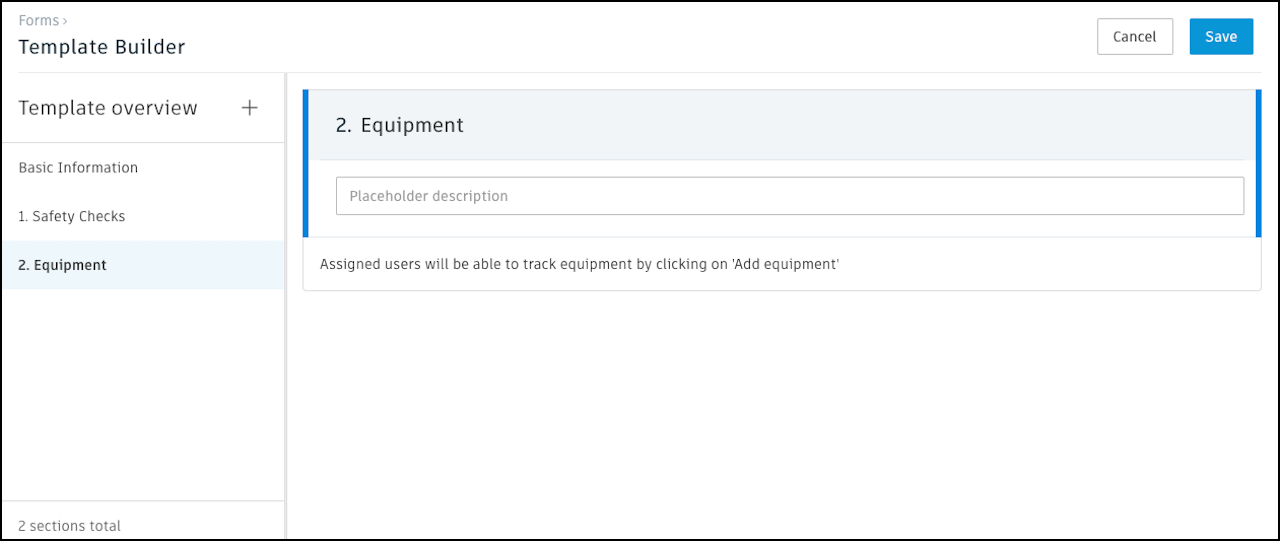
This adds a section with the Add equipment option to allow your team to track equipment use. If needed, you can change the title and add a description.
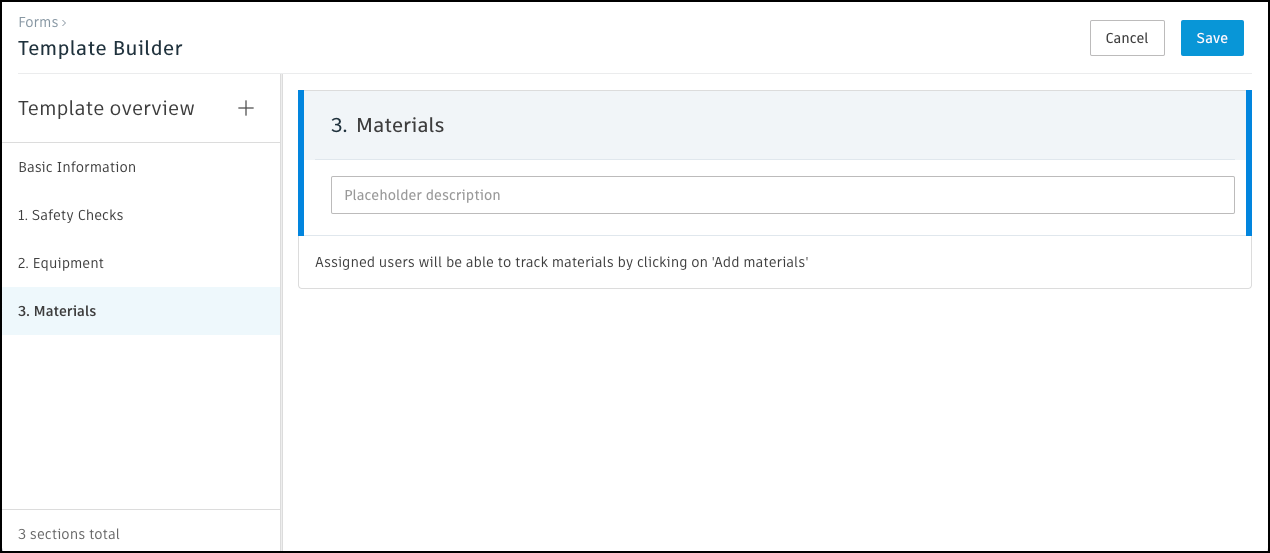
This adds a section with the Add materials option to allow your team to track materials. If needed, you can change the title and add a description.
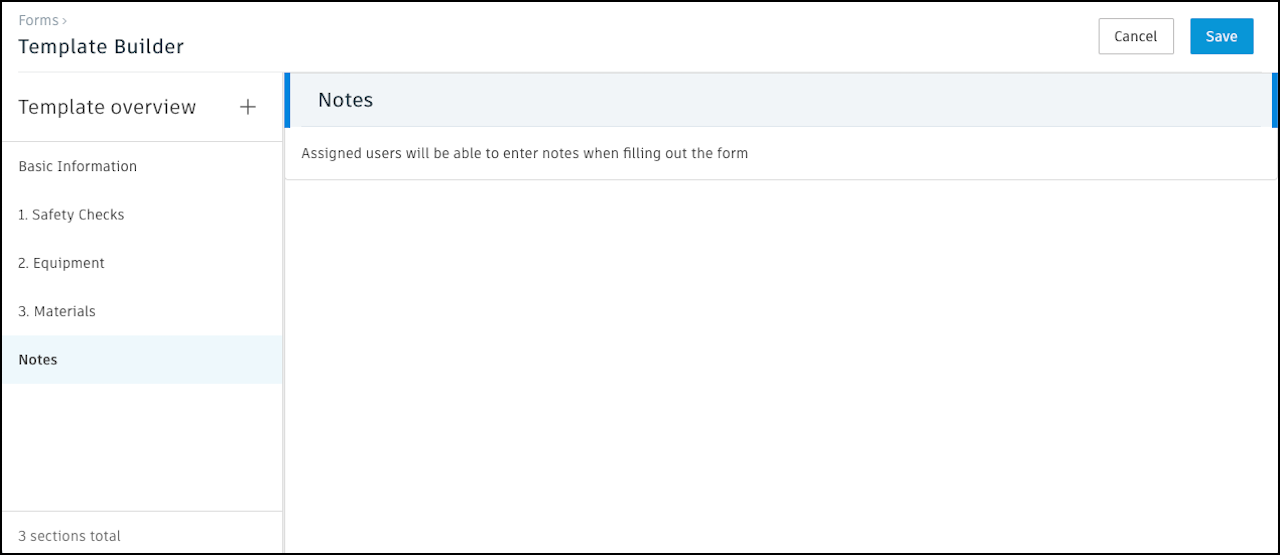
This adds a section for your team to add notes to any form. Notes will always appear at the bottom of your template.
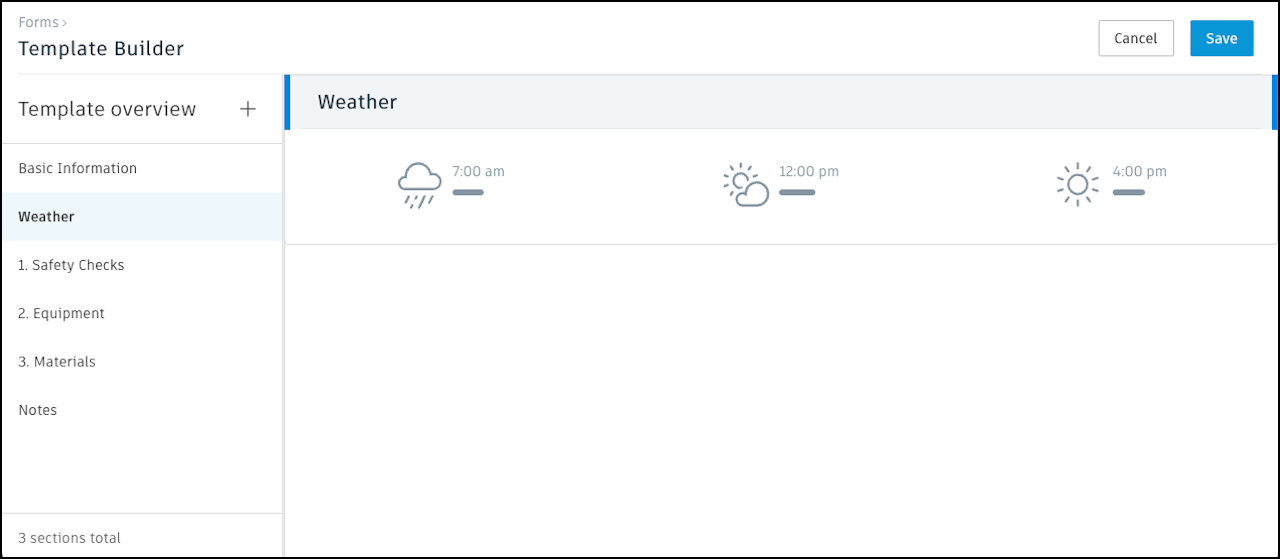
The weather section will always appear at the top of your template. This section uses your project's address to automatically gather weather data. If you haven't added an address to your project, you'll be prompted to provide an address when you add this field.
Learn more about how weather is shown in Weather in Forms.
This section allows you to ask form fillers to provide labor information. You can ask them to provide information like the company, discipline, number of workers or hours, and more.
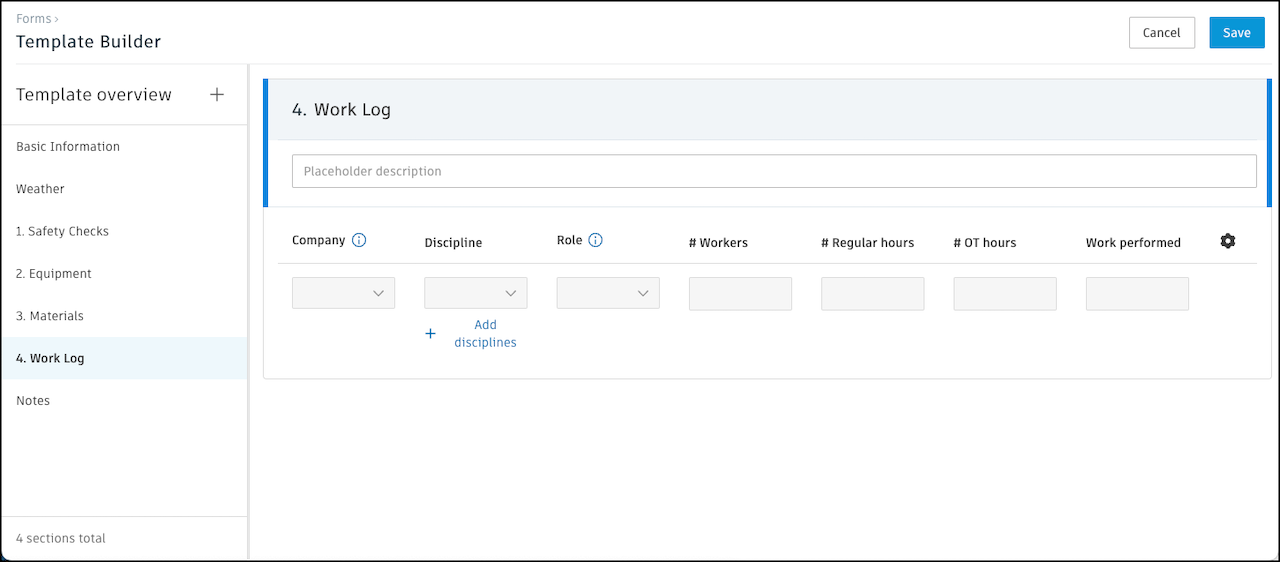
To customize the work log:
Click the cog icon
 to select from the fields you want the form filler to complete.
- Company: Allow form fillers to select a company from the project's account. Account admins can add roles in the Account Administration tool.
- Discipline: Allow form fillers to select from a list the discipline of work that is being performed like concrete or electrical.
- Role: Allow form fillers to select a role from the project's account. Account admins can add roles in the Account Administration tool.
- # of Workers
- # of Regular hours
- # of OT hours
- Work performed
If using Discipline, click Add disciplines under that column.
In the pop-up window, if you want to set the list of disciplines your team can pick from, click Add discipline option. Type the name of the discipline. Press Enter to add another.
Note: You can also choose to enable the ability for contributors to add their own disciplines. Toggle on Allow free form text responses at the bottom of the window.To reorder disciplines, click the relevant discipline and use the arrows
to the right to move it accordingly.To remove a discipline, click it and click the
 to the right.
Click Save.
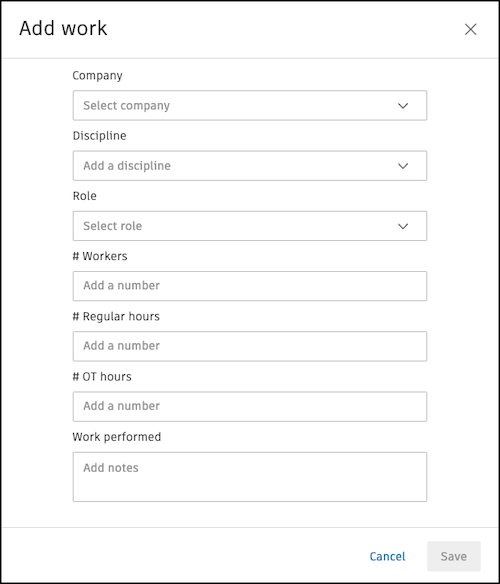
Here is a preview of how the fields appear for the form filler:
You can create reports that only include the work logs from forms. Learn how in Export Forms and see a preview of the report in Form Labor Summary Report.
Form Section Assignees
When creating or editing a form template, you can toggle on Section assignees. This allows you to assign each section to a company, role, or member.
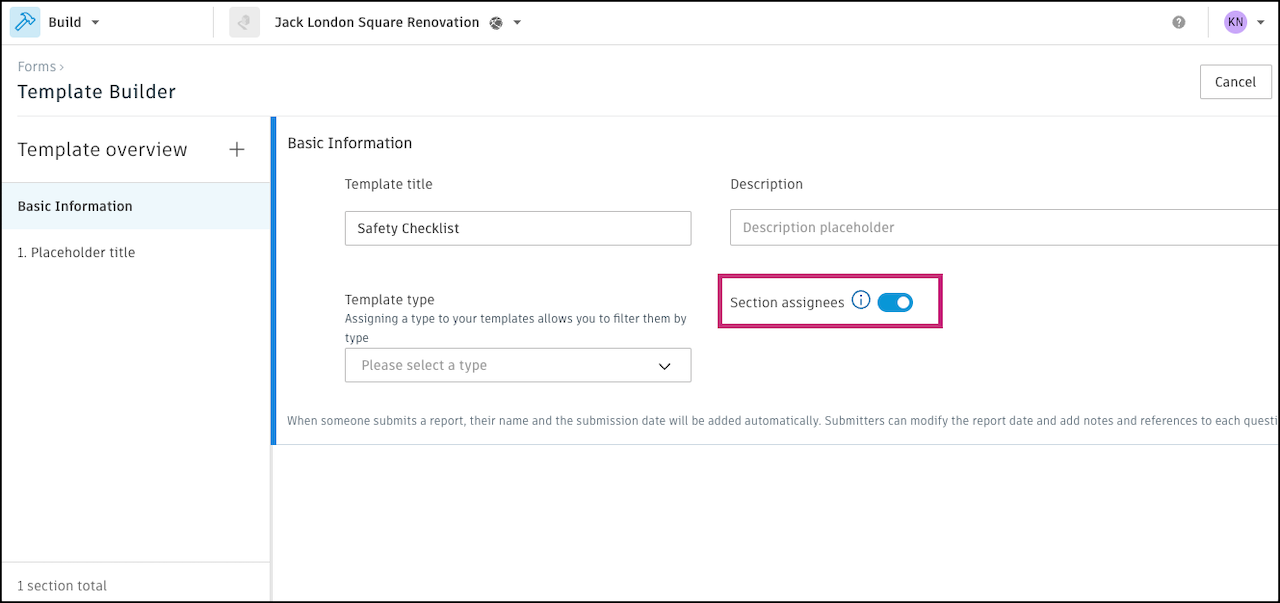
Once toggled on, each section will have an Assignee** field. Click into the field to select a company, member, or role from the drop-down menu.

Each section must have an assignee.