Issue Custom Fields
Custom fields allow you to collect and organize any information that's useful for your project and associate it with issues as a custom attribute. When you create a custom field and add it to a category or type, it becomes available for any issue that's assigned to that category or type.
Custom fields can be configured in a number of ways:
- Dropdown: Select from a list of items
- Numeric: Enter a number
- Paragraph: Enter multiple lines of text
- Text: Enter a smaller amount of text
The Issues tool has limitations regarding the maximum numbers of custom fields and attributes. See Product and Tool Limitations for details.
Create a Custom Field
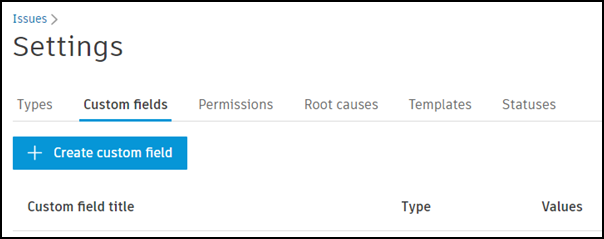
From the Custom fields tab, click Create custom field.

Complete the required fields for your new custom field:
- Custom field title
- Custom field type
You can also enter:
- Description
Select Create another custom field if you'd like to create another custom field immediately after this one.
Once you have finished creating your custom fields, click Create.

Once you've created a custom field, it's available to select when creating a new category or type.
Edit and Delete Issue's Custom Fields
Once you've created a custom field, you're able to edit some of its details. Select the custom field you'd like to edit from the list in Custom fields.
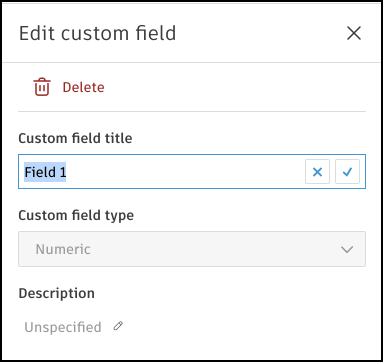
You can edit the custom field title or description. Click the field, enter the new title or description, and then click the checkbox to save your changes.

To delete a custom field, click the delete icon.