Manage Support Files Templates in Library
Once you create a support files template in the Library, you can manage its usage across multiple projects and templates, archive or restore the template, and edit its settings.
- Add Support Files Template to Projects
- Remove Support Files Templates from Projects
- Edit Support Files Templates
- Archive and Restore Support Files Templates
- Create Copies of Support Files Templates
Add Support Files Template to Projects
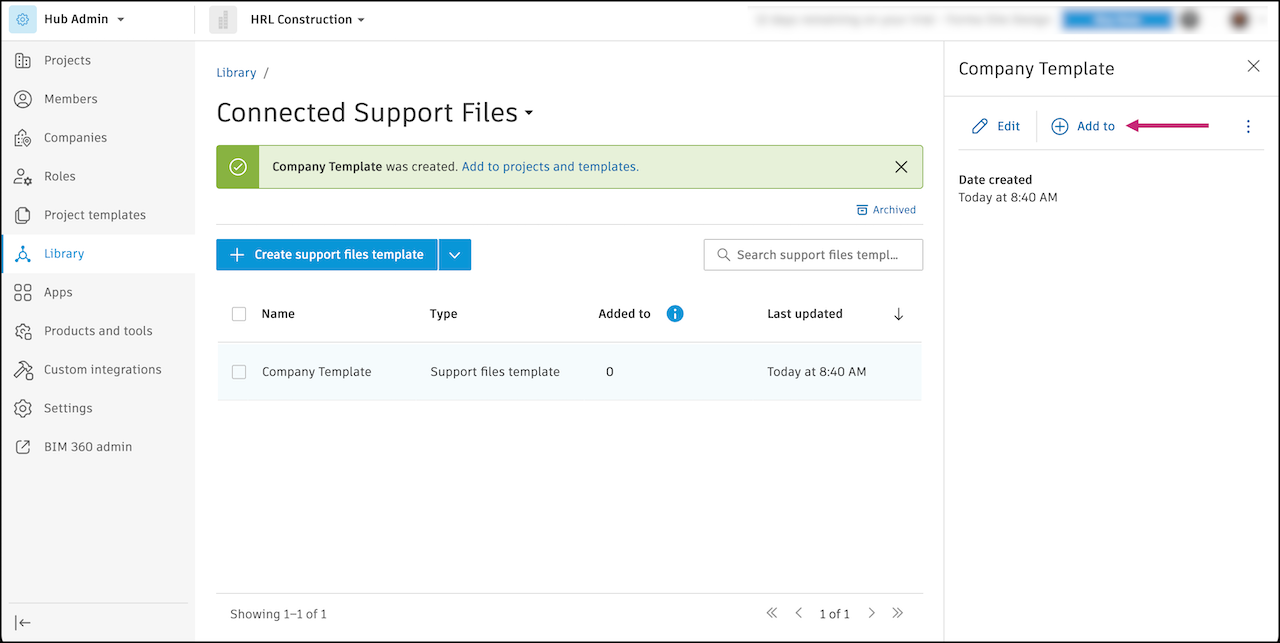
Once a support files template is created, you can add it to projects and templates.
Select a template from the template list.
Click Add to.
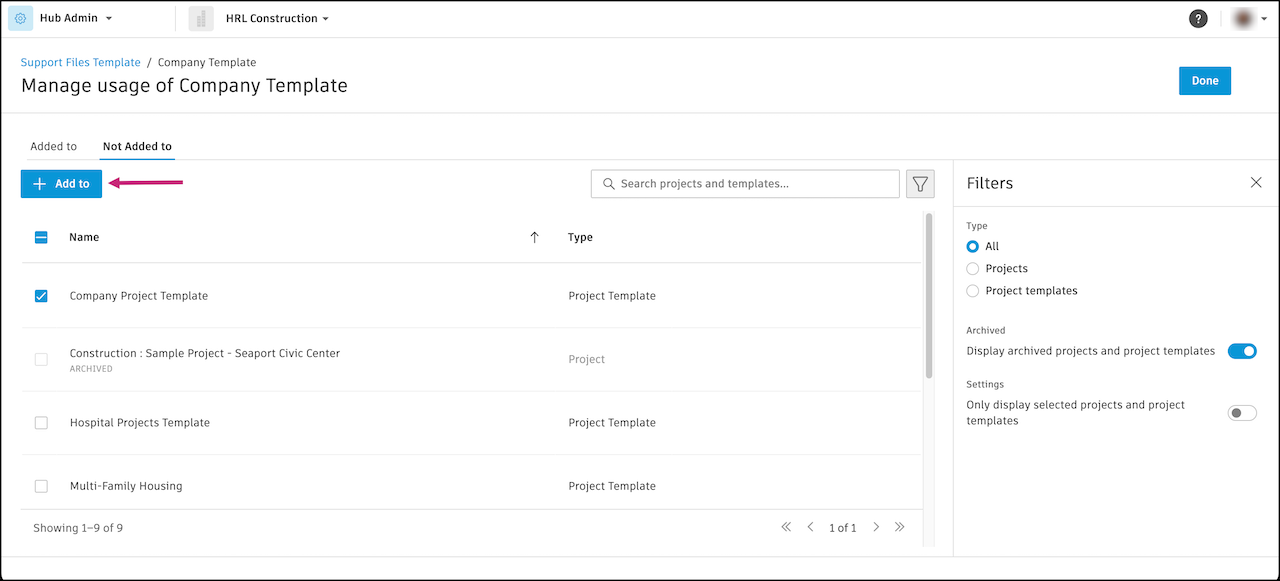
You will be directed to the Manage usage page and the Not Added to tab. Only projects that do not already have the selected template added will be displayed.
Search for projects or templates by name or filter to display only archived, or only selected ones.
Once you've selected, click Add to.
Confirm your selections and click Add.
Click Done to return to the template list.
A .autodesk.support folder will be created in the selected file path in the template. Learn more about managing support files in Files.

Remove Support Files Templates from Projects
Select a support files template or several templates from the template list.
Click the More menu
 at the top of the table and select Remove from. You will be redirected to the Added to tab with projects that use this template or templates. Note:
You can also remove a template from a project by clicking on a template and clicking the More menu icon
in the right panel to perform the same action.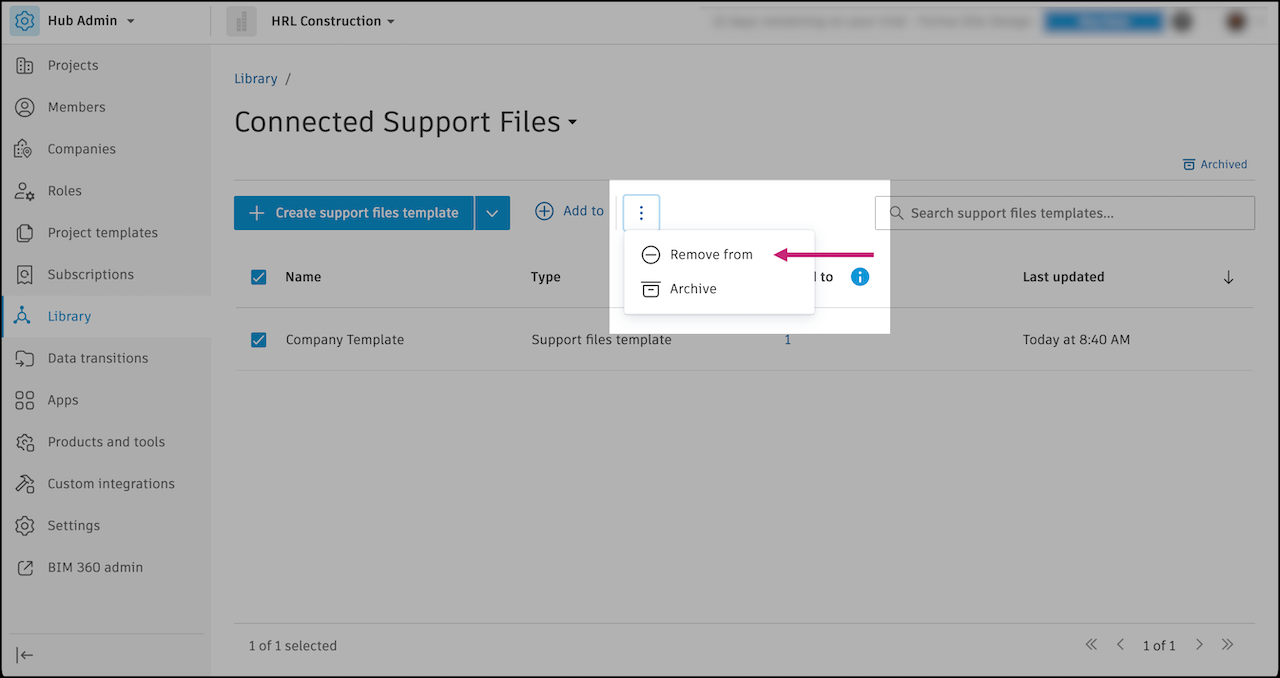
Search for projects or templates by name or filter to display only archived or only selected ones.
Once you've selected a project or projects, click Remove from to remove a template or templates.
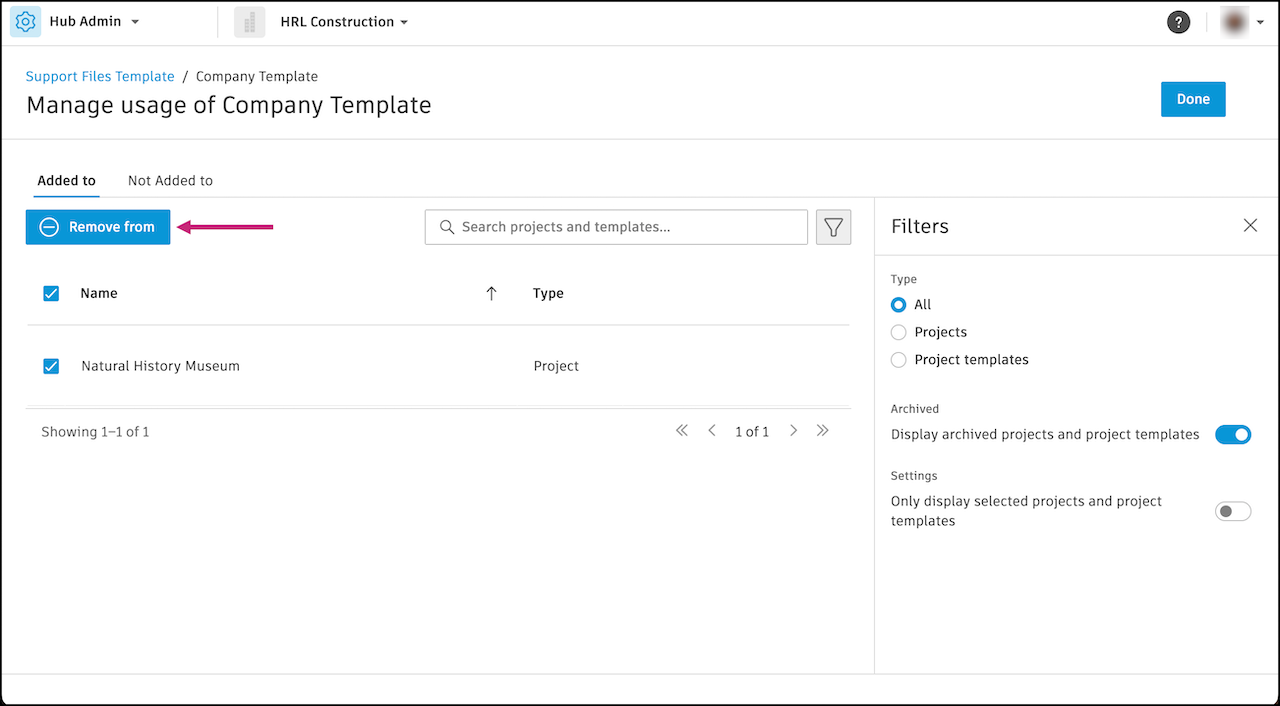
A confirmation modal will then display the projects that you have selected for the support files template or templates to be removed from. To confirm, click Remove.
Edit Support Files Templates
You can edit the settings in a support files template. Your changes will apply to all projects and templates that use this template.
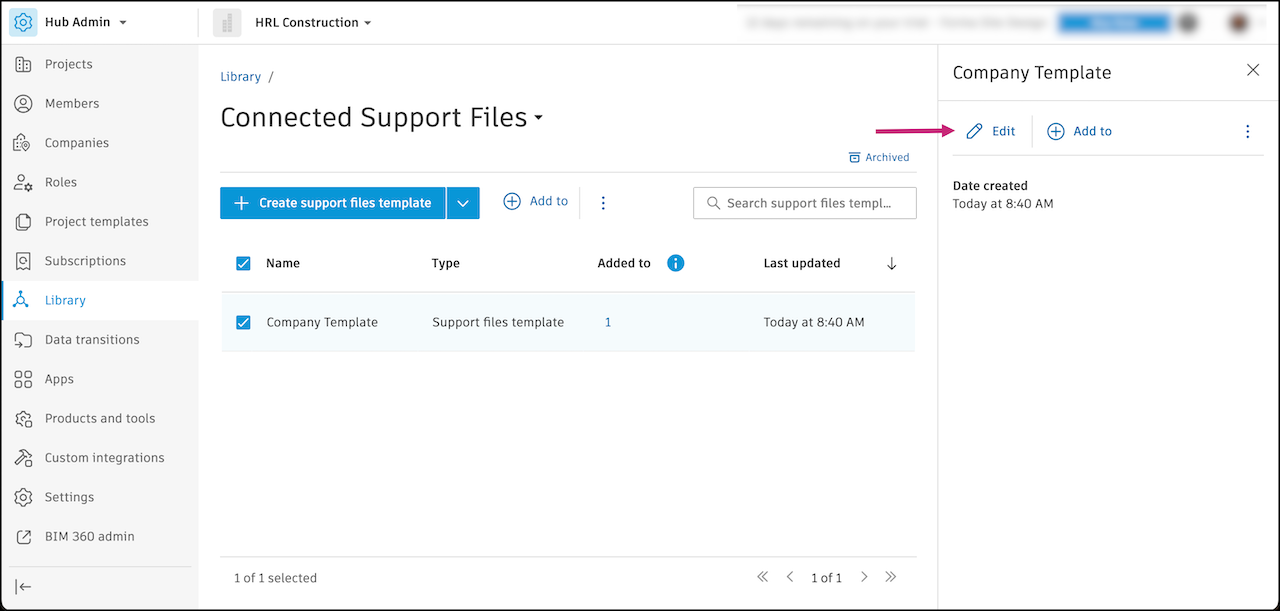
Click the selected template to open its details.
Click Edit.
Change the support file search paths or settings.
Click Save when done.
Archive and Restore Support Files Templates
You can archive and restore support files templates.
When you archive a support files template, projects with this support files template will be disconnected from the Library. The support files will remain in the project and still be available as a standalone support files configuration.
You can't add or remove this support files template to projects until you restore an archived template.
To archive support files templates:
Click the selected template to open its details.
Click the More menu
 in the panel that appears and select Archive.
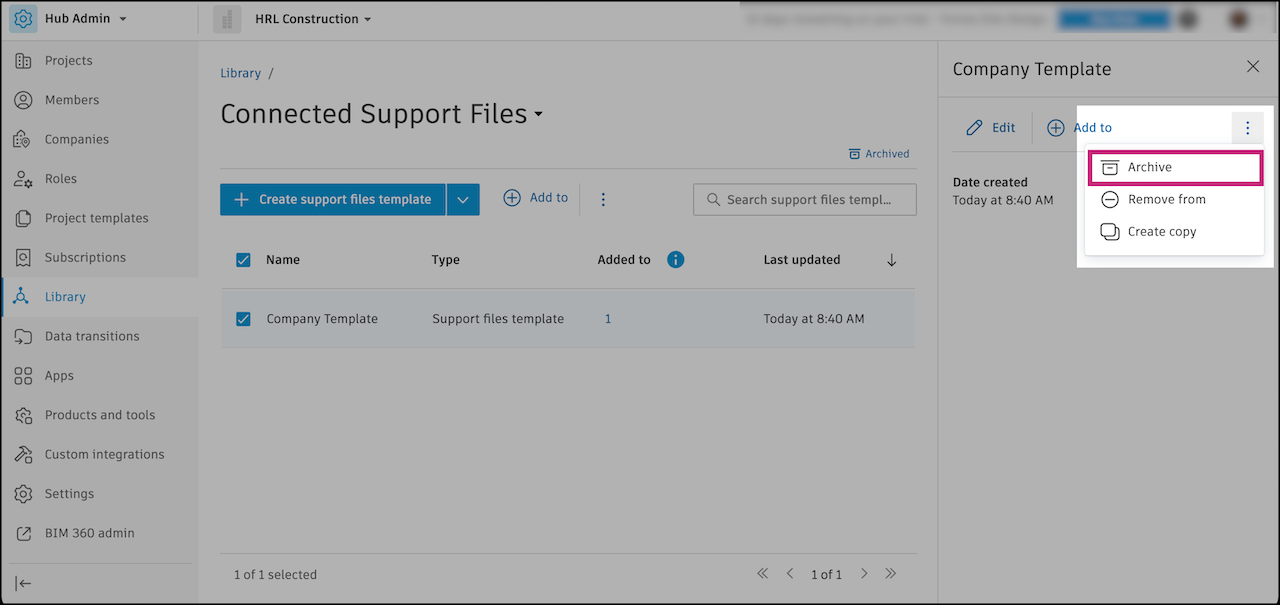
Confirm in the dialog by clicking Archive.
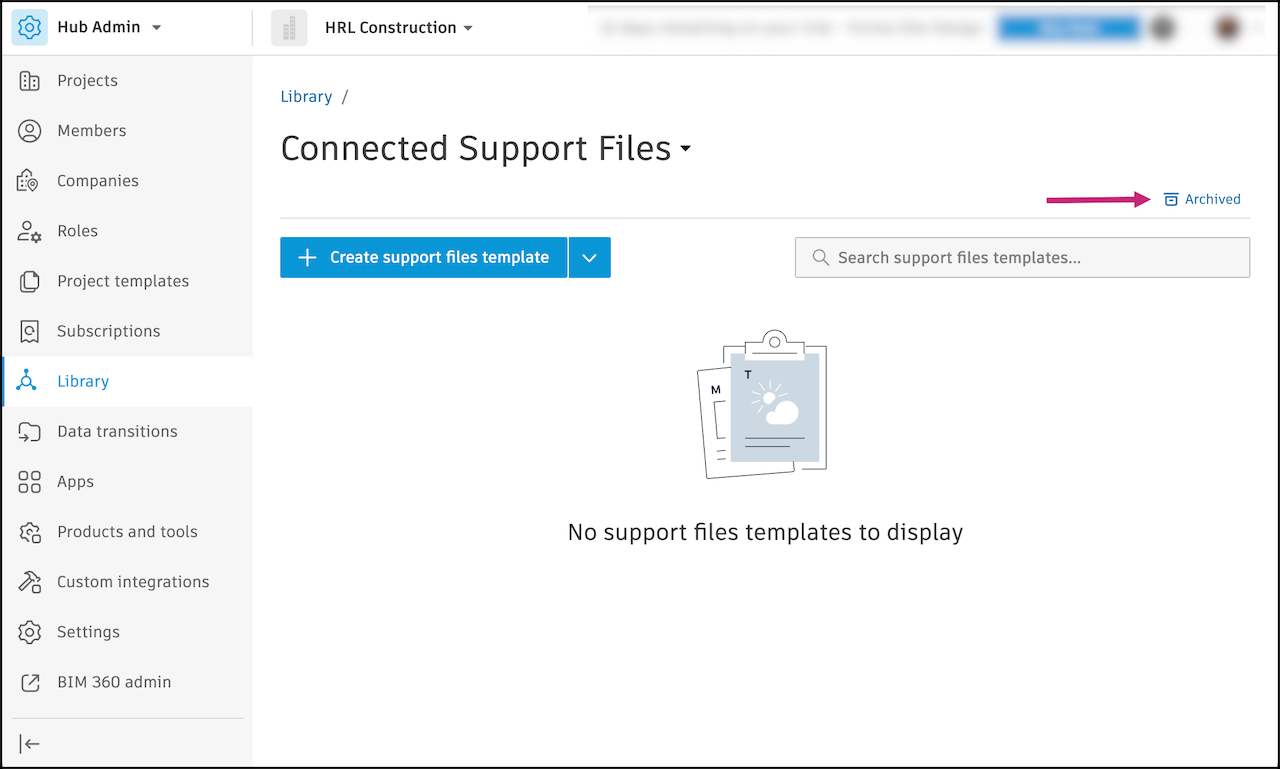
The template will appear in the Archived page.
To restore support files templates:
When you restore archived support files templates, they won't be automatically restored to the projects and project templates they were previously added to. To restore, you'll need to add them manually.
Click Archived to open the Archived page.
Select the templates you want to restore.
Click Restore.
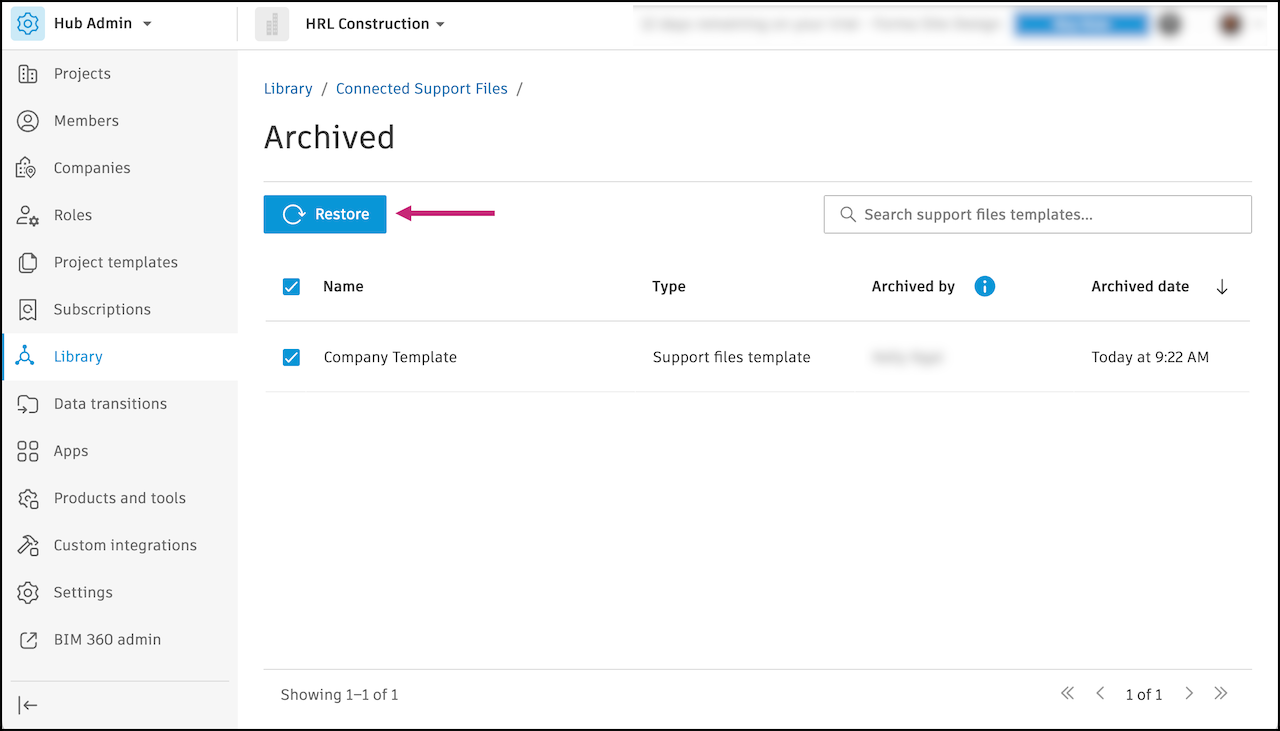
Confirm in the dialog by clicking Restore.
Create Copies of Support Files Templates
Creating a copy of a support files template can help you to quickly create templates for different projects or purposes.
To create a copy of a support files template:
Select a template to see its details.
Click the More menu
in the panel that appears and select Create copy.