Configure Project Templates for Design Collaboration
Once you've created a project template, you can configure project template settings for Design Collaboration. This includes specifying the shared folder location, team setup, folder structure, roles and permissions, and DWG file support.
In a project template, select Design Collaboration using the product picker.
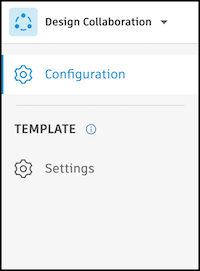
Use the left panel to select the tool you want to configure in the project template:
You can also set up your folder structure for Design Collaboration. See Configure Design Collaboration Folder Structures in Project Templates.
Configure Design Collaboration Settings in Project Templates
In a project template, with the Design Collaboration product picked, click Settings in the left panel.
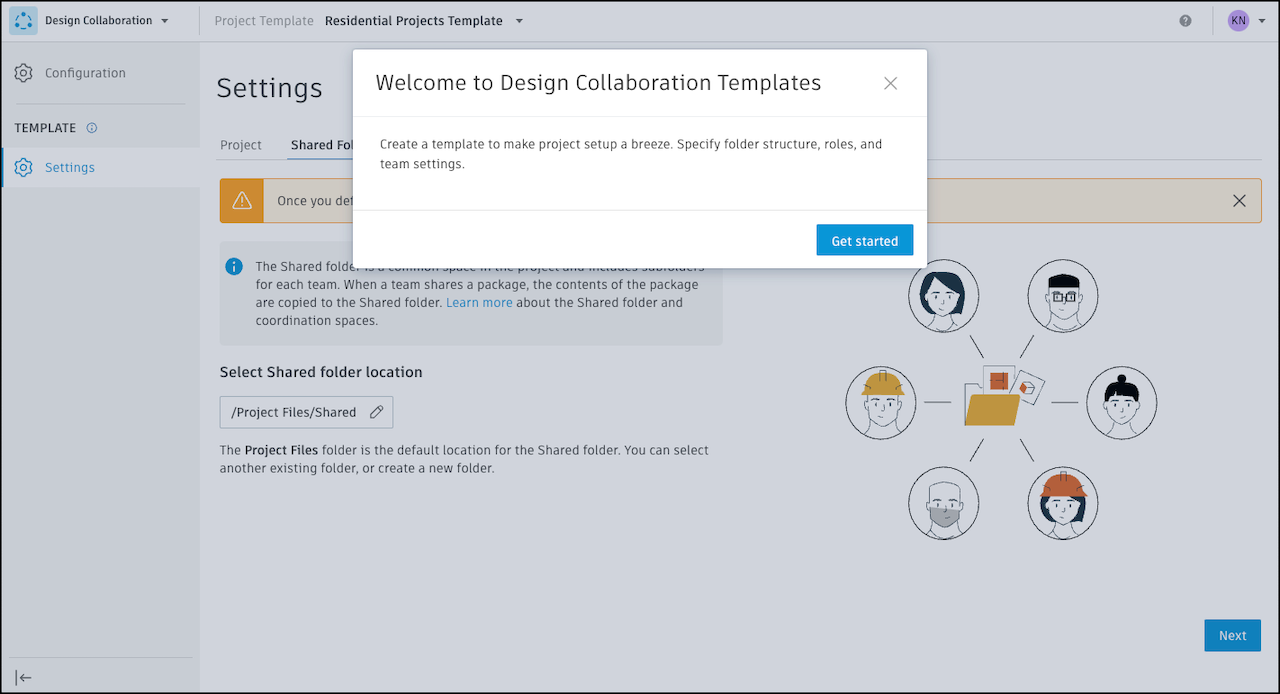
If this is your first time, click Get started.
By default, you are taken to the Shared folder tab first. Select a location for the shared folder. You can either:
- Use the default location, the Project Files folder.
- Browse to select a folder in Docs.
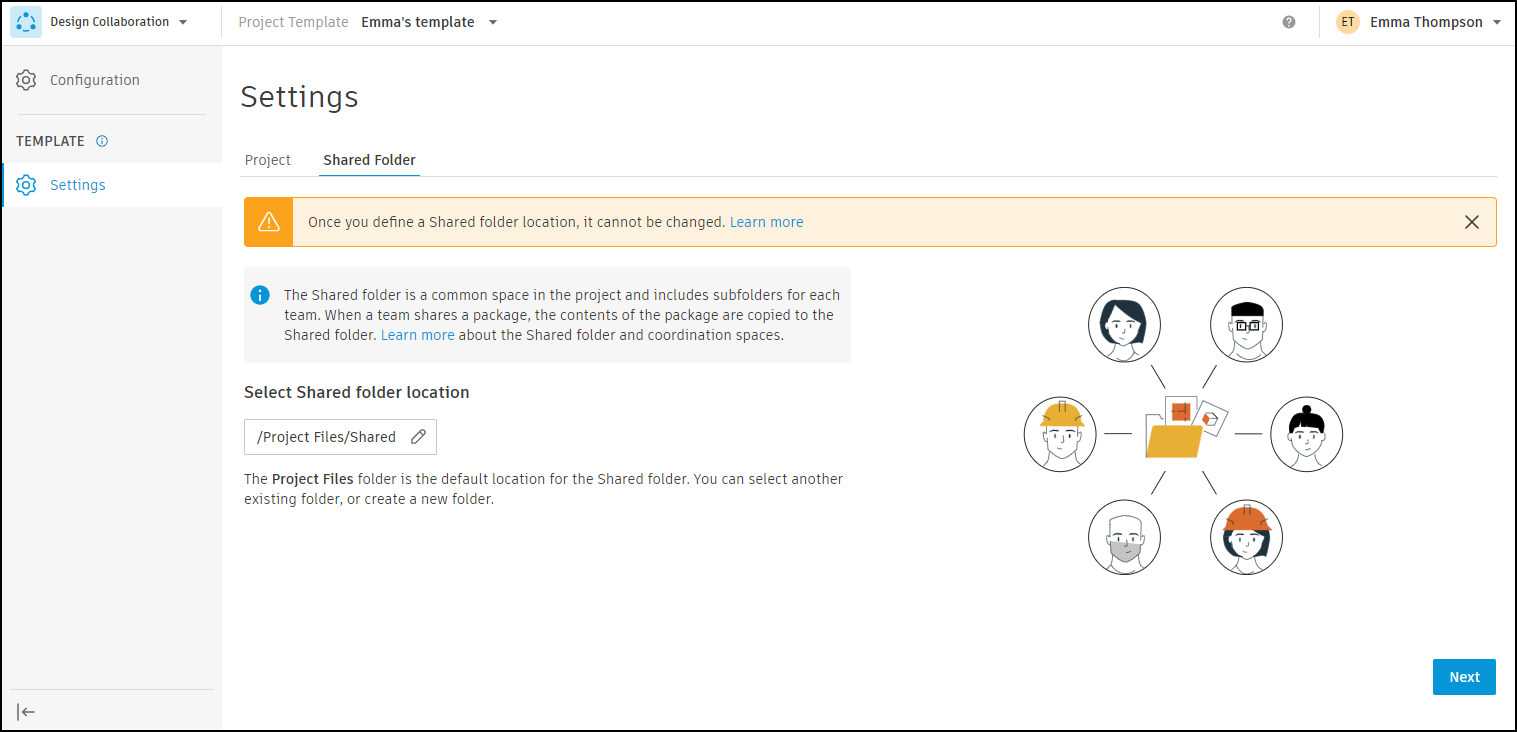
Click Next and confirm the shared folder location.
Important:Once the Shared folder location has been specified for a project, it can't be changed.
Use the Team setup tab to add preconfigured teams to the template.
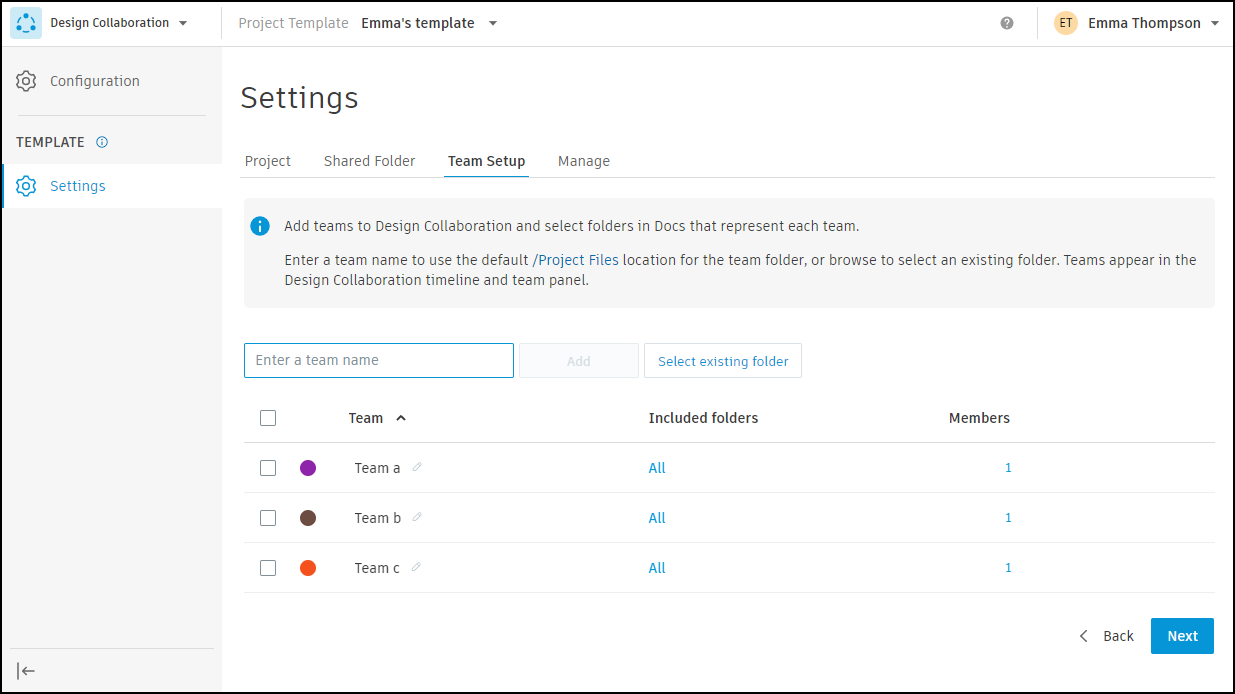
To create teams and team folders, either:
- Enter a team name and click Add to use the default location for the team folder (the Project Files folder).
- Click Select existing folder, browse to select a folder in Docs, and then click Add team.
Tip: You can also click Go to Docs to create folders as required.Specify which subfolders within the team folders that you want content to be included from in your team space. By default, all folders are included. Click All in the Included folders column and then choose from:
- Include all folders to include data from the top-level folder and all the subfolders (default).
- Select folders to use a folder tree to choose which folders to include data from.
Note: Select all folders that you want to include data from. For example, selecting a parent folder will not automatically select the child folders.To add roles, companies, or members to teams, click the number shown in the Members column for the appropriate team and start typing the name in the search box. Select the relevant search result, and assign a permission level as needed.
Note: The role, company, or individual must already be a member of the account or project template to be added to a team.Click Next.
Use the Manage tab to turn DWG support on or off for the project template.
Tip: The performance of Design Collaboration may be affected by having large numbers of DWG files in your project. Turning off DWG support by default can improve performance, and support can be turned back on for projects once created.Use the Project tab to edit the project template name if necessary.
When you have edited the settings on each tab as needed, the template is ready to use. You can either set up folder structures in Docs as part of the template, or use the product picker to navigate back to Account Admin to create more templates. You can also create projects using your template.
Continue onto the next section to learn more about setting up folder structures in project templates.
Configure Design Collaboration Folder Structures in Project Templates
In addition to configuring Design Collaboration project settings using the template, you can also set up folder structures in Docs for use in Design Collaboration.
Use the product picker to switch to Docs.
Click Files in the left panel.
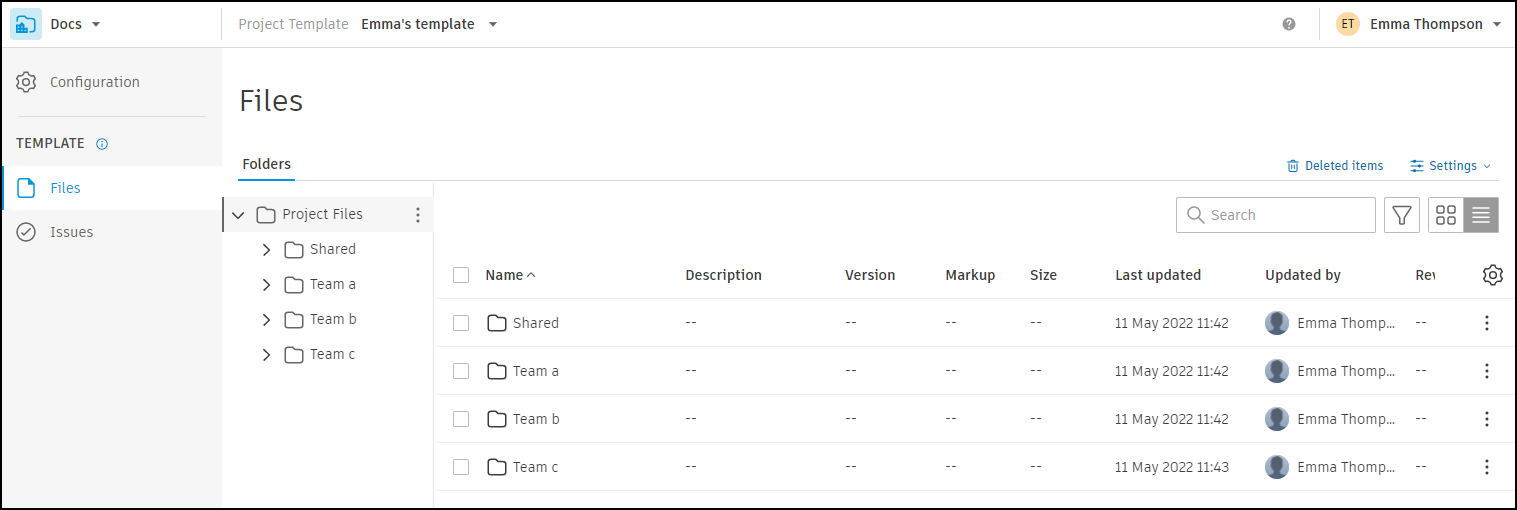
Create folder structures as required.
Tip: You can also use the Reviews and Issues options in the left panel to configure more Docs settings as part of your template. See Configure Project Templates for Autodesk Docs for more information.