Configure Project Templates
Once you have created a project template, you can start editing the template.
Add team members who will be working on the template with you.
-
- Add project members that you want to be added to projects created from this template
- Add notification settings
- Manage which products and tools will appear in projects created from this template
Configure your template for different products. Select the product in the product picker.
Note: The products available to configure in the template will depend on your product access in the template. This is set in the Template members page and deteremined by the products that are available in your hub.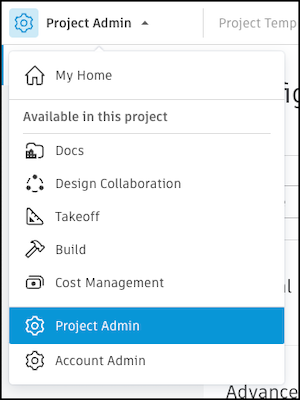
Edit project template details.
- Change the template name
- Choose whether to make the template available to all members who can create projects
- Set permissions for who can view and edit the template