Upload Files
You can use the Files tool to upload supported files to folders. You can then manage files and take actions subject to your folder permissions. An uploaded file will version up if it has the same name and file extension as an existing file in the folder.
- Permission Required to Upload Files
- Limitations
- The Upload and Processing Stages
- How to Upload Files
- Other Considerations
Permission Required to Upload Files
You need Create + Upload folder permission or above to upload files to that folder.
Limitations
- You can only upload files which are supported by the Files tool. See the Supported Files help topic for mroe information.
- Most files uploaded using Desktop Connector are only uploaded and not automatically processed for viewing. Members can process those files on demand on web. See Process for Viewing help topic for more details on the upload and processing checks, processing errors, and processing files on demand.
The Upload and Processing Stages
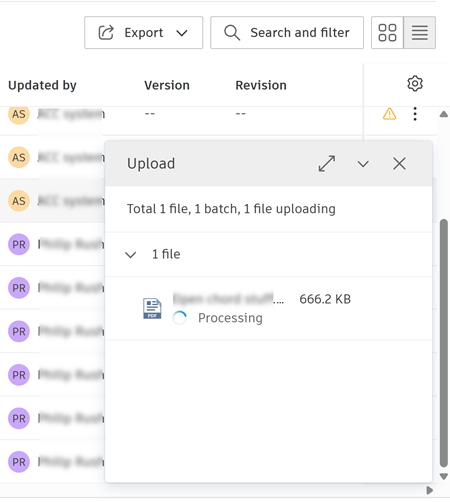
Your files are checked in two stages when they are added to the Files tool on web. Files have to pass the first upload check to move to the process for viewing check.
Upload stage: If this check is successful, your files are added to the Files tool and it moves to the next check.
Process for viewing stage: Checks that your files can be viewed.
Note: Most files uploaded using Desktop Connector are not automatically processed for viewing. See Process for Viewing on how to process these files on demand for viewing.Stage What's Checked Common Reasons for Failure What Happens If Failed What Happens If Successful Upload Files are checked for:
- File type support
- Network connectivity
- Server availability- Unsupported file type
- No network connection
- Server issuesFiles can't be added to the Files tool.
Click Retry to try again if network or server issues are resolved.Files appear in their folders and can be managed using file actions.
However, files can't be viewed until they pass the Process for viewing stage.Process for viewing Files are checked to ensure they can be opened in the viewer. - Password protected files
- PDFs exceeding 2,000 pages
- Files over 5 TB
- Corrupted filesFiles can't be:
- Viewed in the viewer
- Compared
- Published to sheets
- Marked up
- Exported
Workaround: PDFs can be viewed using Open in browser or shared files to open after for download.Files can be used and viewed normally.
How to Upload Files
Click the relevant folder from the folder tree.
Either:
Drag your files into the folder's file list
Click Upload files and drag your files into the file dropzone.


The files are added to the Upload files dialog. You can also select files or add more files From your computer. If you add more files, these will be added in batches.
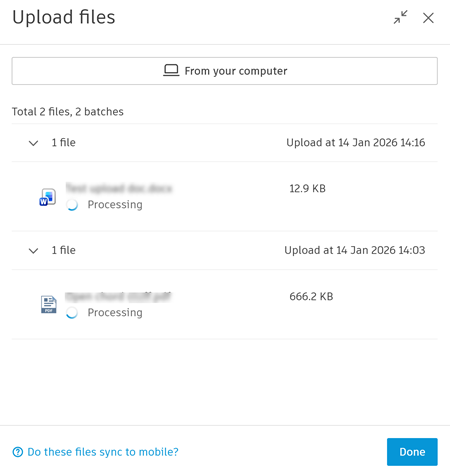
You click Done or the X at the top right to minimize the panel. If you close this panel, the files will continue to upload.
Note: If the folder has a naming standard applied or required attributes, the file names or required attributes will need validating. See [Validate Files Names and Required Attribute Values](topicid=Add_Files_To_Naming_Standard_Enforced_Folder) to learn more. - When the files have uploaded successfully, click Done.
Other Considerations
Members who subscribe to the folder will receive a notification when the file is uploaded.
To upload Revit (RVT) and AutoCAD (DWG) reference files and maintain their references, see the Upload Linked Files help topic.