Within CAMduct, the Auto Fill Parts option lets you Autofill selected parts on the remainder of a nested sheet. In place of a rip cut that would normally be used to salvage any left over material, the Autofill method can be used to fill the left over material with an Auto quantity item.
Setting up a Part for Auto Fill
To set up a part to use the Auto Fill option:
- Within Item Folders, right-click on a part that you want to be used as an Auto Fill item.
Note: This item first needs to be set to a catalog item.
- Right-click and select Create Catalog Item to configure the item for manufacturing.
- Make sure the defaults of the Catalog item at this stage have been set appropriately, and then click Accept on the item to Save it as a new item.
- Right-click on the newly created Catalog item, and click Properties.
- Click the Developments tab.
- Next to the Quantity Remaining option, select (enable) the Auto option to set this part for the Auto Fill method.
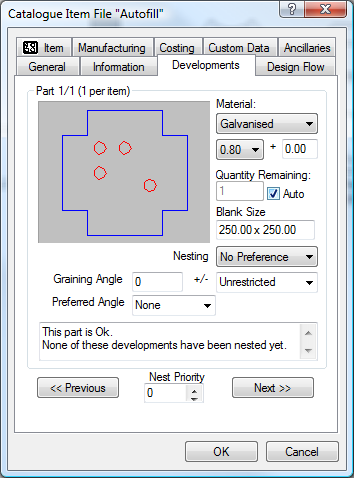
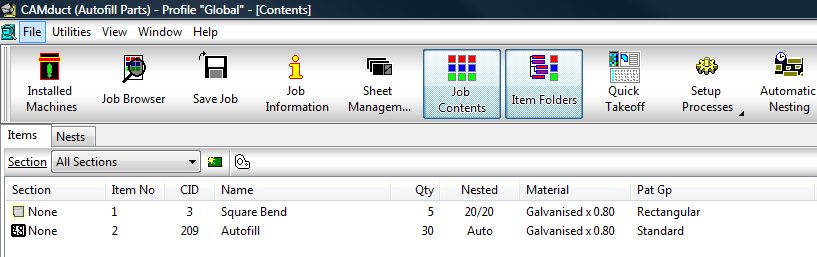
When this option is selected, and the item has been placed into the job as 1 quantity, this will display as Auto in the Nested column in the Job Contents view prior to nesting.
When the job is nested, this item will calculate the maximum nested quantity possible, and be placed onto the sheet multiple times. This is determined on other items in the job that have priority nesting and margins used.
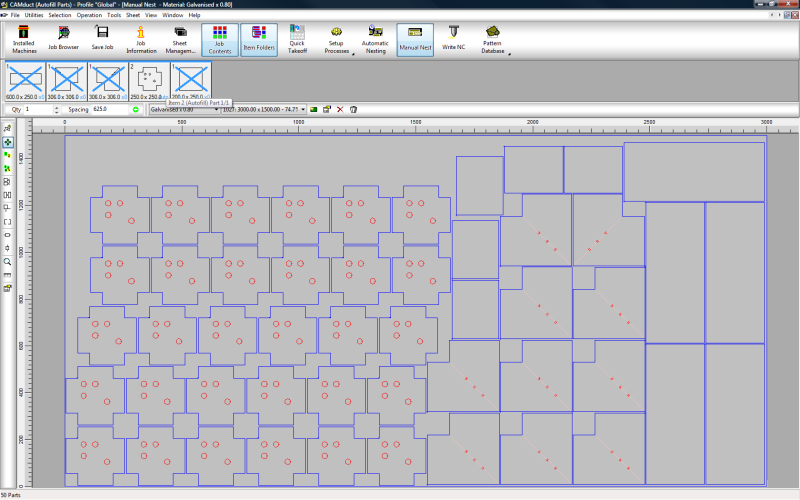
After nesting, selecting Job Contents displays the quantity that was able to be placed onto the sheet.
The results of the nest can be assessed by clicking the nested sheet and opening in Manual Nest mode. In the example shown below, the part is available for an infinite quantity.