Bar codes and or QR codes can be added to report headers, labels, and worksheets, where the font properties are definable.
Reports can be created through File
 Print Layout in ESTmep and CAMduct. Database export formats can be accessed through File
Export
Item Data Fields.
Print Layout in ESTmep and CAMduct. Database export formats can be accessed through File
Export
Item Data Fields.
For more information, see Reporting & Printing.
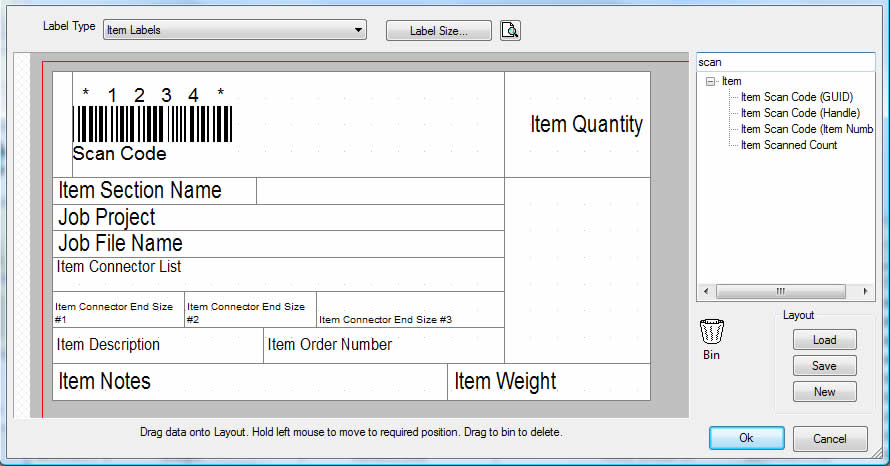
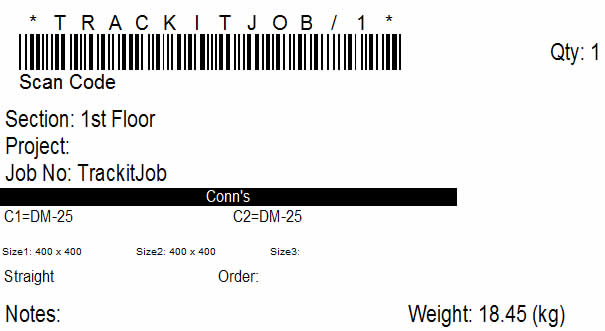
To print the bar codes or QR codes, reports and labels must be set up. The steps below describe how to set up labels that will include bar codes that can be printed out. The process is similar for other types of reports.
- Click File
Print Layout
Labels
Item Labels.
- Add the desired print objects, as shown below. Note that only the following codes (graphical print objects) can be scanned and used by Tracker :
- Item Scan Code (GUID)
- Item Scan Code (Handle)
- Item Scan Code (Item Number)
-
In the search filter box, located on the top right side of the dialog shown above, type in the word "scan" to display the "Item Scan Code" objects.
Note: It is important to place the "Item Scan Code" object in a suitable location, and consider the dimensions of the finished bar code when printed. Note that there are three different types of Item Scan Codes (GUID, Handle or Item Number) to be considered for use on a specific label. - When placed onto the layout of the label, right click on the object and select Properties.
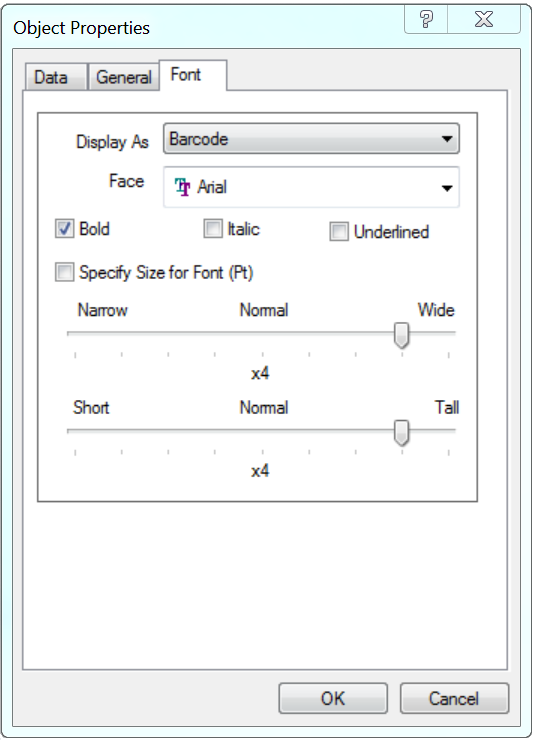
- For the Display As drop-down control, select the Bar Code option to transform this print object into a bar code, then click OK. The label can be previewed to ensure the display is as desired, and the bar code fits on the label.
Ensure all processes, reports, labels and database export formats are pre-configured prior to moving on to the Configuring Tracker Status Options topic.